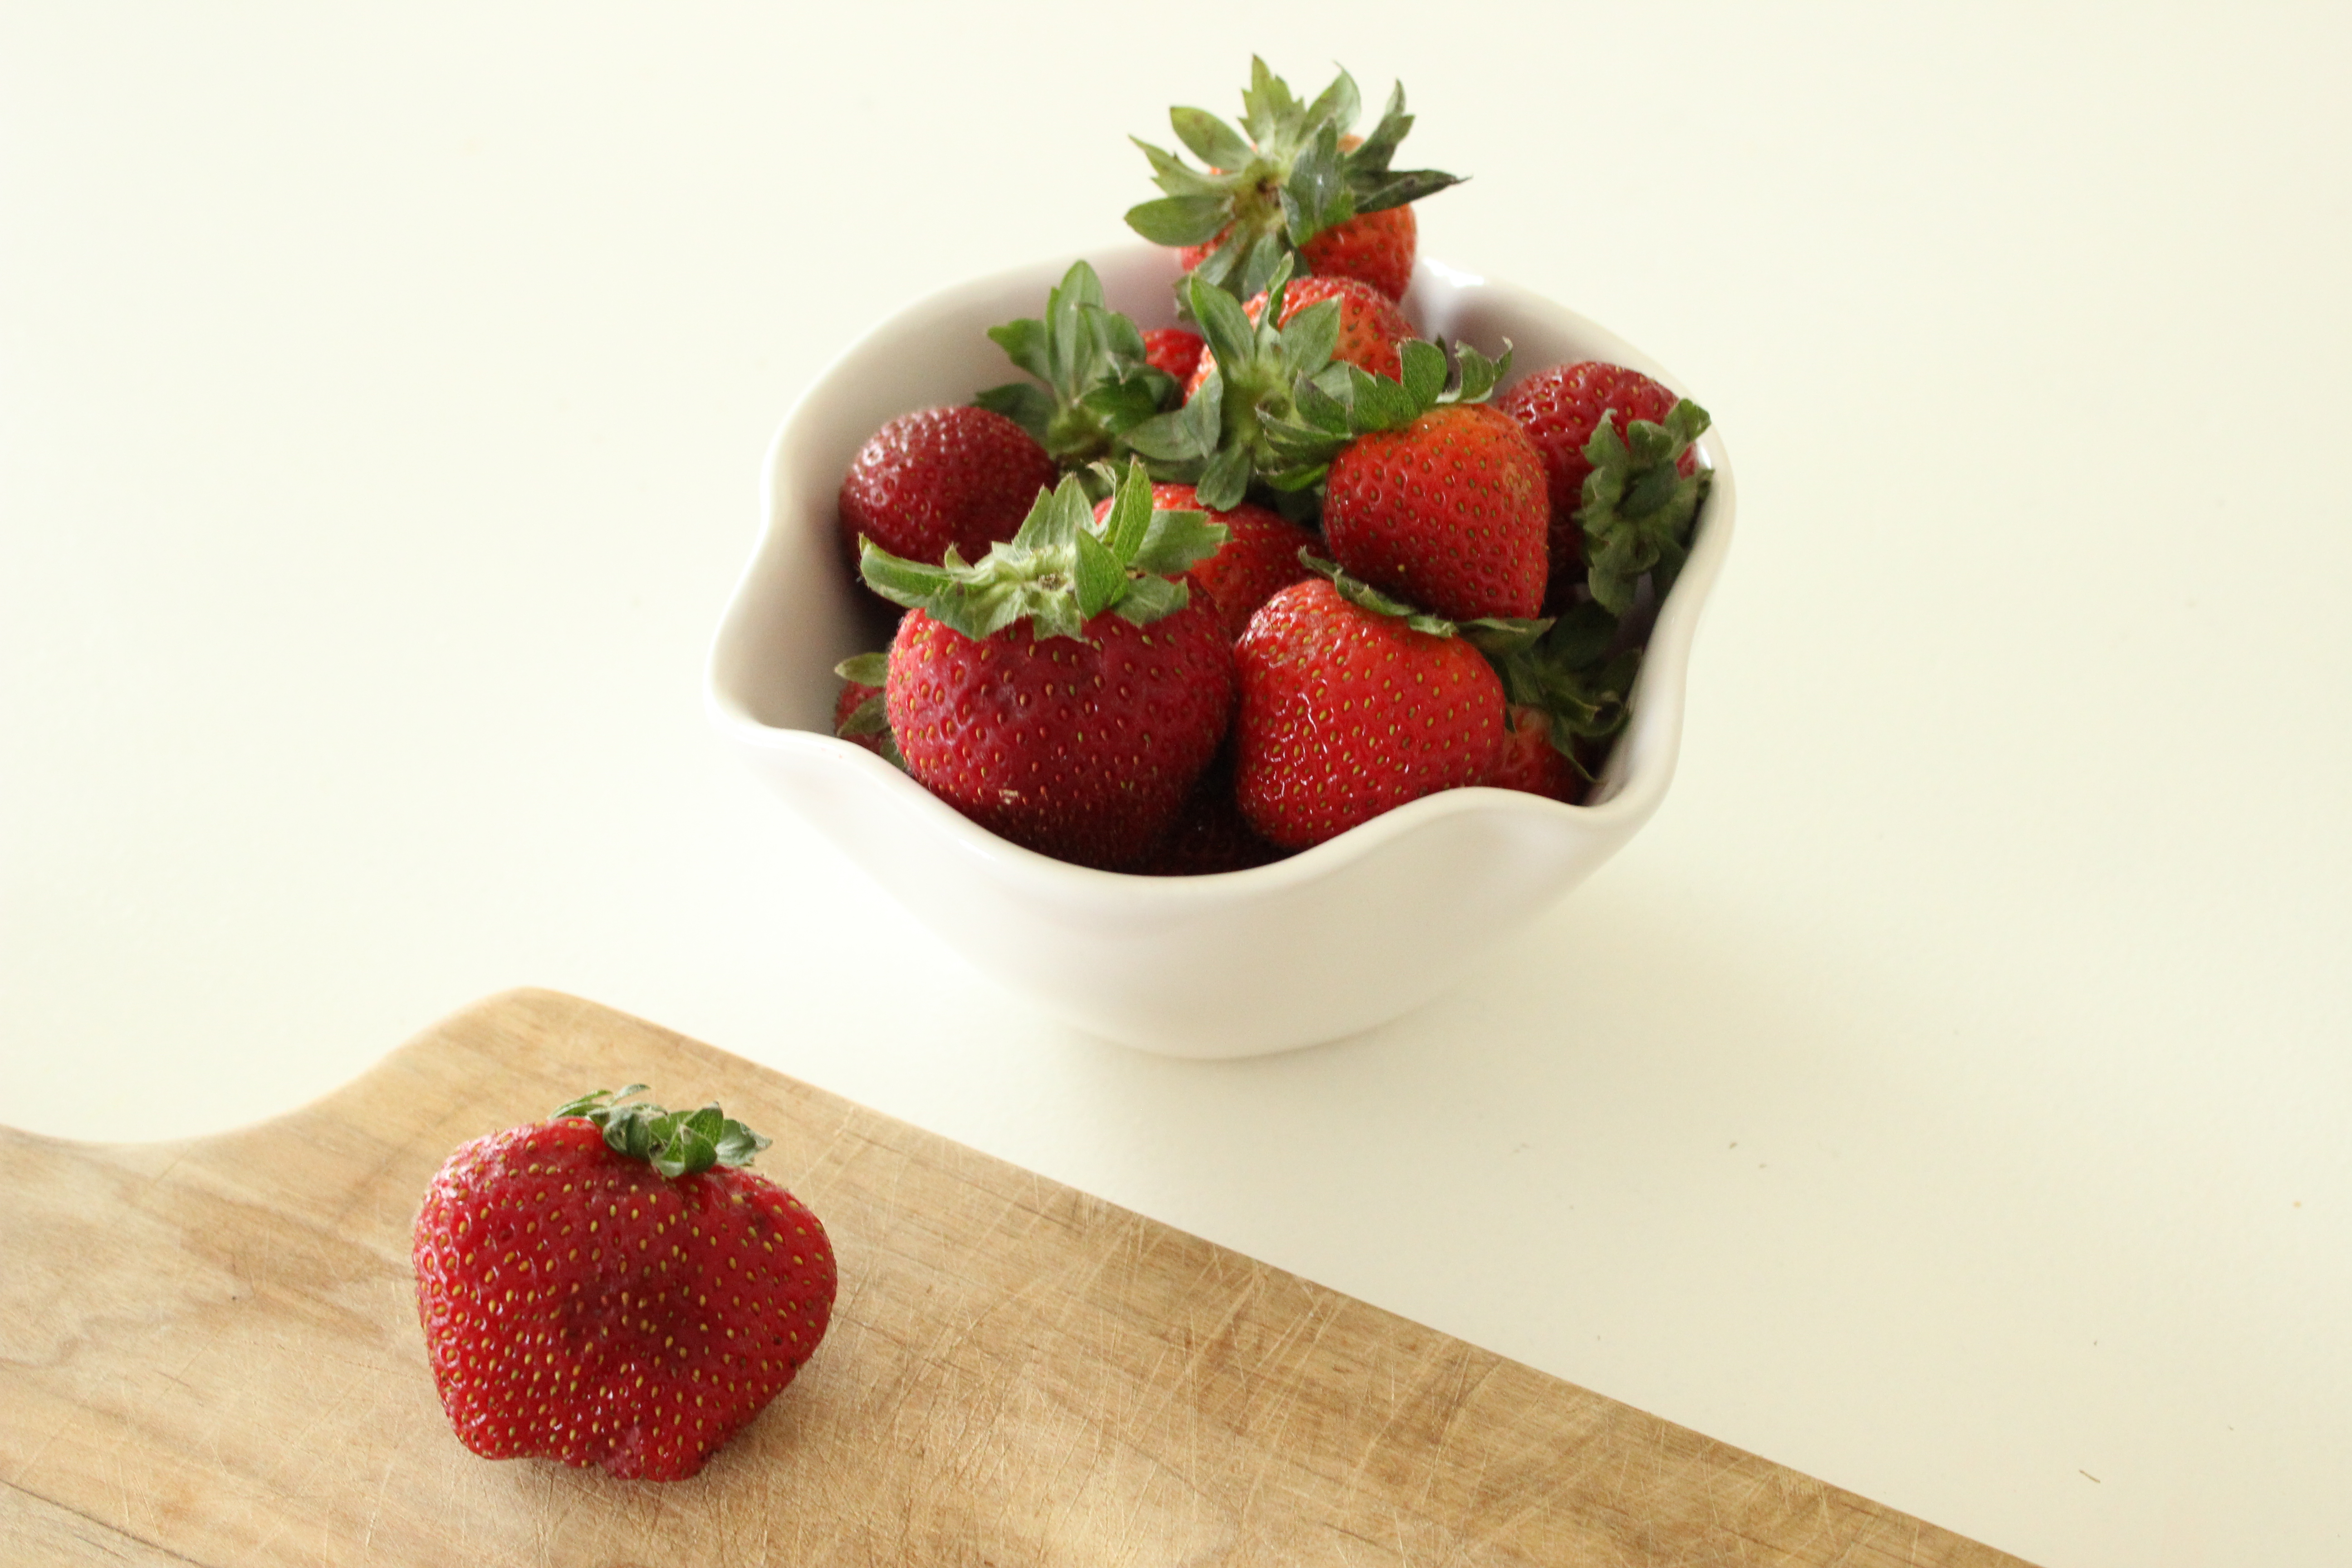
Last week’s heat wave and my unwillingness to wait in line at our current favorite ice cream shop (Christina’s) on a nightly basis inspired this post. You may have noticed that the strawberries pictured above look extra crisp and detailed. Well, after much deliberation, we took the plunge and bought a digital SLR camera. This post details instructions for making fresh strawberry ice cream at home and also my adventures in not getting food all over the camera.
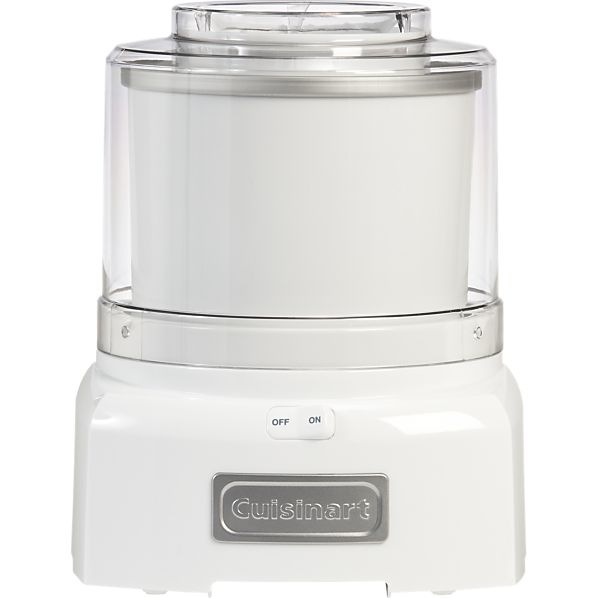
We have this ice cream maker and I highly recommend it! Making ice cream isn’t particularly labor intensive and the active cook time is pretty short. However, there is some waiting involved. First, if you’re new to your ice cream maker, the metal bowl has to chill (pun intended) in the freezer for at least 24 hours before use. We keep ours in the freezer at all times in case the mood strikes. Additionally, after you mix up your ice cream “batter”, it has to sit in the fridge for at least 2 hours. Finally, after the ice cream maker works its magic, the ice cream is pretty soft; its recommended that you put it back in the freezer for a bit before enjoying. Consider this a ‘heads up” if waiting around basically all day for delicious ice cream is not your thing!
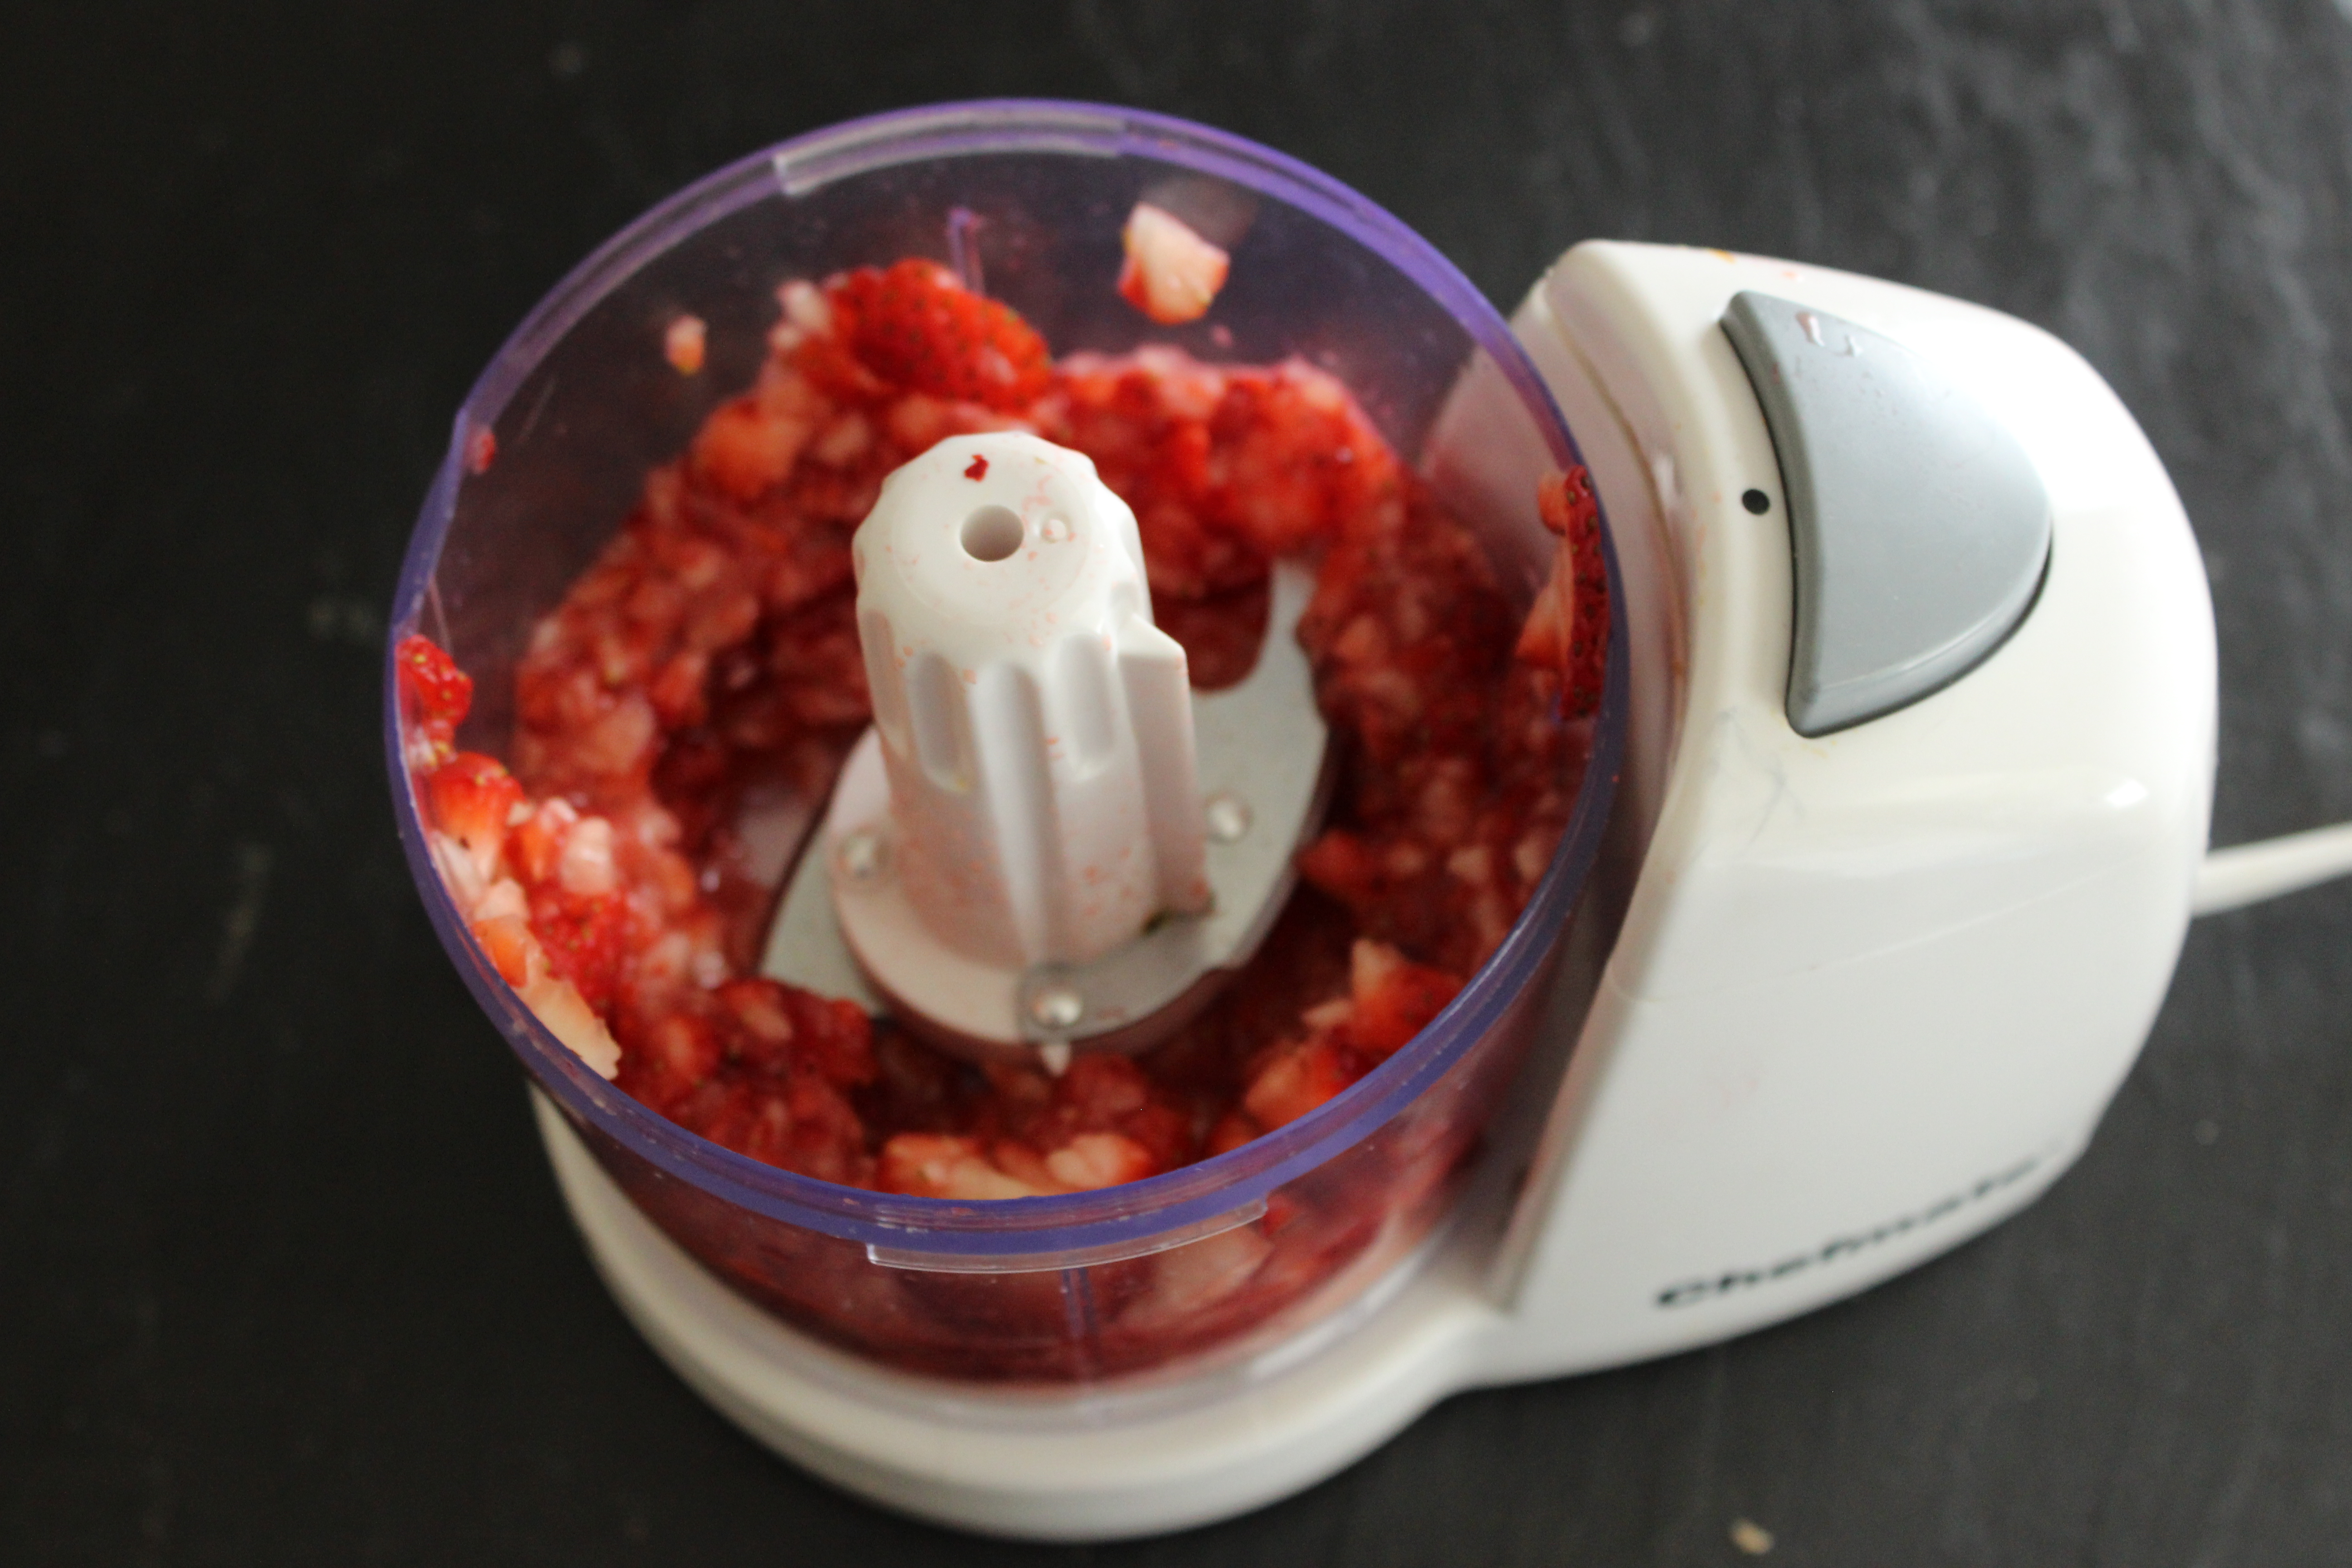
First, I hulled and coarsely chopped the strawberries (1.5 cups). Then, in two batches, I pulsed them for a bit in my mini-food processor. This is a great time-saving appliance for a small kitchen and all the components go into the dishwasher afterward. It was a beautiful afternoon with plenty of sunshine in our kitchen, so I set my camera’s ISO to 100 and the white balance to daylight. I feel very expert after reading chapter one of the companion book we bought to understand the camera’s user manual.
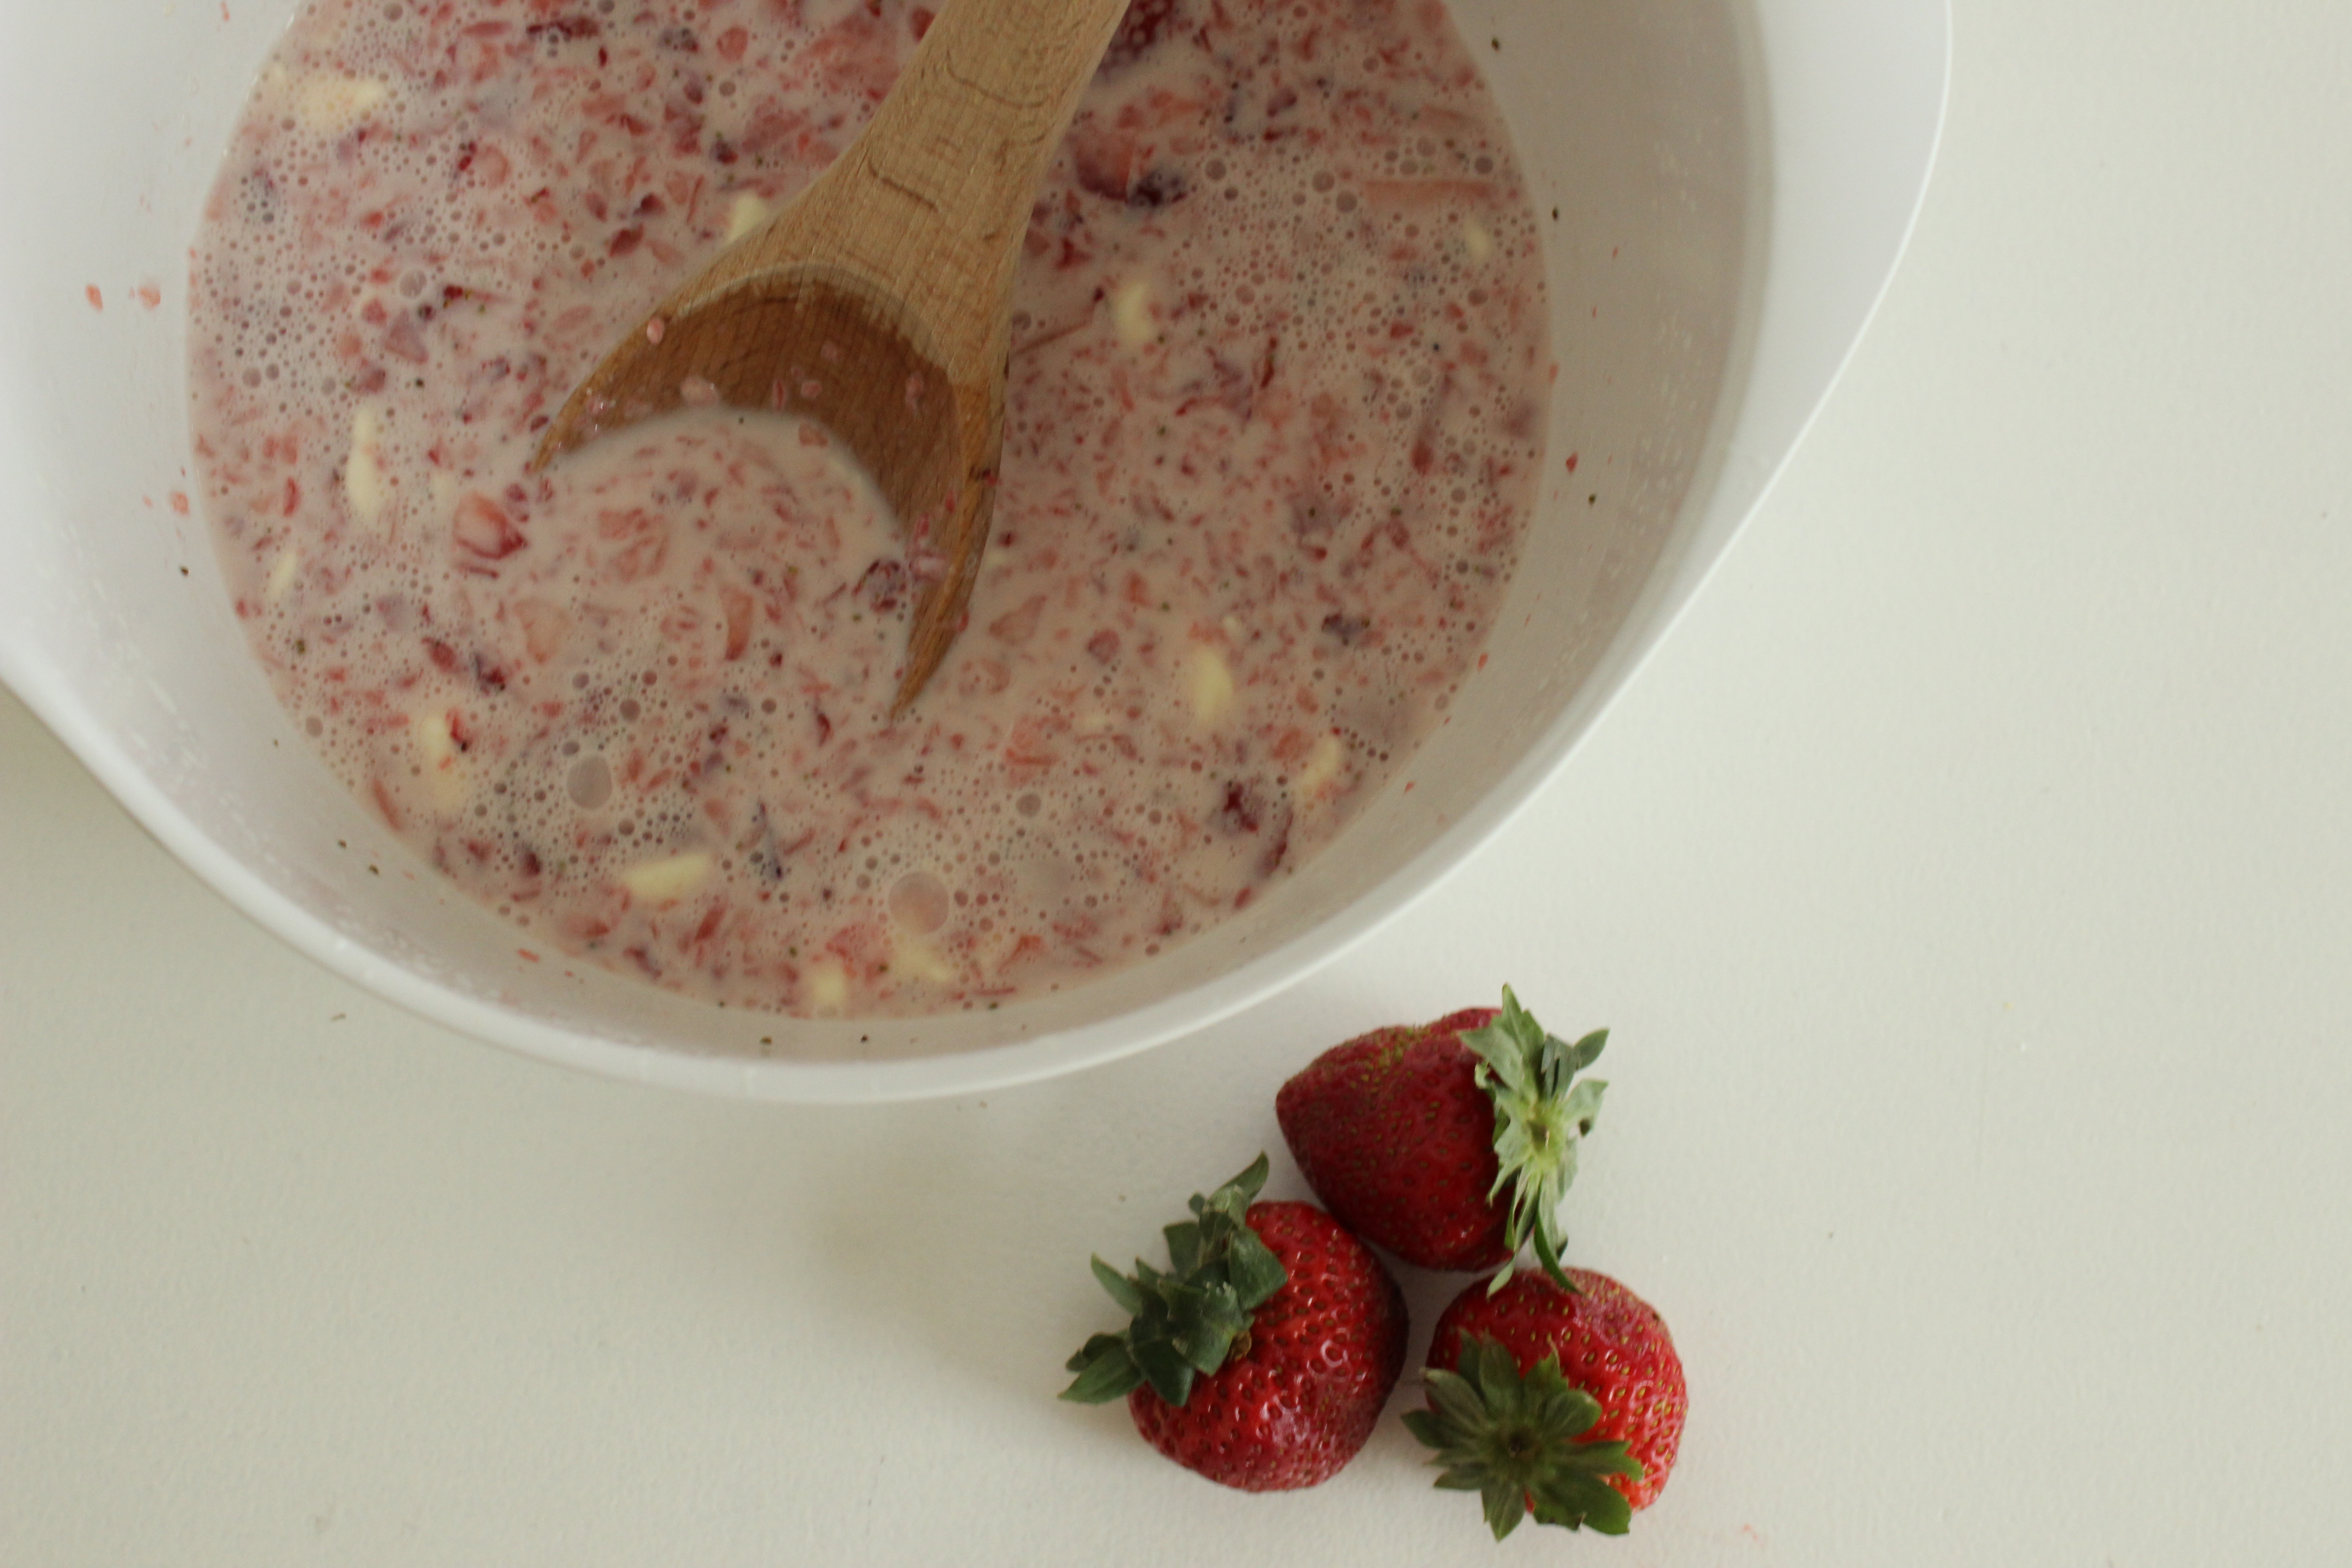
Next, I made the base for the ice cream. First, I used a hand-held mixer on a low speed to combine 3/4 cup of milk, 2/3 cup of granulated sugar, and a pinch of salt until the sugar was dissolved. Then I added in 1.5 cups of heavy cream and 1.5 tablespoons of vanilla extract. Finally, I stirred in the strawberries with all their juices. This mixture, which tastes like Strawberry Quick, is covered and refrigerated for at least two hours (I told you there was waiting involved).
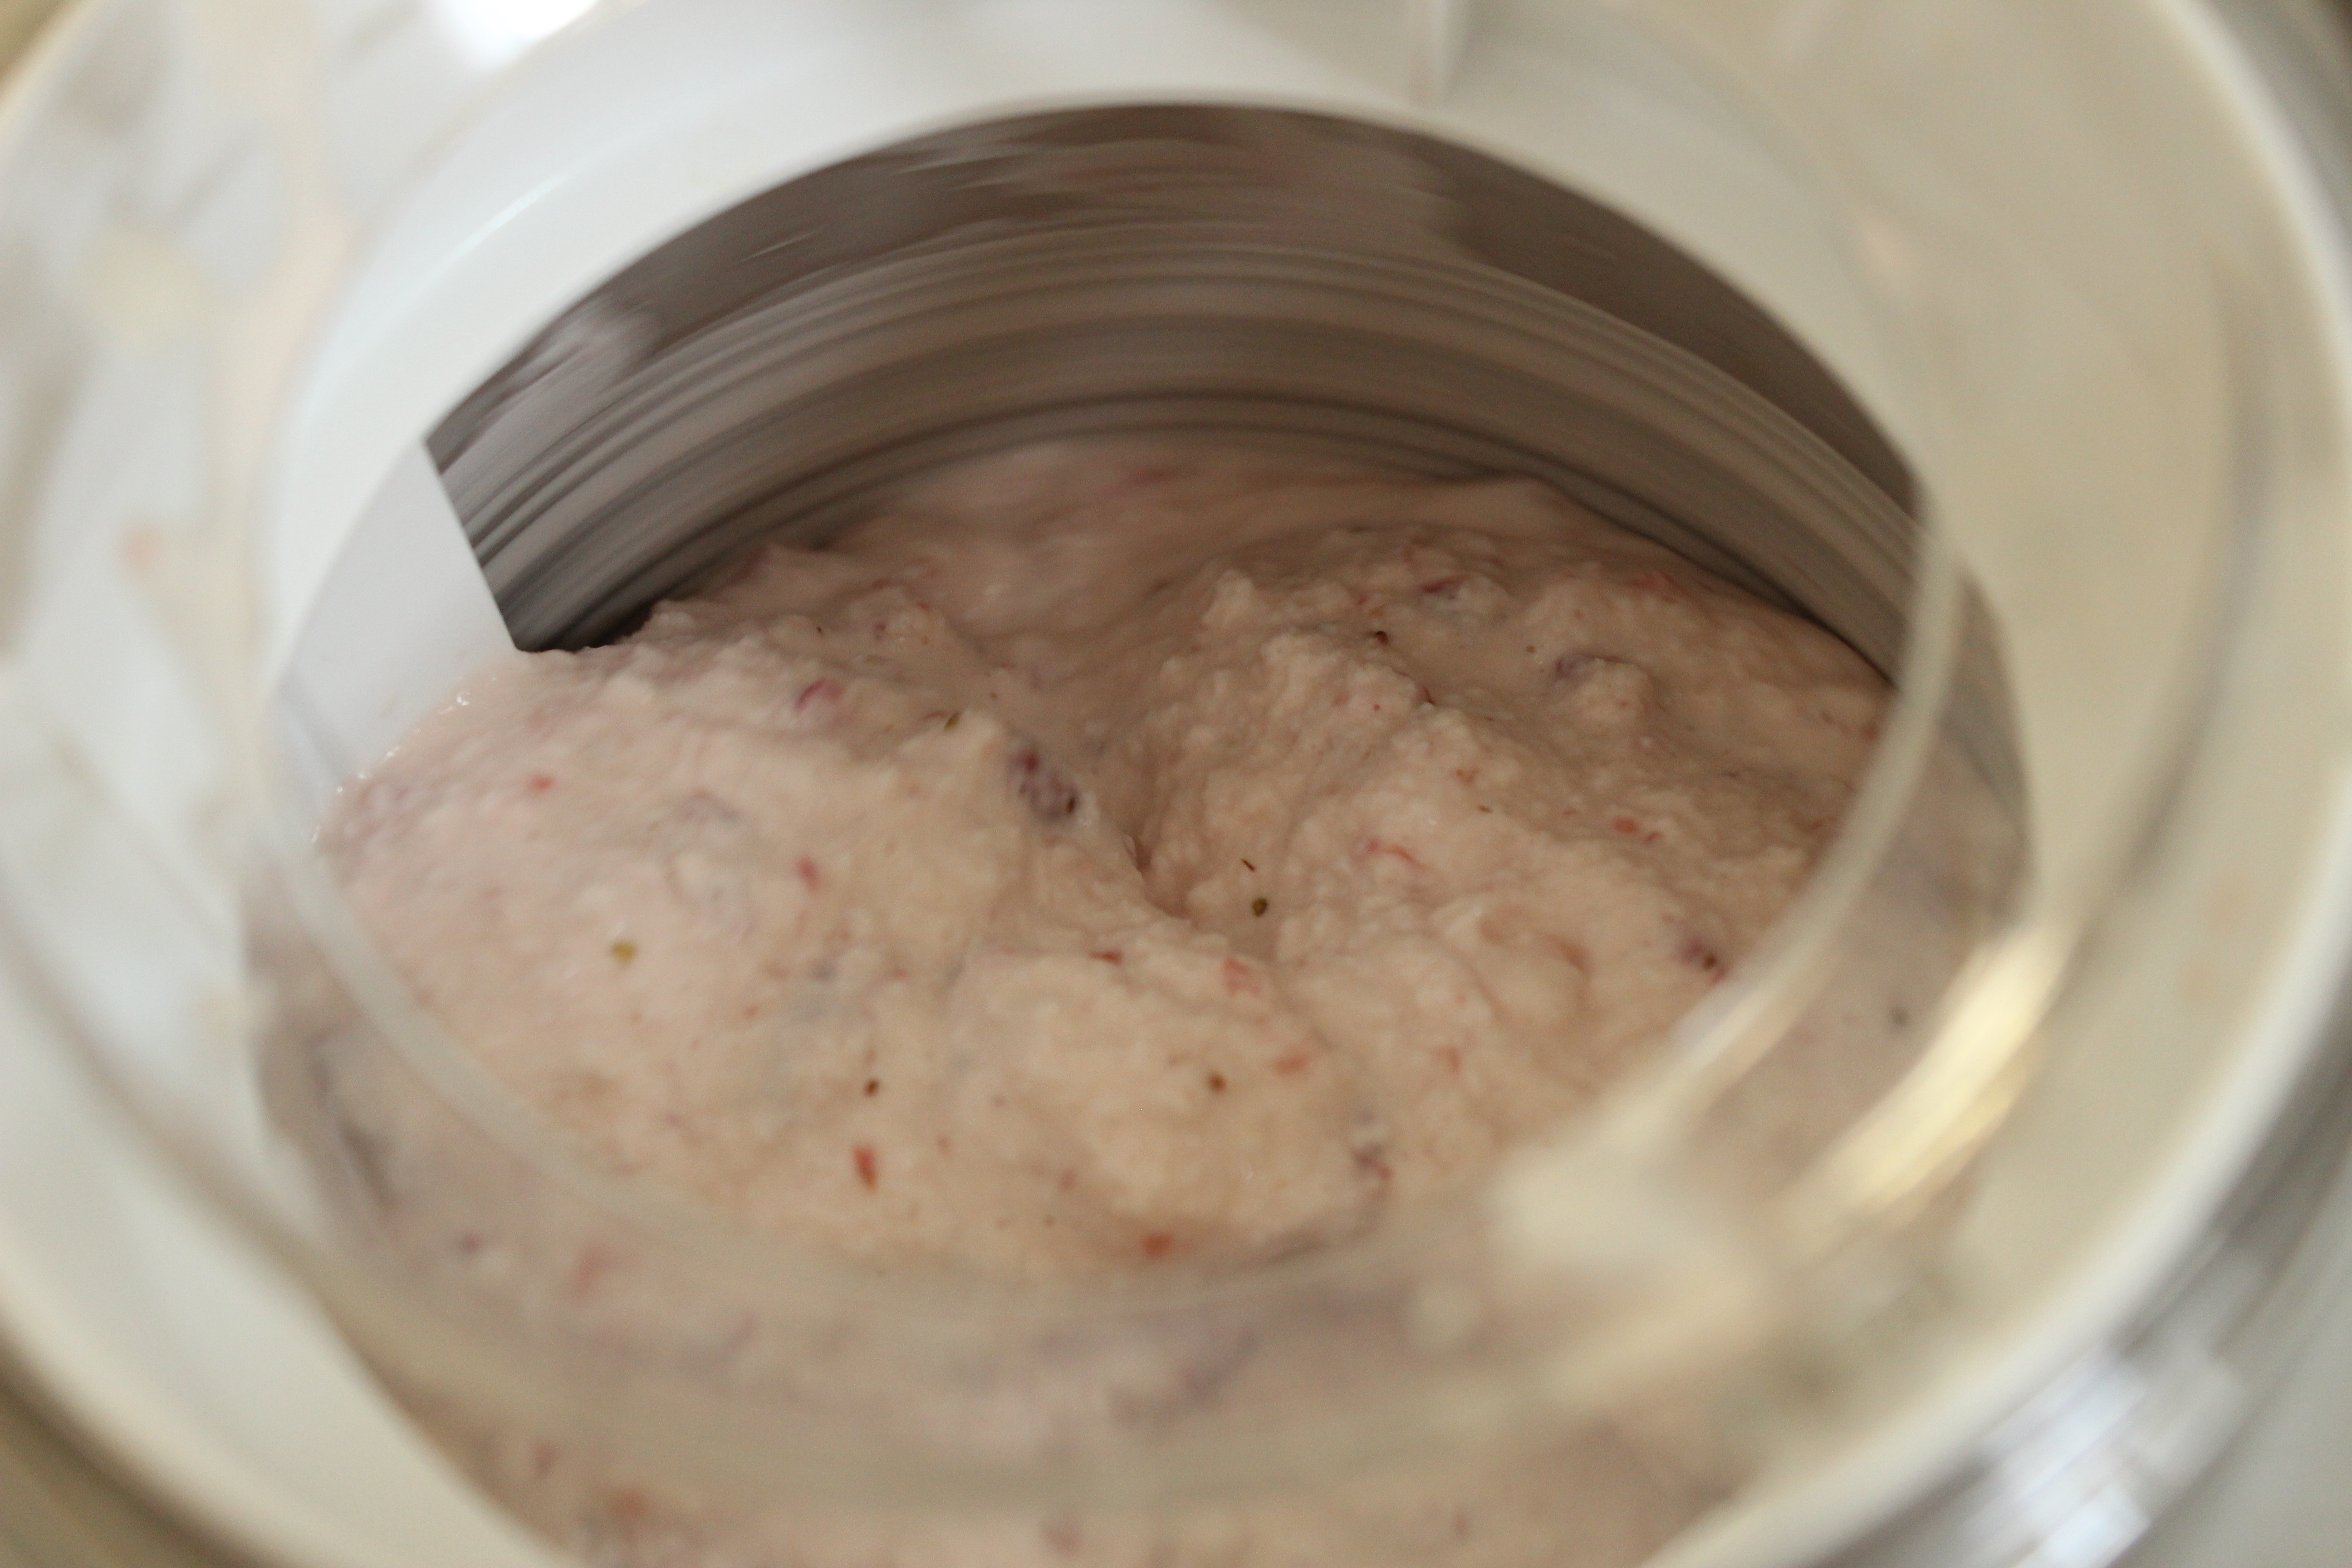
After refrigeration, its time for the ice cream maker to perform its magic. Its important to move quickly so the bowl, which should have been in the freezer up until this point, is as cold as possible. Not an easy feat while trying to take pictures and being obsessive about replacing the lens cap in between each take. The ice cream maker instructions recommend letting the machine run for 15-20 minutes. The photo above was taken at the 20 minute mark. You can eat the ice cream right away at this point, but because its still pretty soft and it was 95 degrees, I elected to let it harden up in the freezer. I transferred the ice cream into a a bowl with a lid and into the freezer it went.
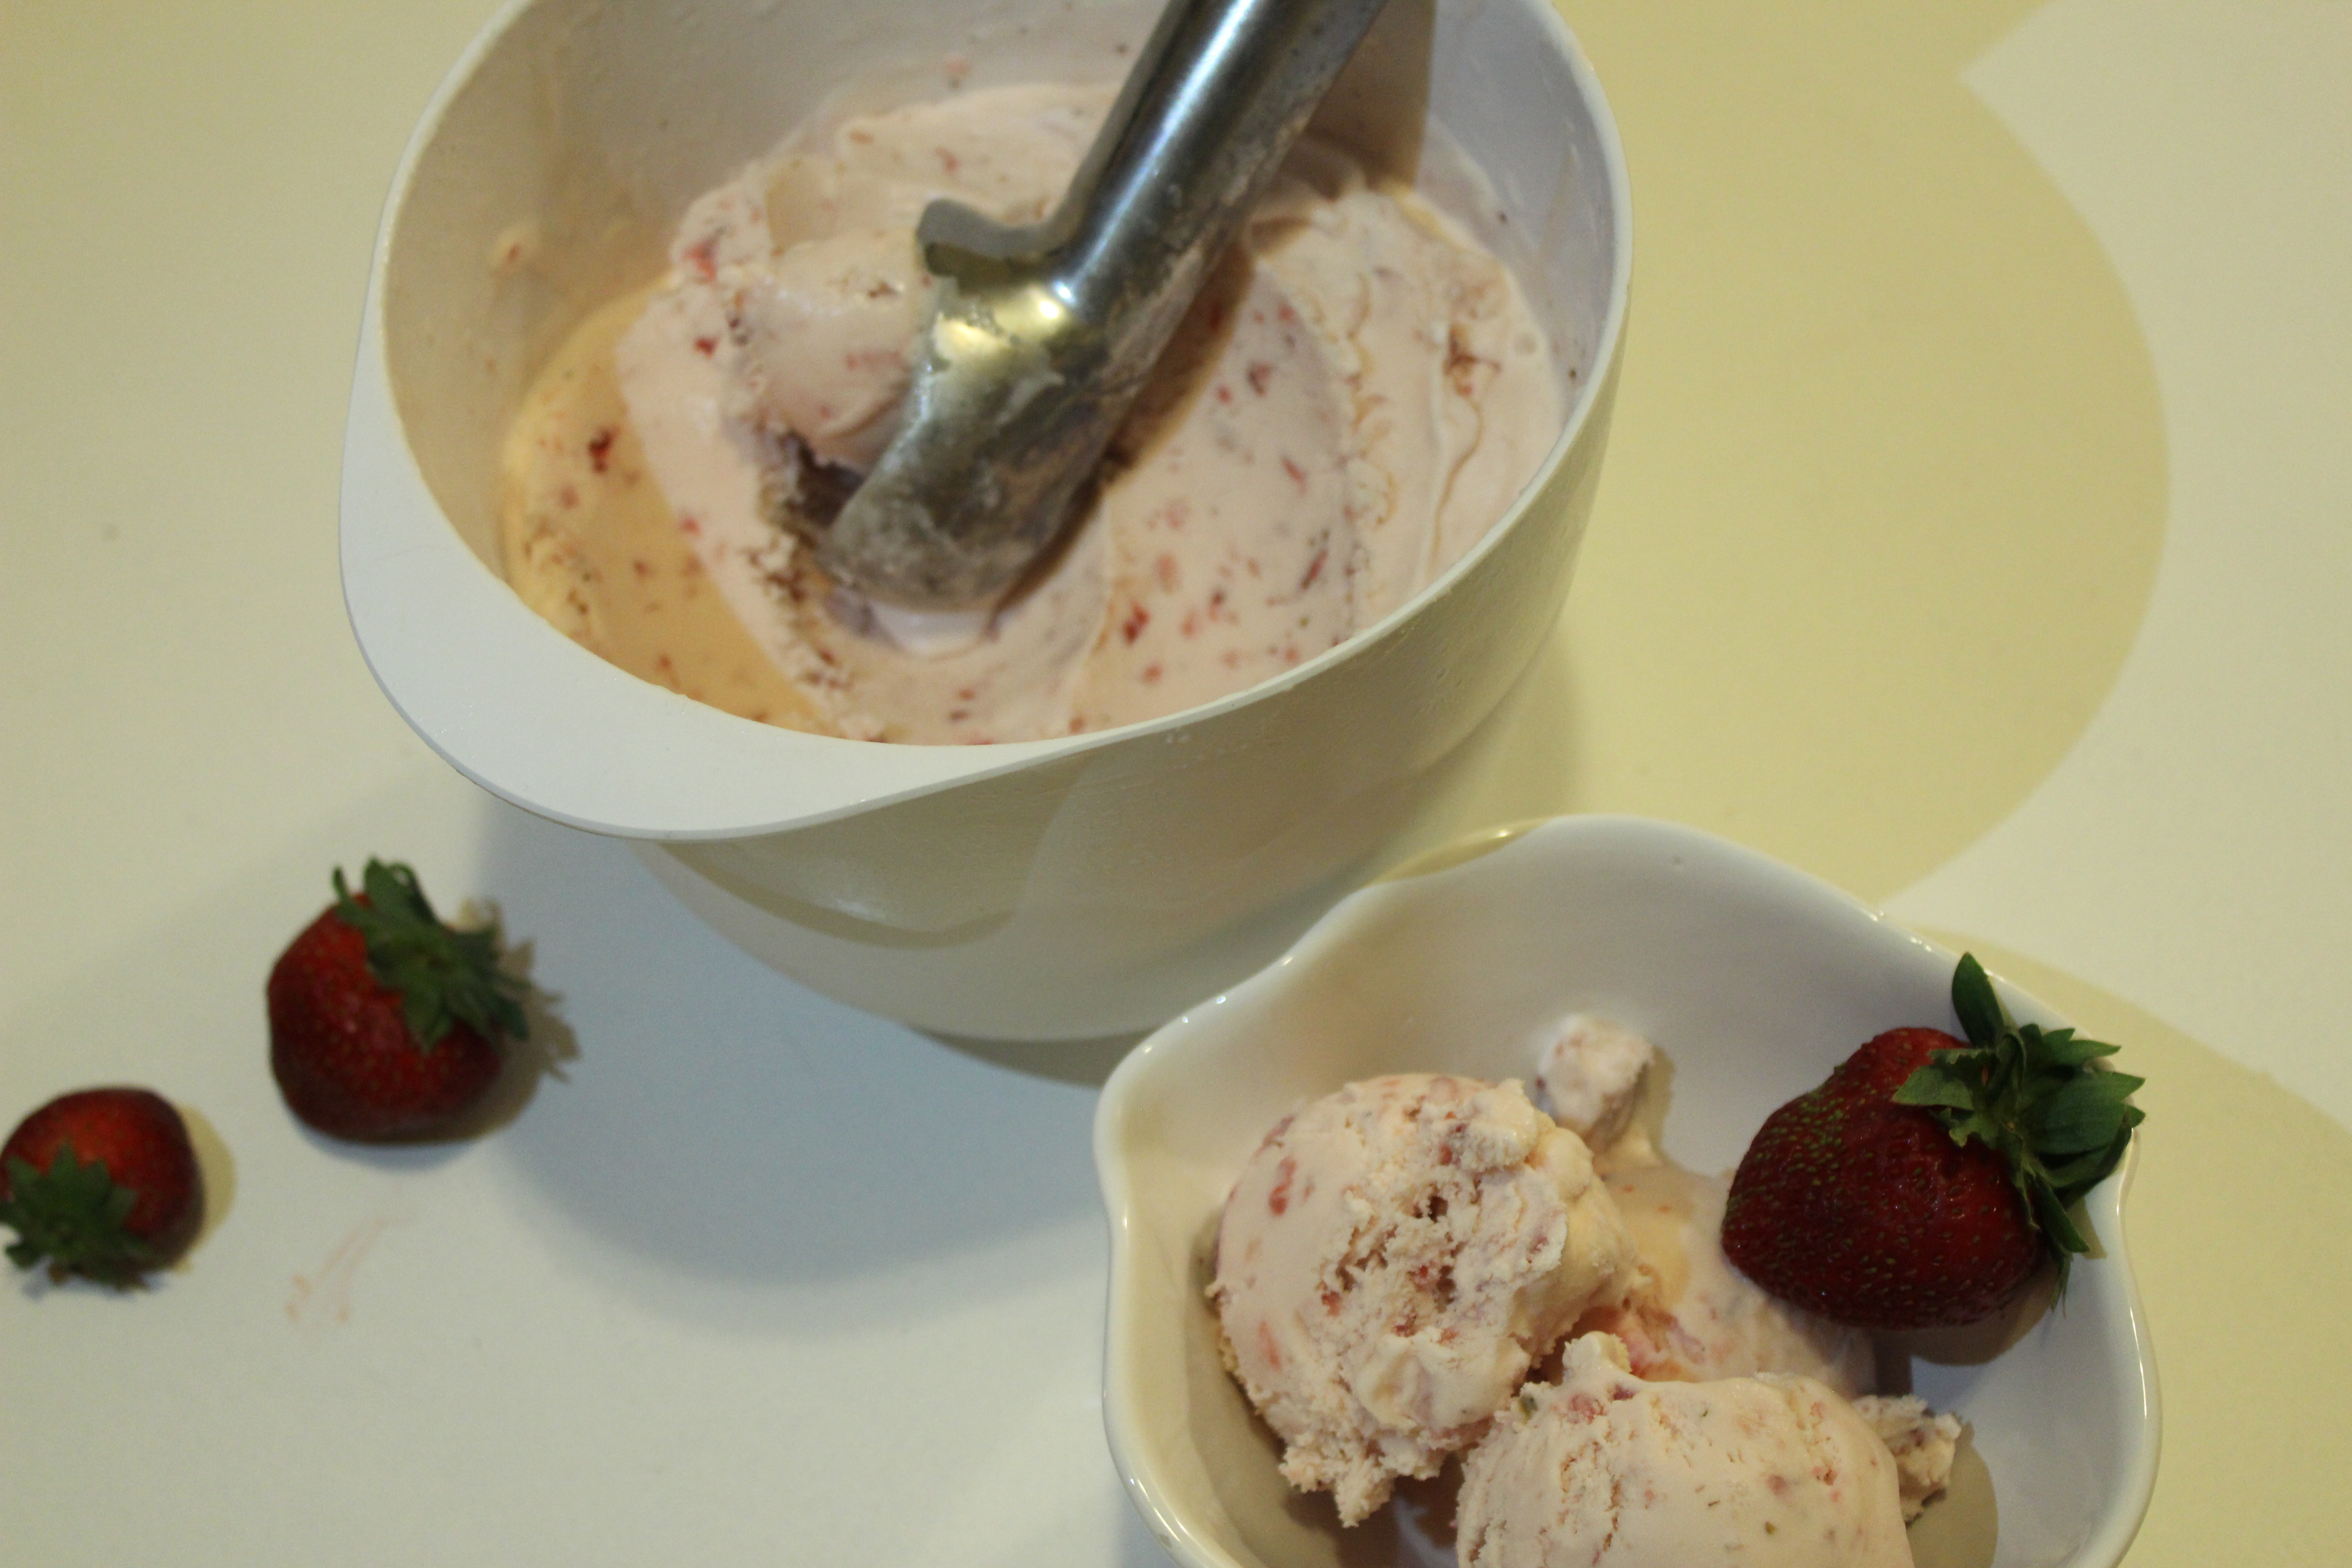

The ice cream came out beautifully. The same cannot be said for my night time photos. I have definitely not mastered indoor, evening shots. This time I set the ISO on its highest setting 6400 (not sure if this was appropriate) and set the white balance to Tungsten light. I couldn’t get the photos to not have a yellow-ish tint to them. I’m sure I’ll get to the chapter in my camera guide-book about this….or I’ll have to learn how to use photoshop.

my mother-in-law just bought me this ice cream maker! It’s the best! I love the strawberry ice cream idea. Gotta try it. I’ve only been making vanilla ice cream, and it’s still really good.
Thanks for commenting! Have fun with your ice cream maker!!