
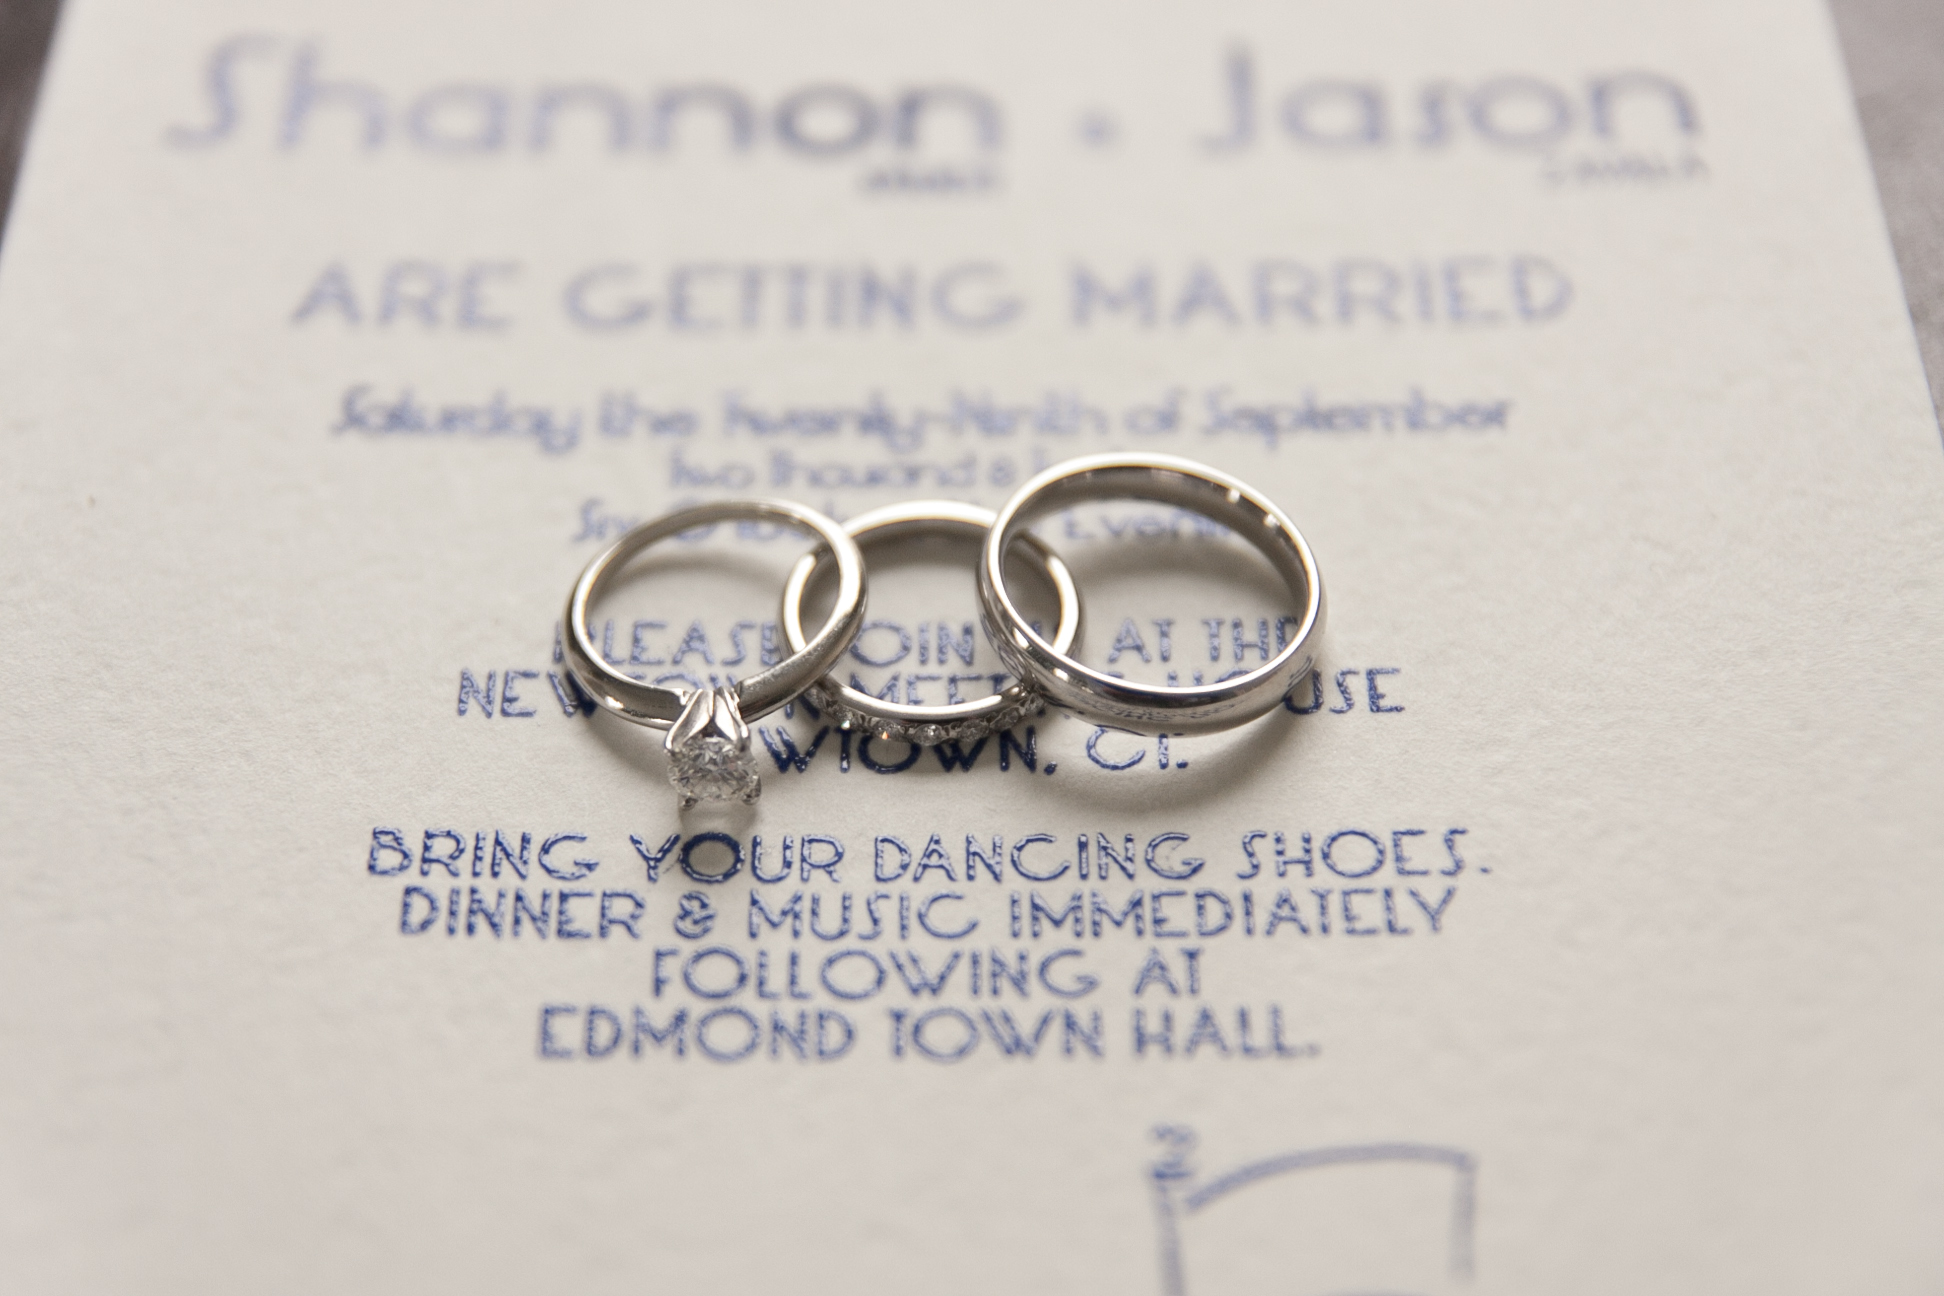
Jason and I handmade our wedding invitations. Jason designed the graphics, we wrote the text together, and I hand-stamped and embossed each one. The rest of the stationery was a combination of hand-stamped and printed out from our computer – all was designed by us. It was definitely a lot of work, but I would, without a doubt, do it again. We would not have been able to get a custom design and letter press feel at a price we could afford.

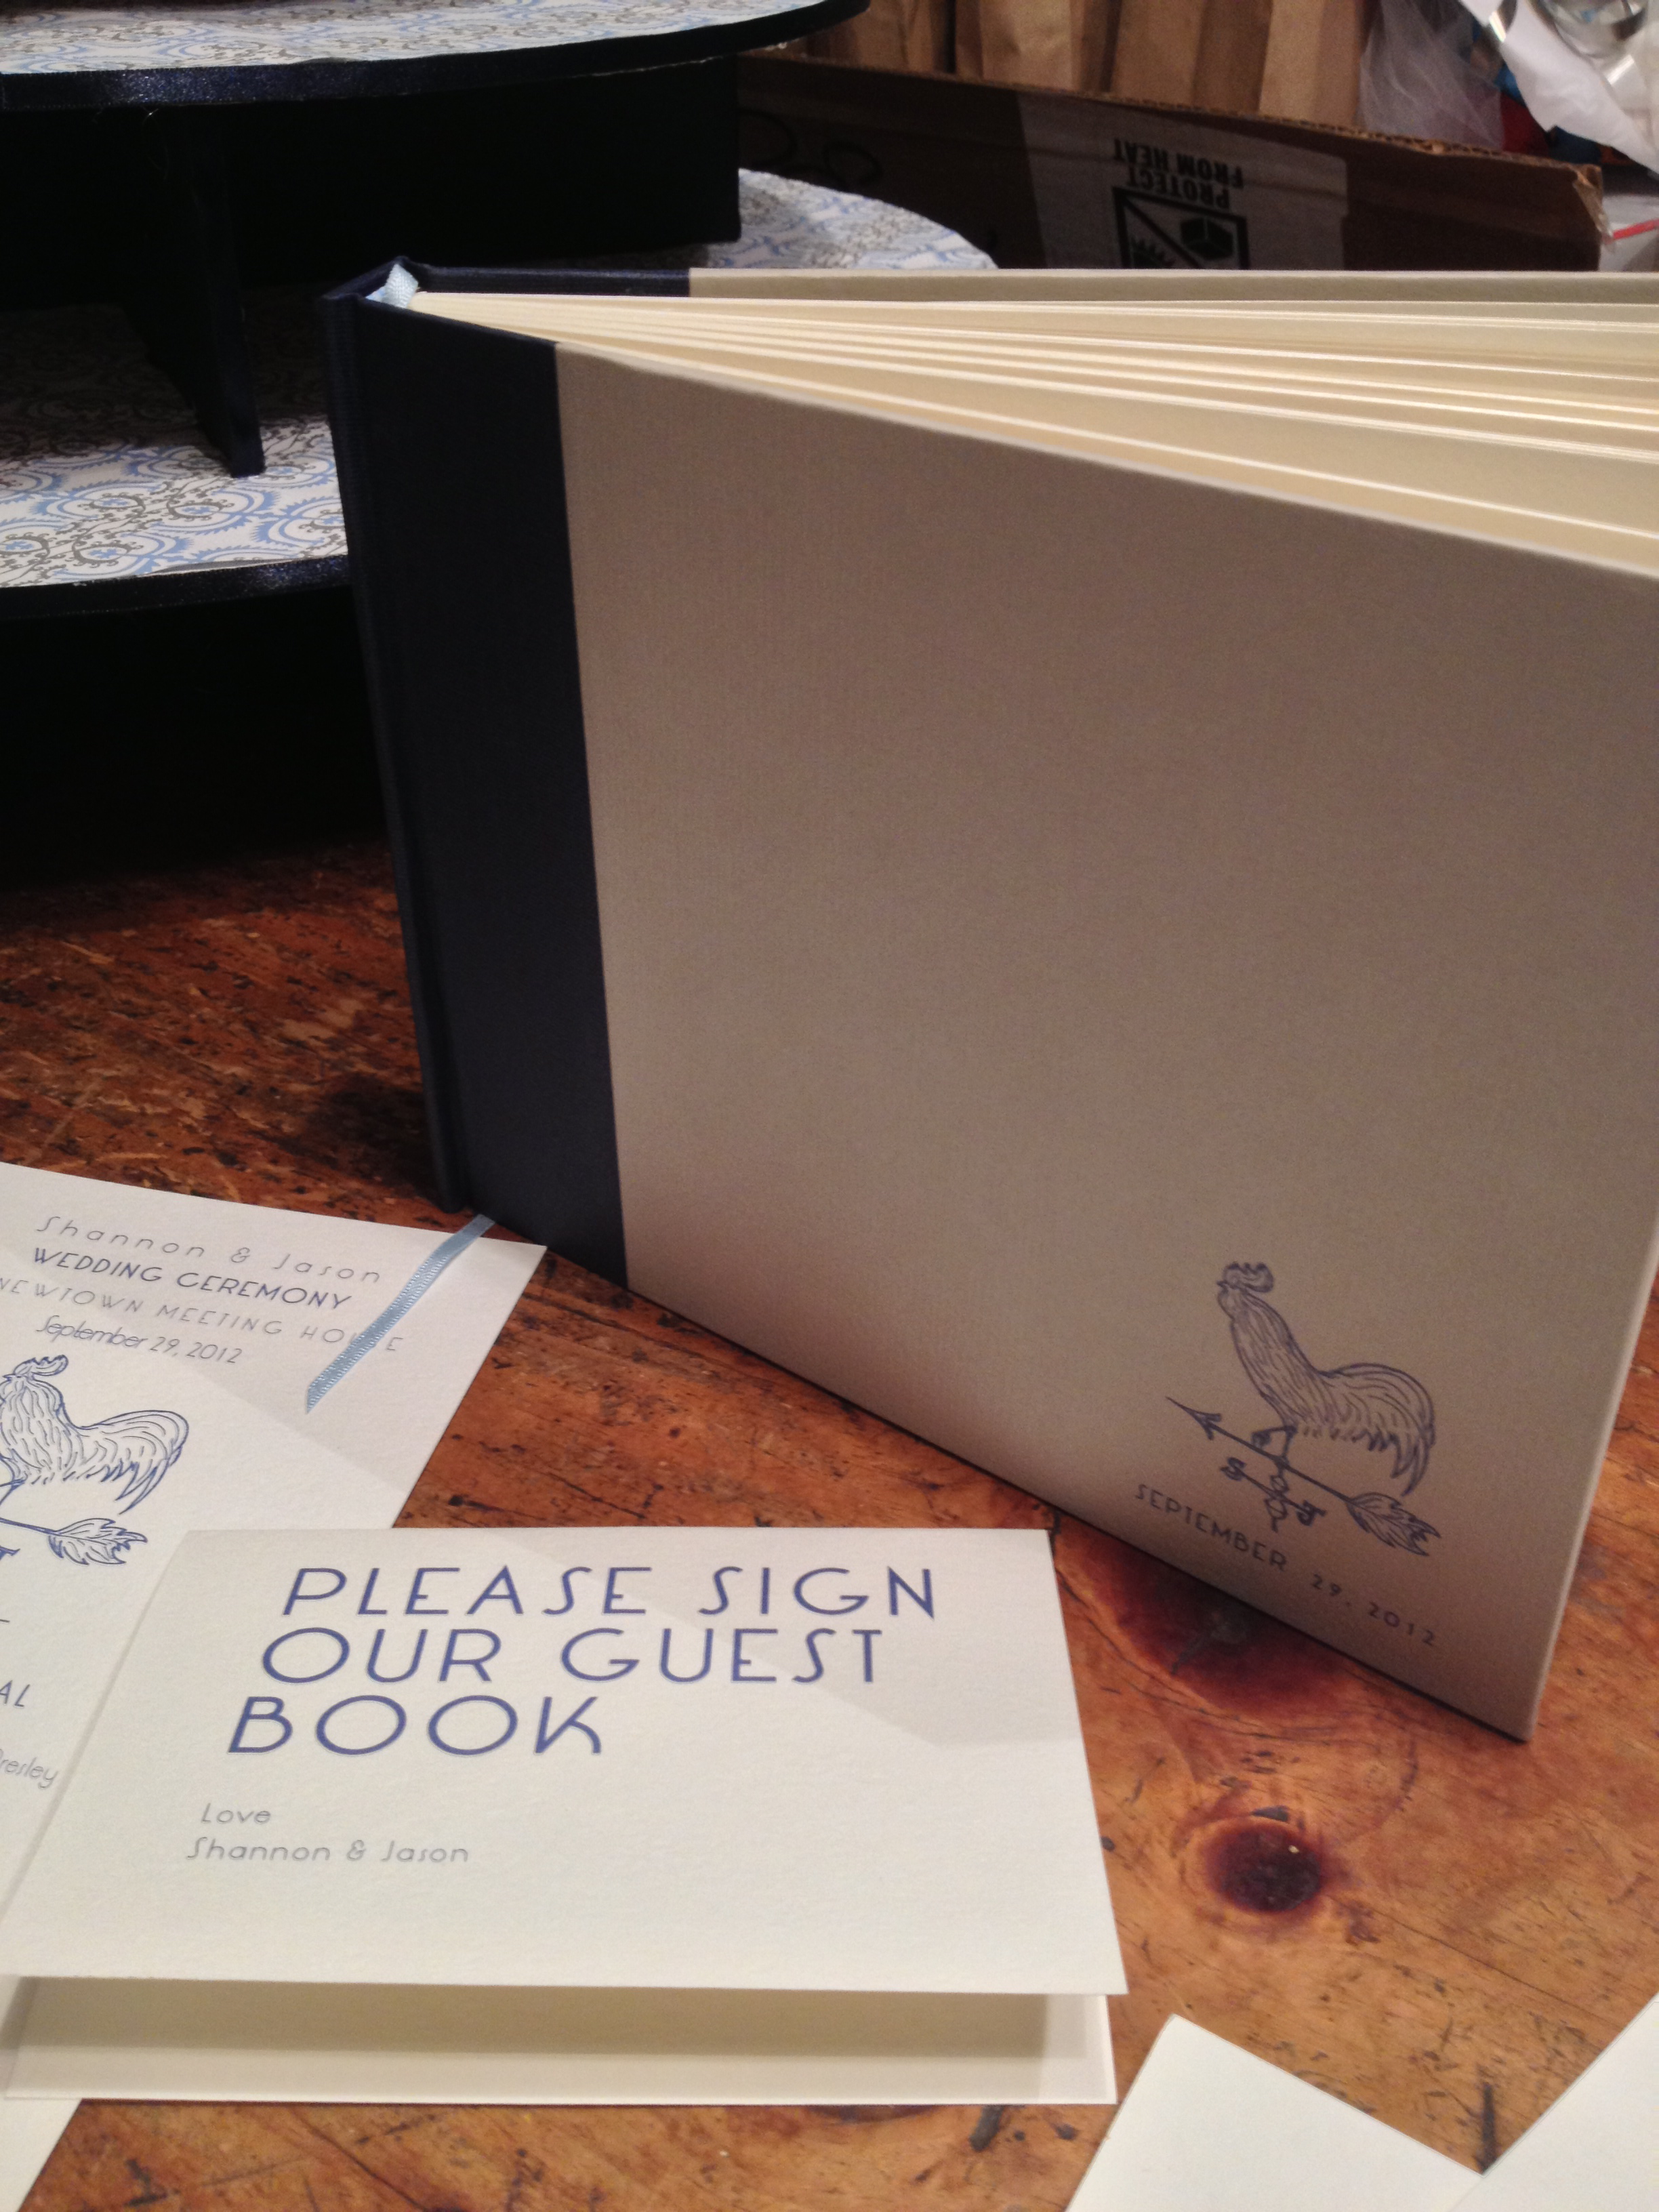
The inspiration for the stationery was my hometown, Newtown, CT. The famous flagpole in the middle of our Main ST. and the Newtown Meeting House (where we were married) graced our invitation and a close up on the meeting house’s weathervane was immortalized on our save-the-date.

The first step was designing the templates. If you’re planning to design your own invitations, give yourselves extra time to allow for creative differences. We then sent black and white PDFs to an artist we found on Etsy: Blossom Stamps, who turned them into rubber stamps!


The next step was to make the stationery. We exclusively relied on The Paper Source for, you guessed it, our paper. We went with luxe white for our color. A7 is the standard paper size for an invitation (5 x 7″), 4bar for the response card enclosure, and A2 for the save-the dates. They also sell envelopes that perfectly fit each of these cards. Here is a money saving and sanity saving tip: buy a bulk pack (50 sheets) of 8.5 x 11″ paper. Many printers freak out when trying to print on smaller sheets, so you can print 4 copies of the save-the-date (4 A2 cards fit perfectly) and response cards (you’ll have to trim the edges) on each sheet. We got a cheap paper cutter and it was up to the task.

Our save-the-date was half printed and half stamped. As I mentioned, the save-the-dates were first printed on 8.5 x 11″ cover stock and cut into 4 cards. Next, each card was stamped and embossed one at a time. We chose Colorbox Midnight for our ink and clear superfine detail embossing powder. When you’re using a colored ink, clear embossing powder is used (this is the opposite of my holiday gift tag post in which clear ink and colored powder were used).

The invitation itself was entirely stamped. Because the area of stamp was so large, I laid it rubber-side up on the table and pressed the stamp pad onto it to apply the ink. Once the A7 paper was stamped, I dumped a generous amount of embossing powder onto the wet ink and then poured the excess back into the container. I next used my heat tool to melt the individual bits of embossing powder together, created a raised texture.
If you click on the picture below, you can see the texture.
If you’re not up for making your own invitations and accompanying enclosures, I would definitely recommend lining your own envelopes. Its really easy, fairly inexpensive, and adds so much to the experience when a guest opens their invitation. We used wrapping paper from the paper source.

To make envelope liners, you basically just trace the outline of an open envelope onto a piece of card stock and then trim 1/8th of an inch from each edge. Viola! You now have a template that can be traced onto a sheet of wrapping paper and cut out. Using a glue stick, add a thin layer of glue to the entirety of the inside of the envelope flap; there is no need to glue inside the envelope as gravity will do the trick. Finally, stick the liner into the envelope and press the top of it into the glue. So incredibly easy and I think it makes the invitation seem so much more fancy.

Here’s the order of operations if you’re lining your envelopes: 1) use computer printer to print address, 2) return address stamp the flap (self-inking stamper pictured above), 3) line the envelope.
The price to mail our invitation (A7 card, lined A7 envelope, 4bar response card, and 4bar envelope) was 45 cents (the price of one stamp). I was disappointed with the stamp selection at my local post office (breast cancer or flags), so I took to USPS.com and found weathervane stamps!! Yes, weathervanes! If you’ve made it this far into this blog post and you actually noticed the coordinating stamps on our invitations, I want to hear about in the comments or on facebook. Validate me :).

Finally, there was plenty of paper left over for other wedding-related paper products:
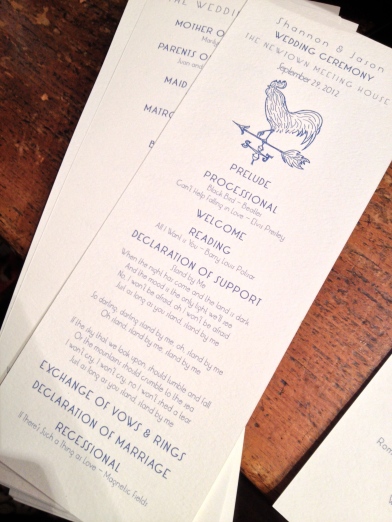
Ceremony programs were printed double-sided on 8.5 x 11 paper – 2 copies per page.

Menu cards were printed on A7 paper

Escort cards were printed on pre-perforated paper. They also came with a downloaded template. You can see that we re-used some of envelope liner wrapping paper underneath the escort cards to tie things together.


Forwarded this to at least two people who are looking for tips on homemade invitations! trend-setter. taste-maker,
Thanks Maya! I’m so happy that people might find our process helpful. It started as a way to save money but really became a labor of love!
Just curious, did you end up saving a lot of money on these (they are gorgeous by the way)?
Hi Lyndsay,
Thank you for your comment. These weren’t exactly budget, but they didn’t break the bank either. For us, it was a savings because if we didn’t make them ourselves, we would have wanted a letterpress suite, which could have easily cost over 1000 dollars. We invited 130 people, mostly couples, so we ended up needing 75 total invitations. The total cost for everything was $300 dollars. Here’s a breakdown (with most everything purchased at paper source):
4 packs of A7 notecards in luxe white (for invitation): $21.00
10 packs of A7 envelopes in luxe white (for invitation): $45.00
Bulk pack of cover weight luxe white 8.5 x 11 paper (for response cards and save the dates): $51.00 We printed our save the dates and response cards 4 to a sheet and used a paper cutter ($21 at target) to trim them down. We eventually bought another pack of this to make all our programs and reception menus.
10 packs of 4bar envelopes (for response cards): $31.50
10 packs of A2 envelopes (for save the dates): $33.80
2 stamp ink pads: $13.90
2 jars of clear embossing powder: $9.90
Embossing heat tool: $23.95
Wrapping paper to line main invitation envelopes: $18.00
Custom stamps from etsy: $50 ish
note: this quantities allowed for about 25 extra of everything to allow for the learning curve the went with producing these products.
Shannon
OMG these are so inspirational! Thank you for sharing 🙂 🙂