Happy Valentine’s Day! 
Since my blogging career has been on hiatus, I needed an easy low-cost (in terms of time) craft to get me back on track. Fabric envelopes featured in the February’s Martha Stewart Living were perfect! The only thing I had to purchase was Valentine’s Day appropriate fabric as I had the other supplies (decoupage finish, paintbrush, waxed paper, paper envelope, and skirt hanger) on hand.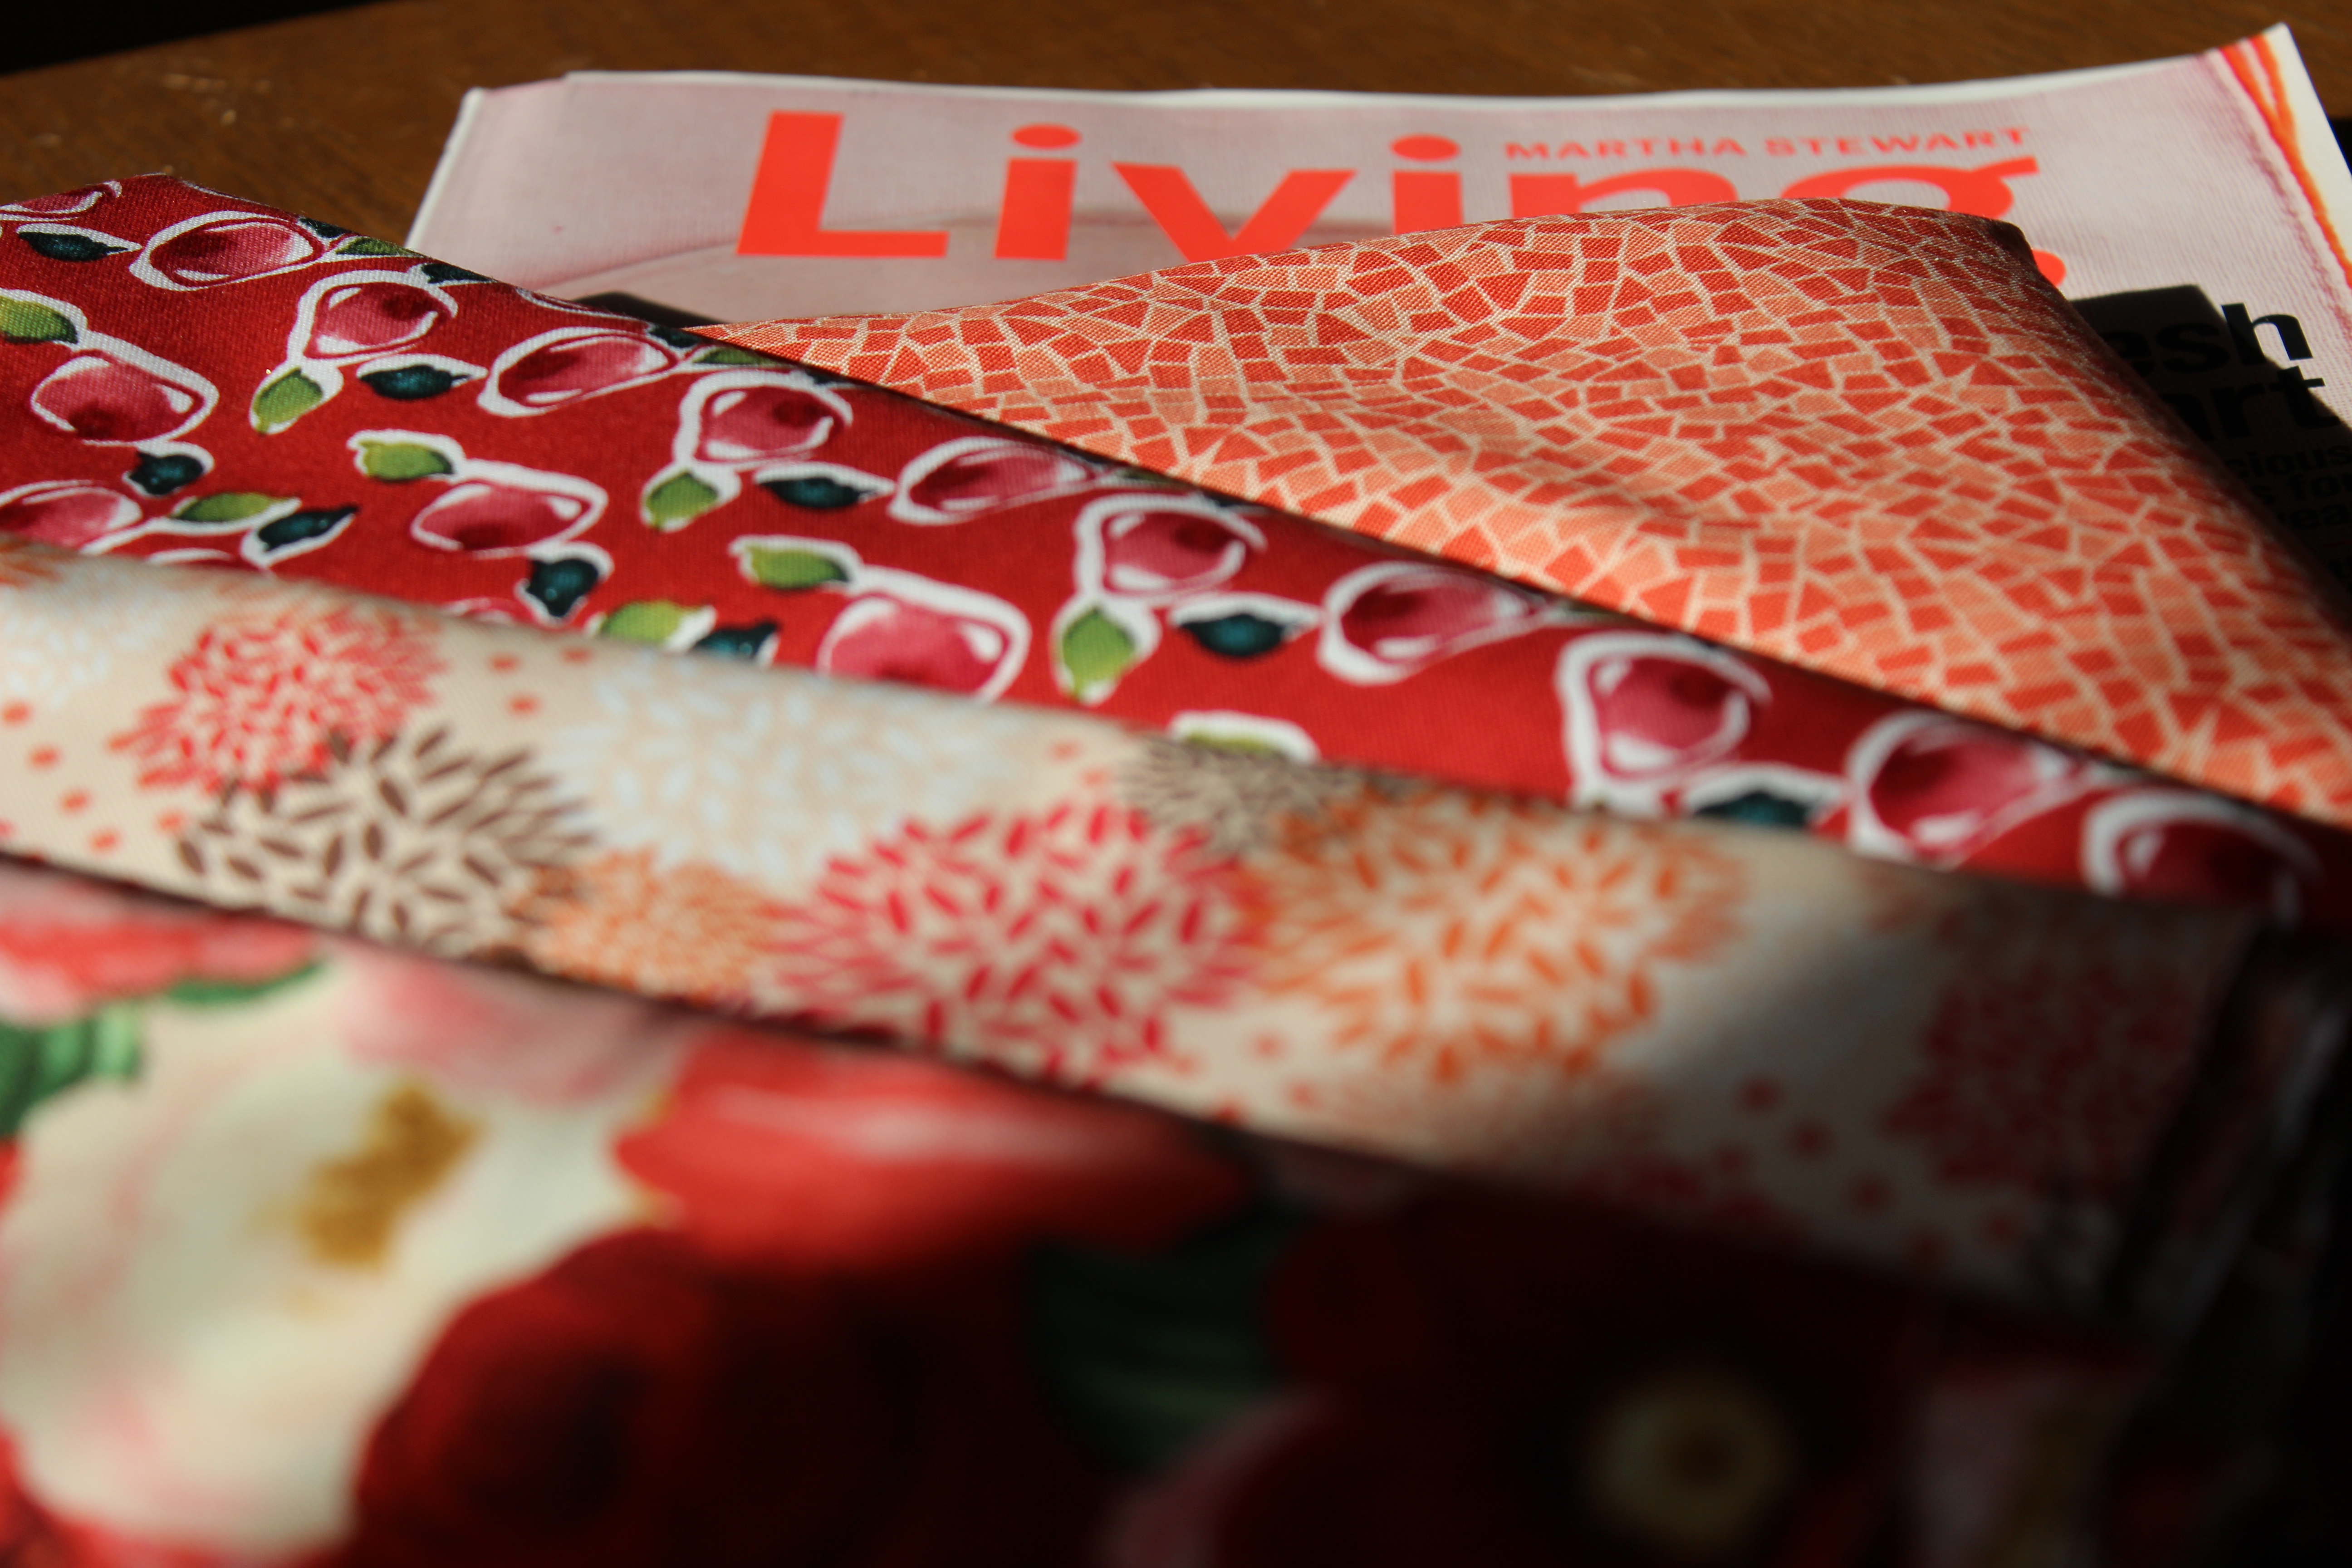
I got one yard of four different bright prints; at $2.99 a yard, my total was just under $12.00. I only ended up using a half yard of each fabric which made 26 envelopes.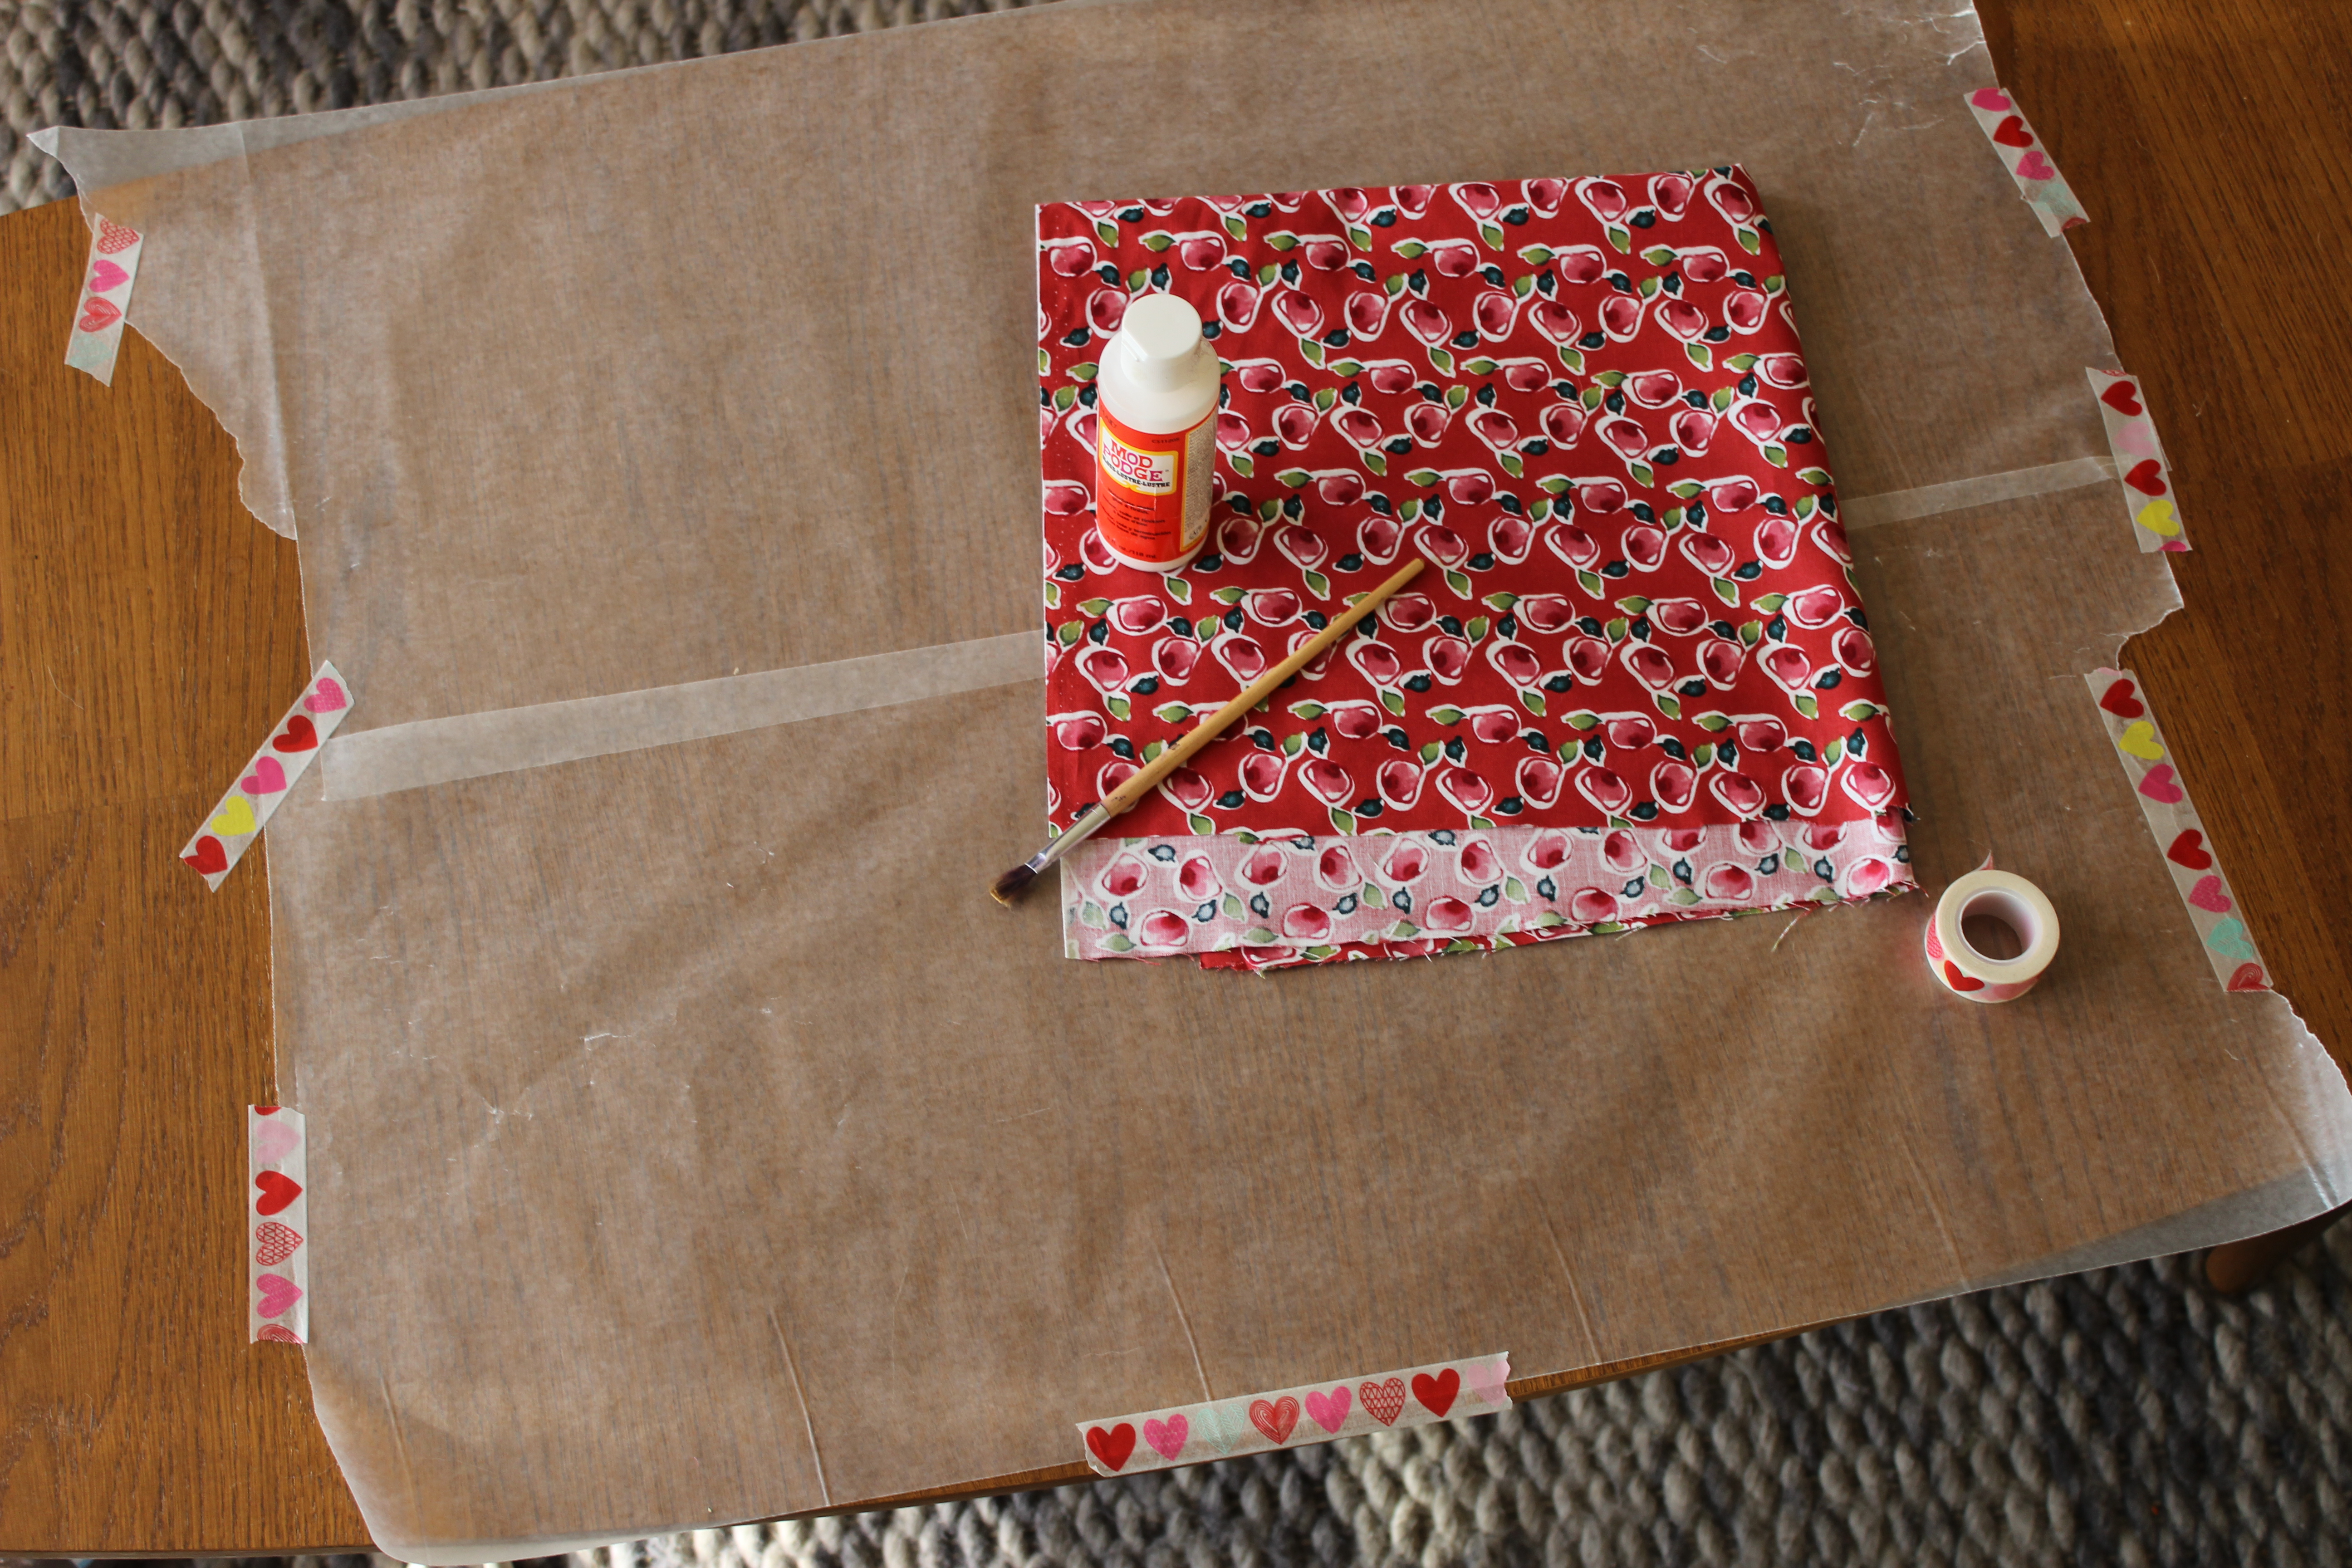
The first order of business was to protect my work surface with waxed paper. I secured it in place with my favorite Target impulse purchase of the month: heart masking tape!
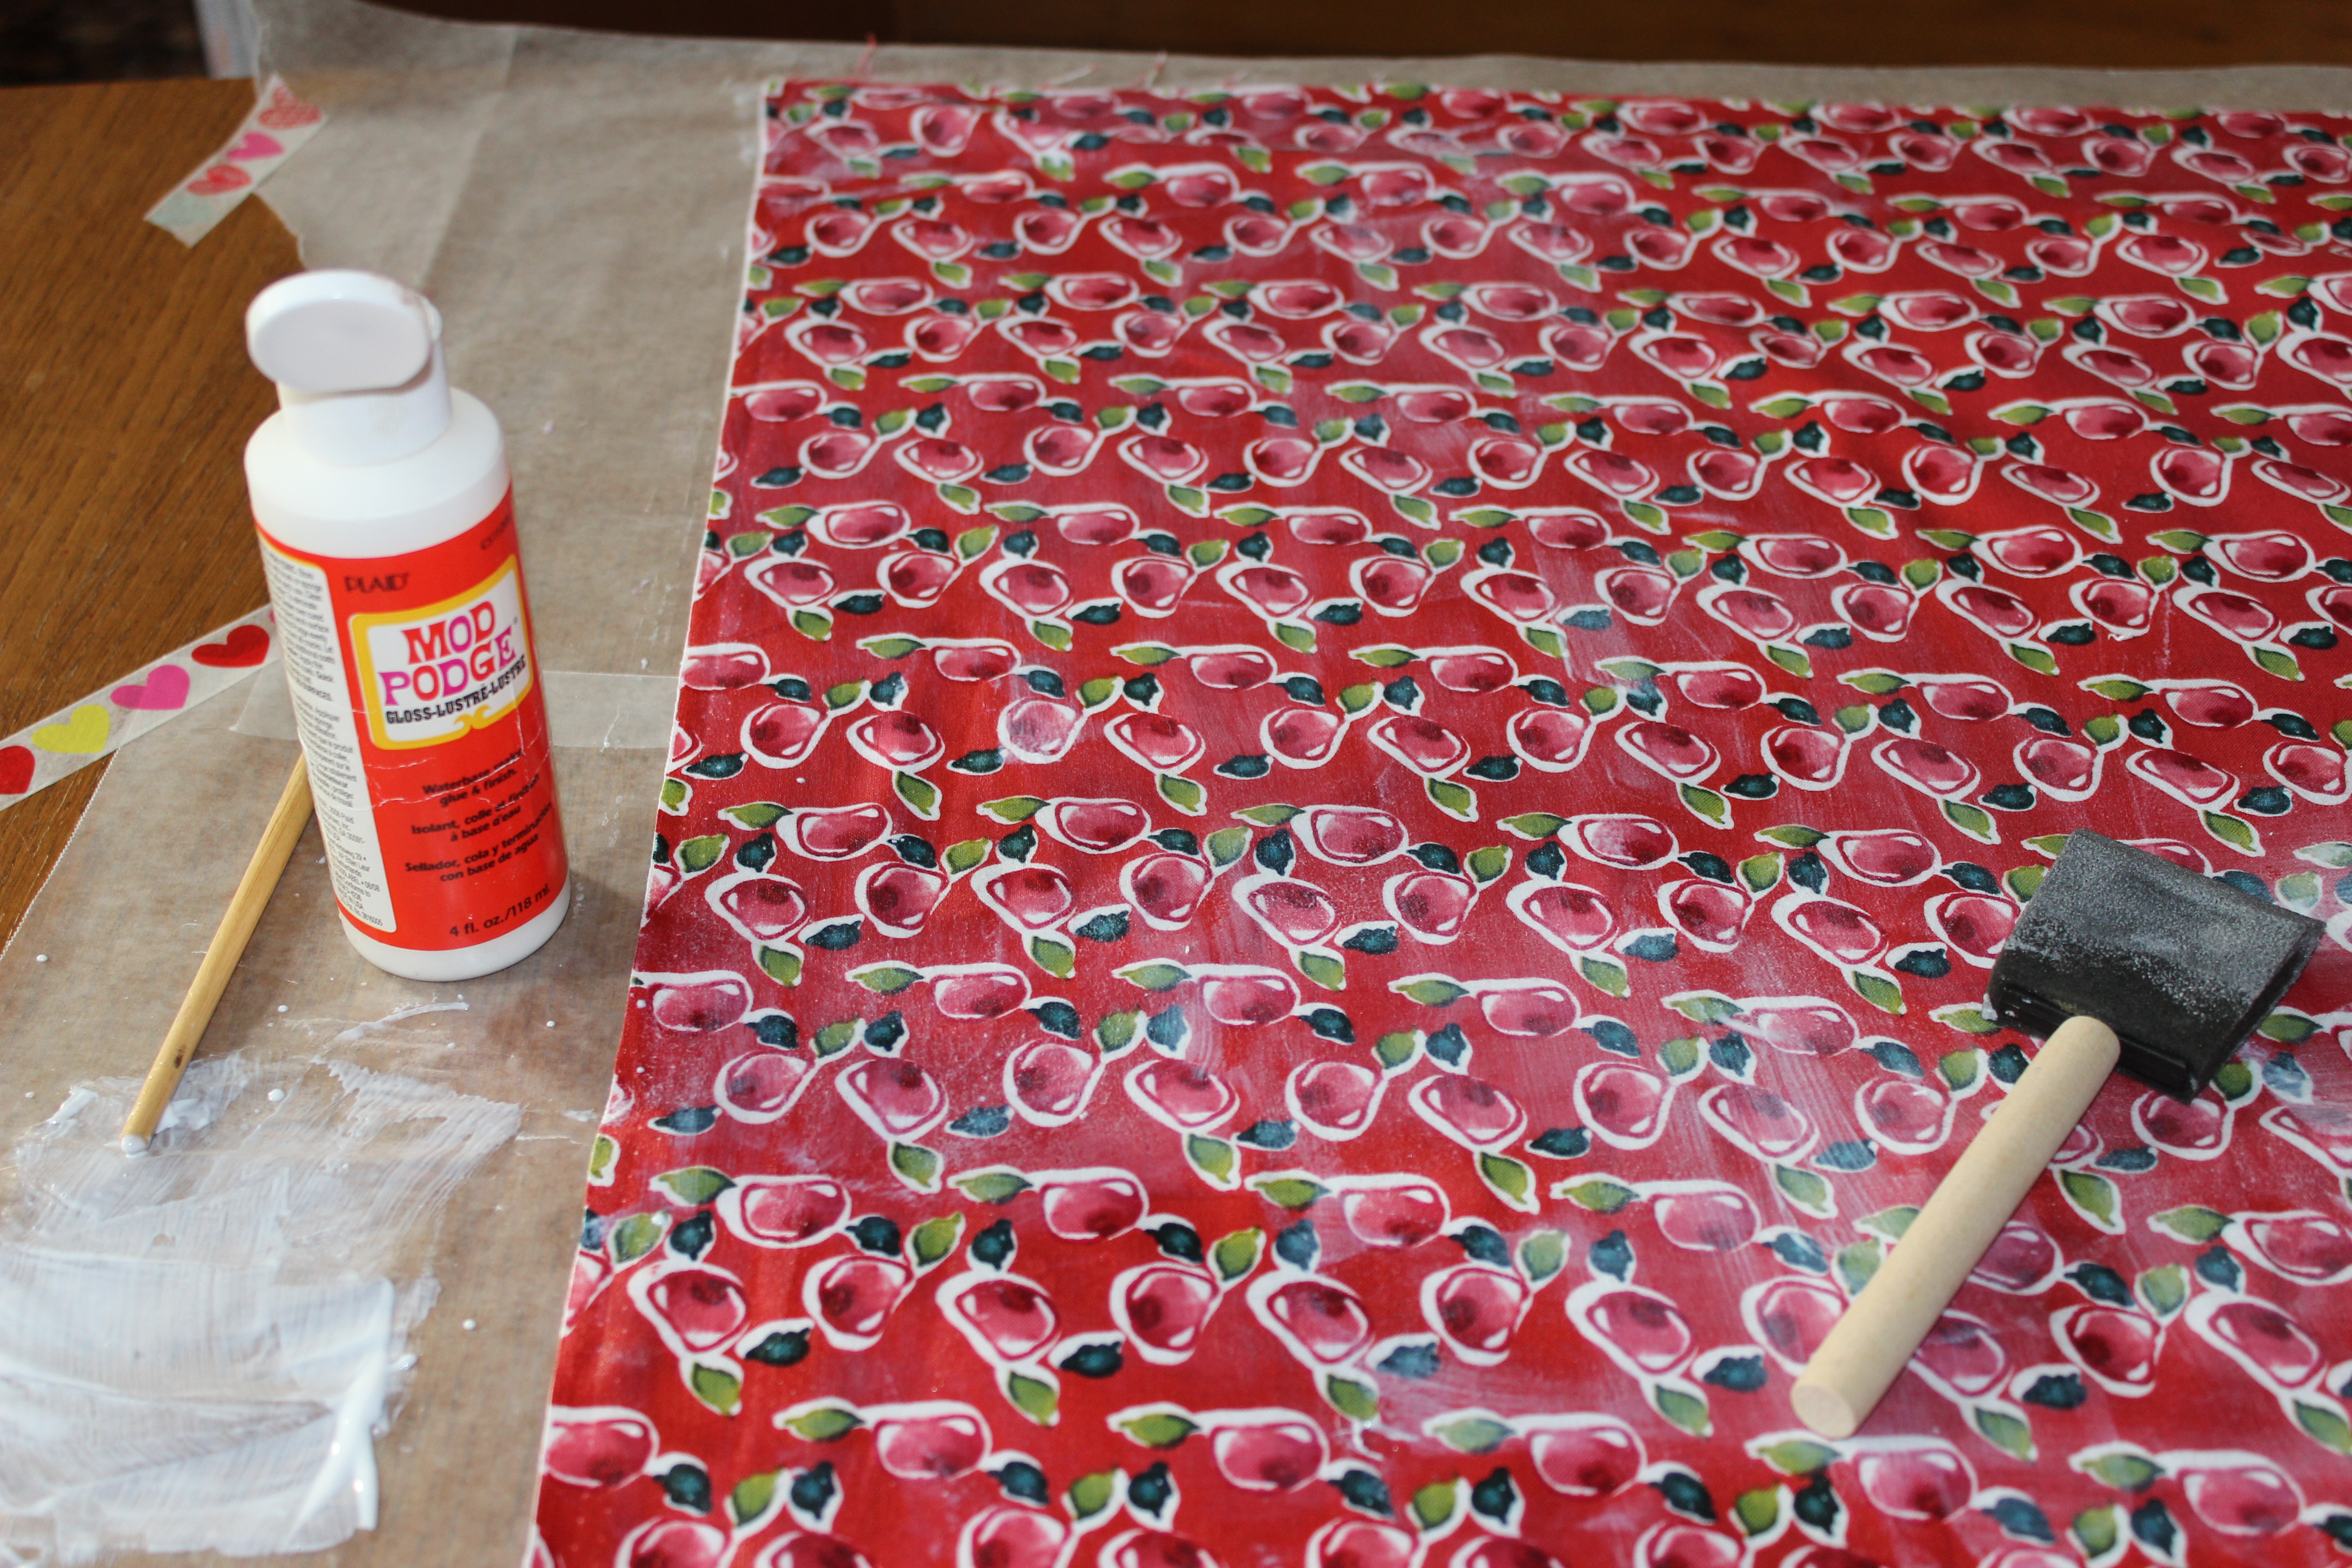
Next, I brushed the decoupage finish on both sides of the fabric. I started with the back-side so that when I flipped the fabric to do the front, any smudges would not be visible once I folded the envelopes. After thoroughly coating both sides, I clipped the fabric to a skirt hanger and let it dry over the shower rod for one hour.
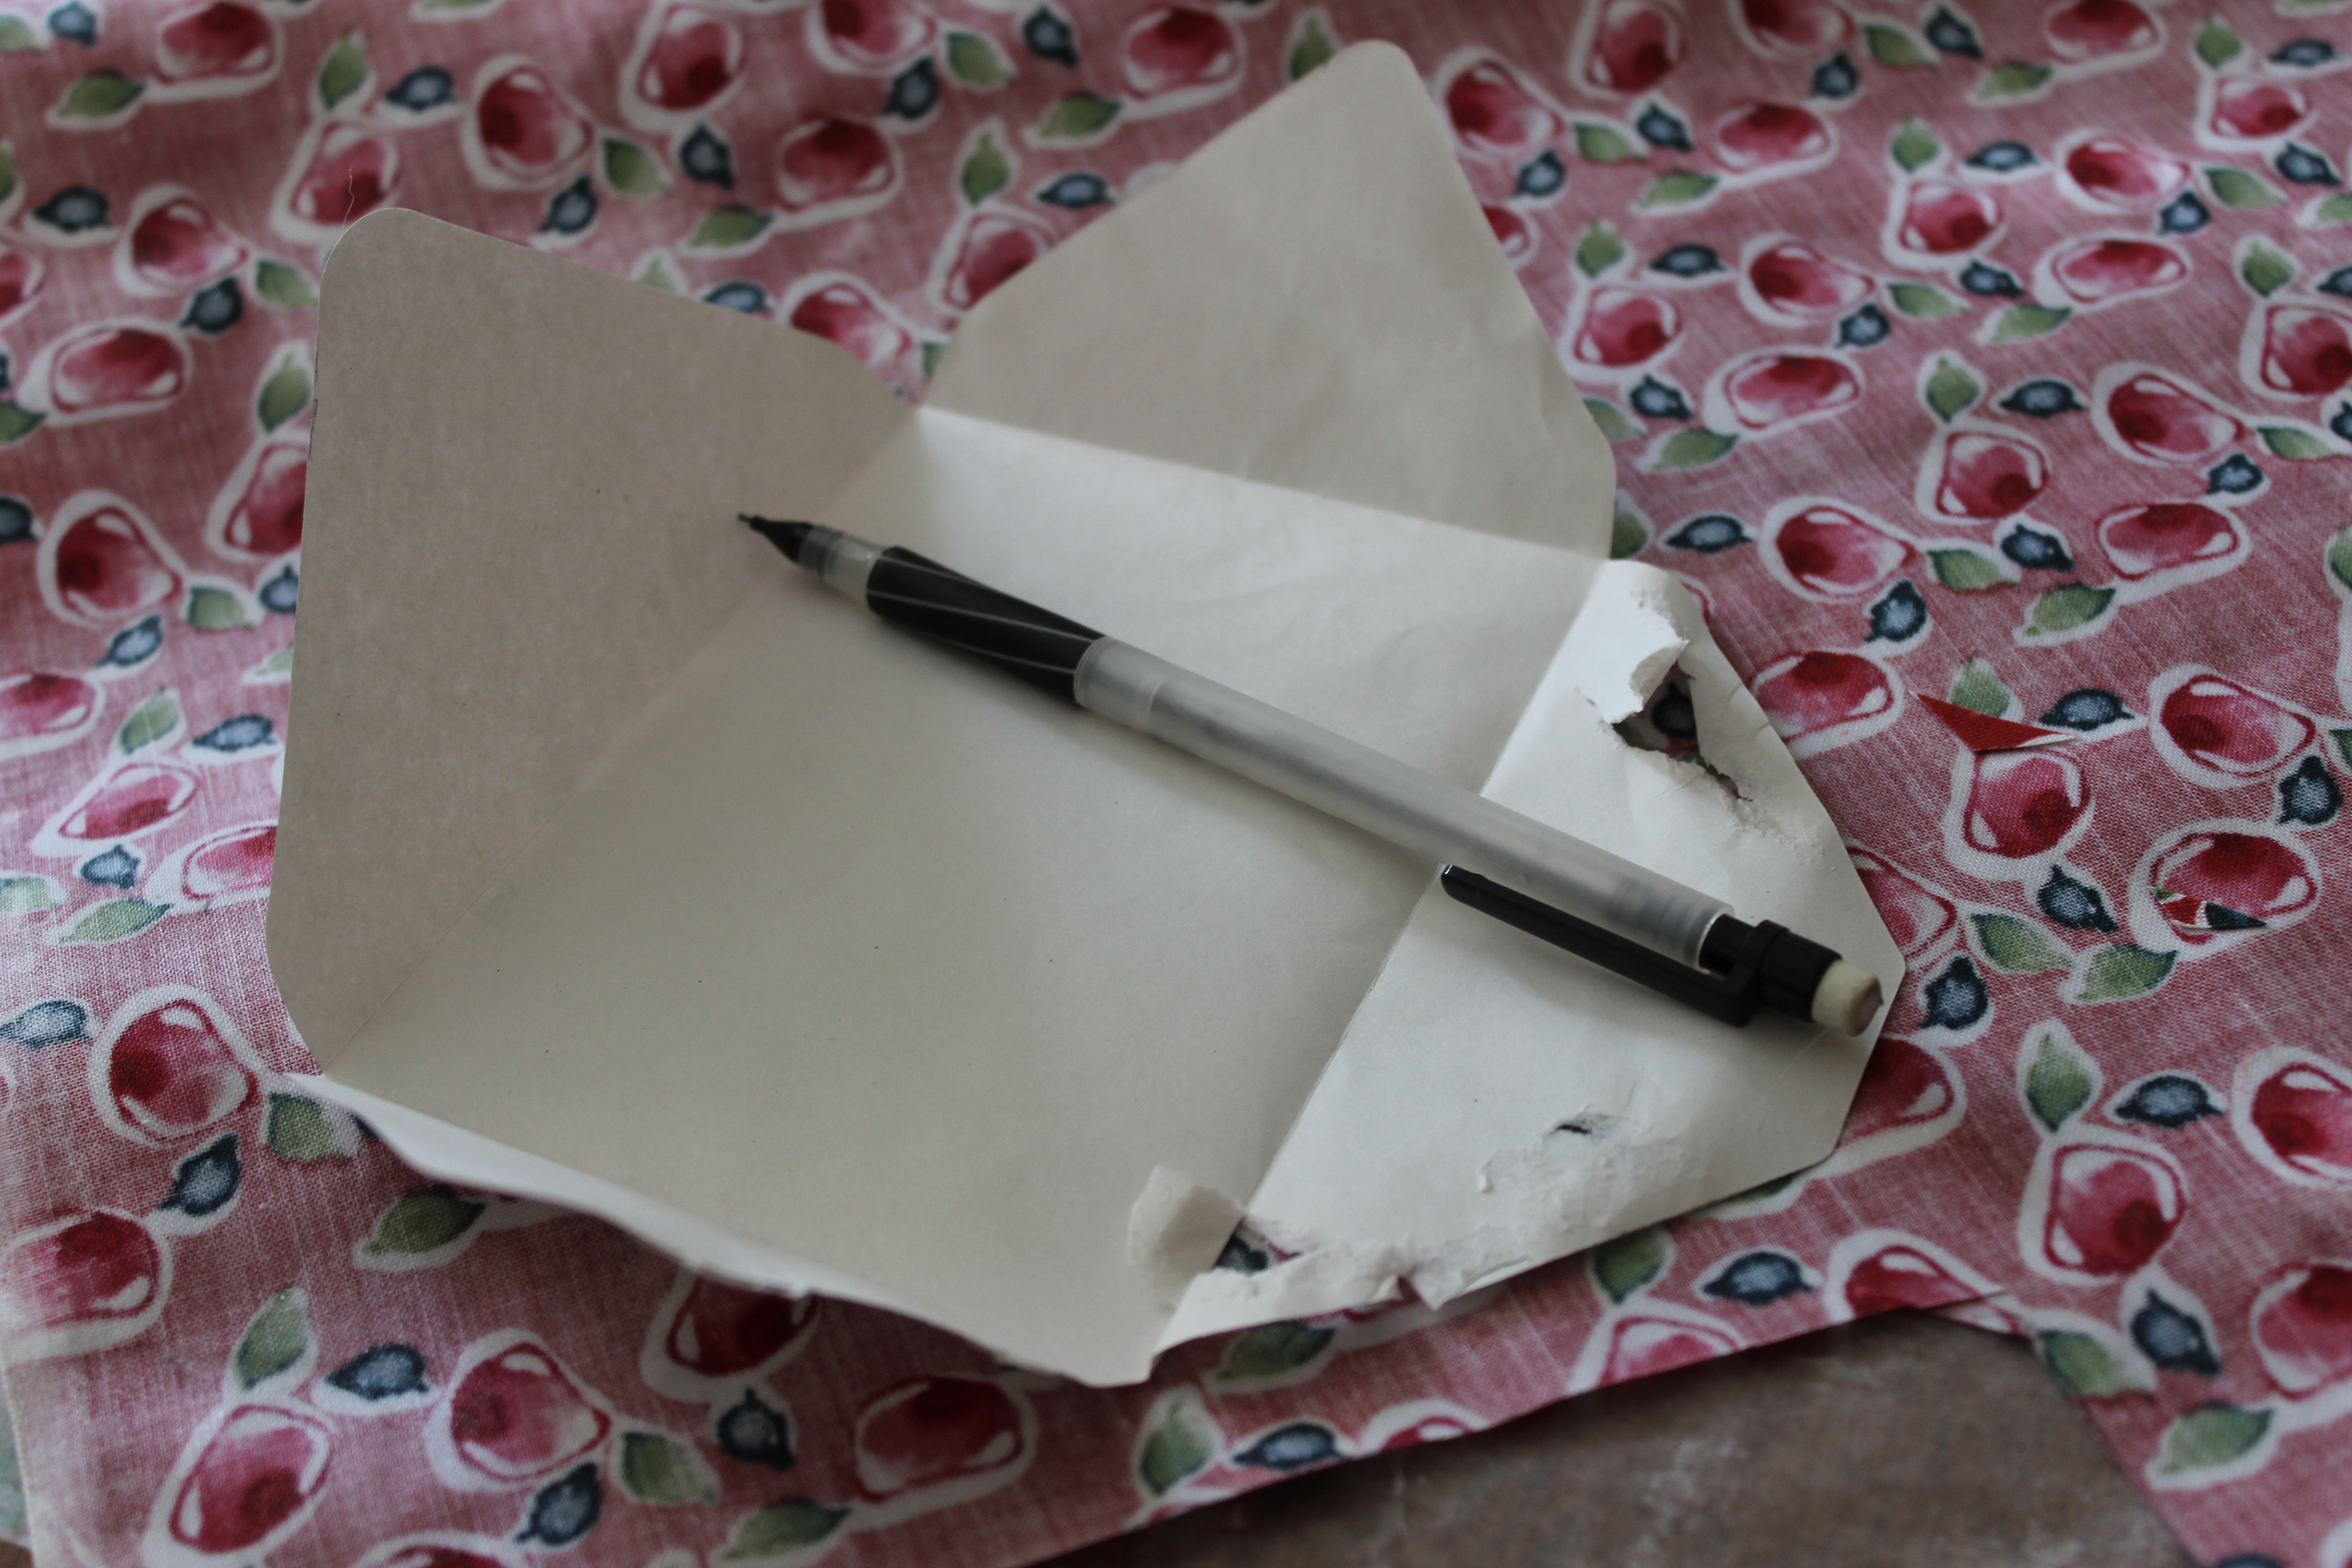
After drying, the fabric was surprisingly stiff. I say “surprisingly” because I had no idea what to expect and frankly my crafts never turn out looking quite alike they do in the magazines. I laid the sheet of fabric back on my work surface and traced an opened paper envelope as a guide to cut the fabric. The pencil worked perfectly, showing up clearly on the dried decoupaged fabric. I used an A4 envelope for this because I wanted my fabric envelopes to be be dainty for Valentine’s Day cards.
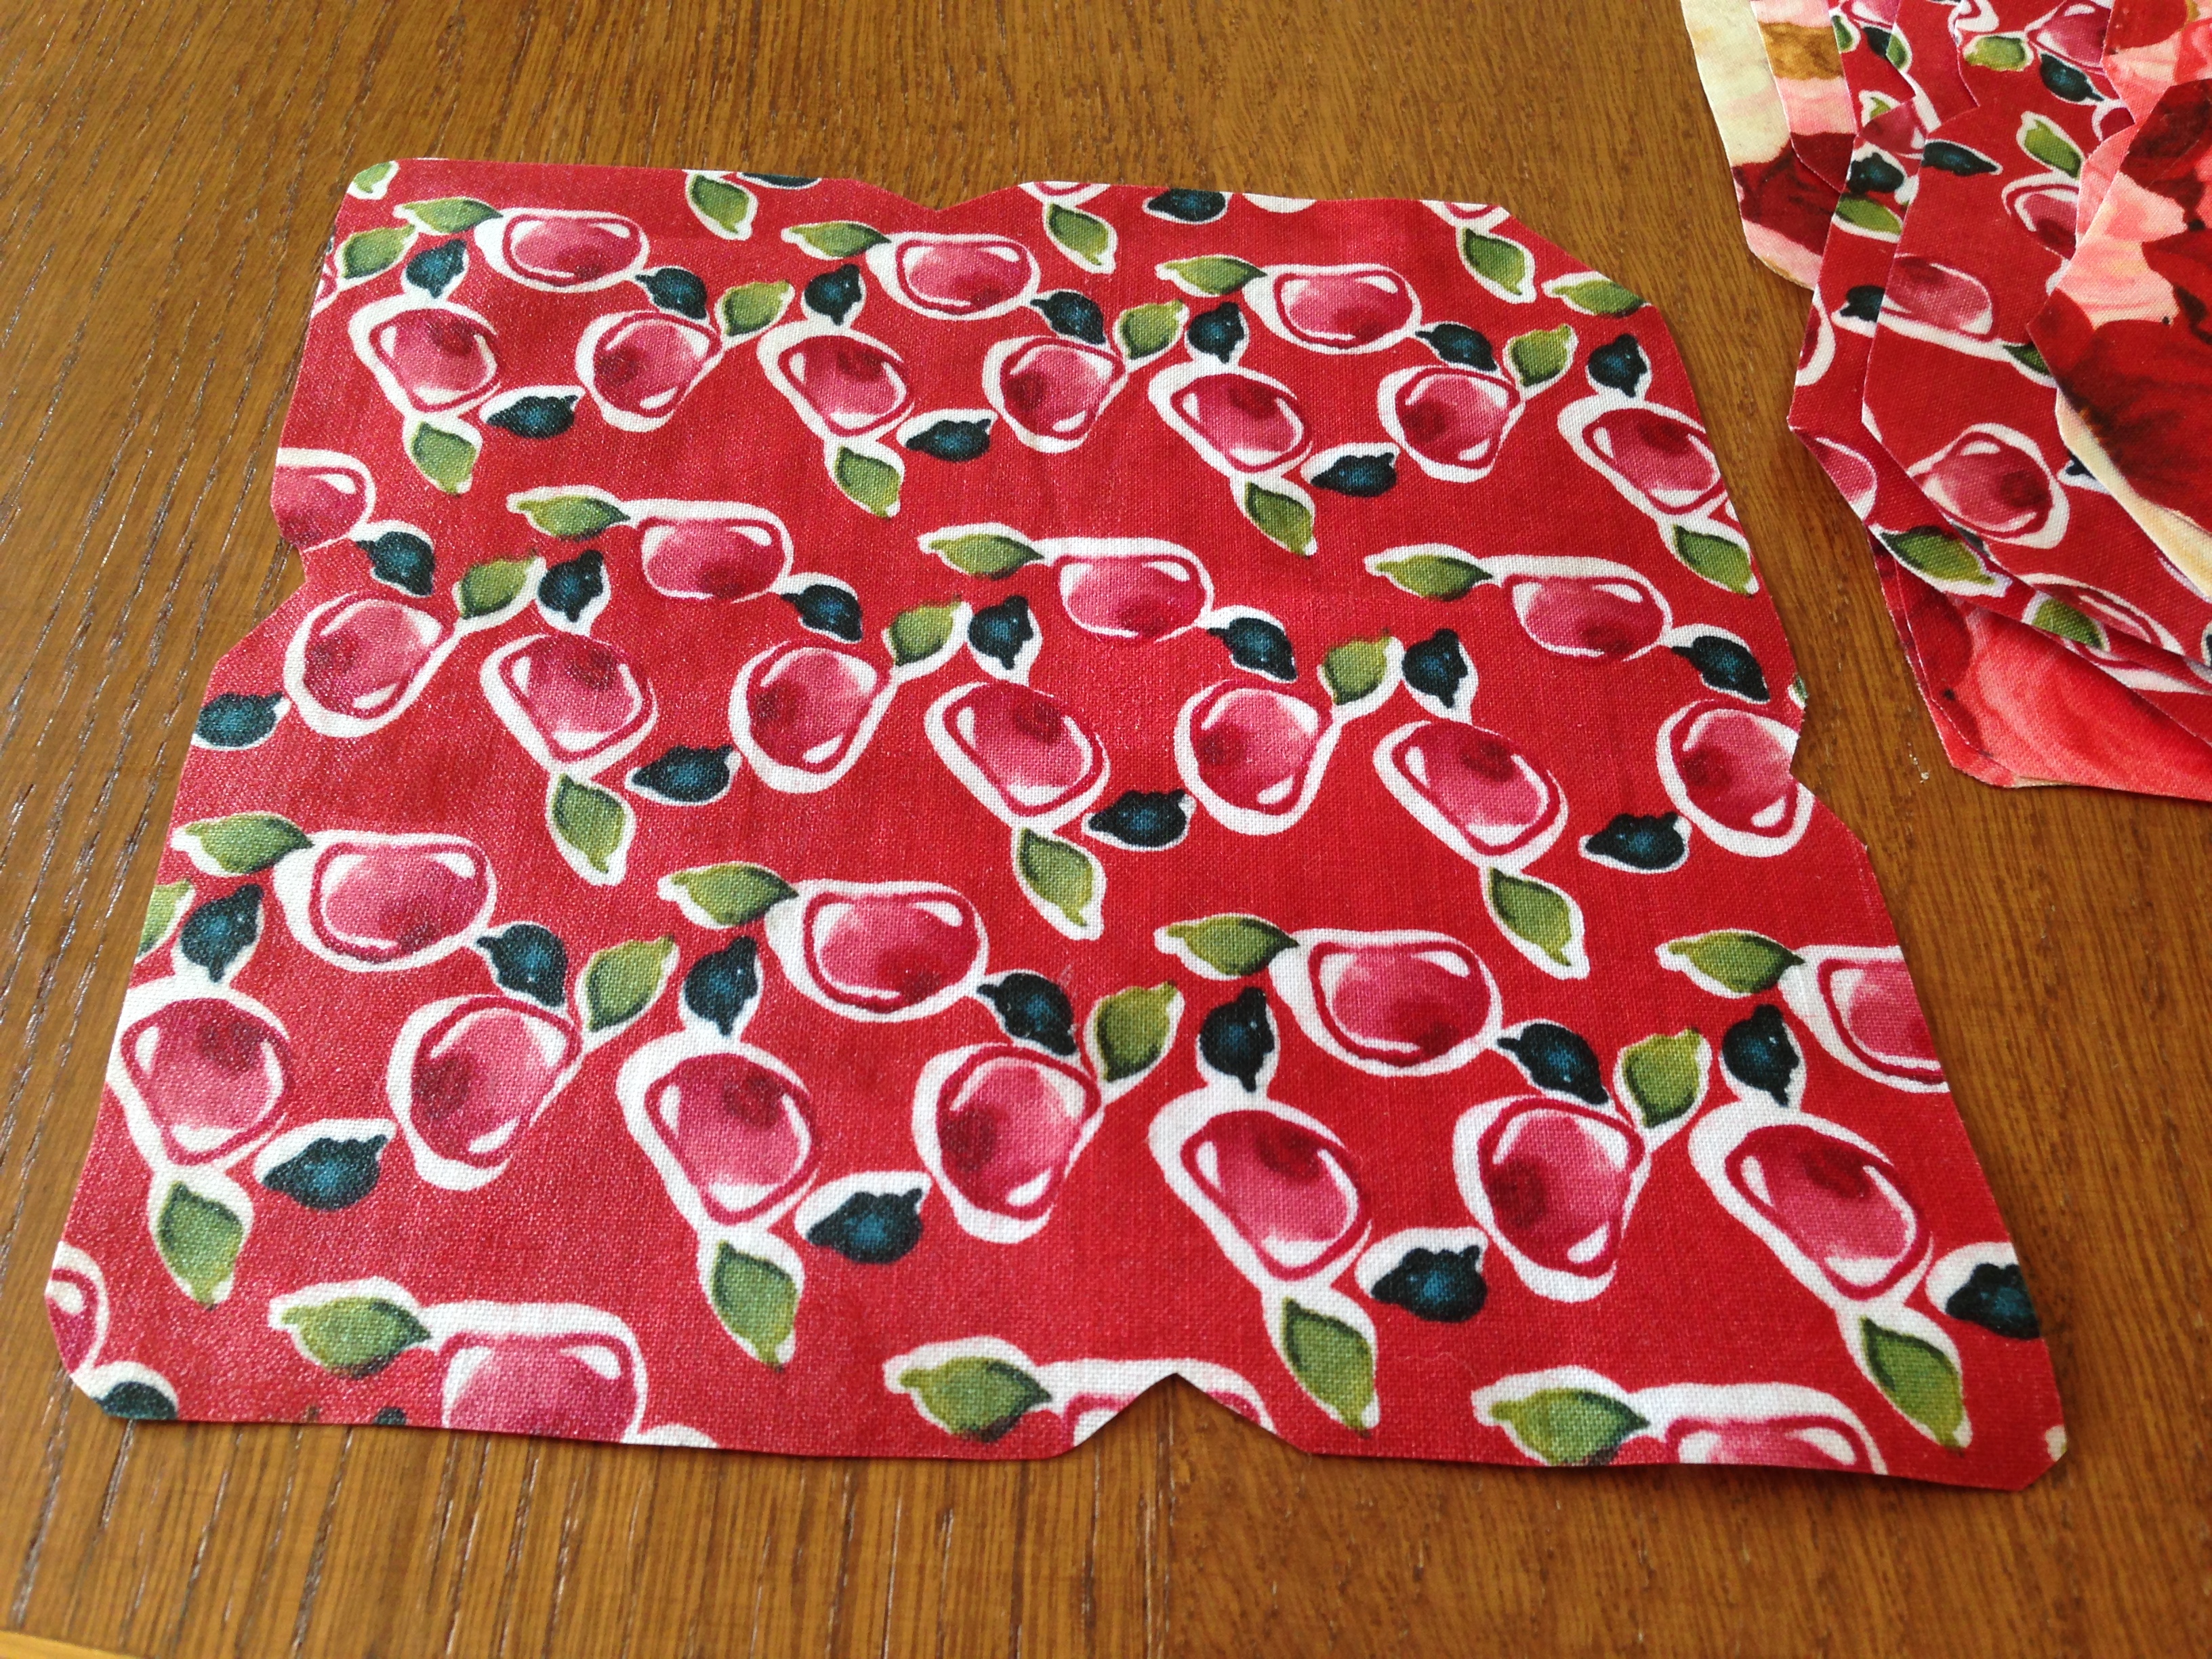
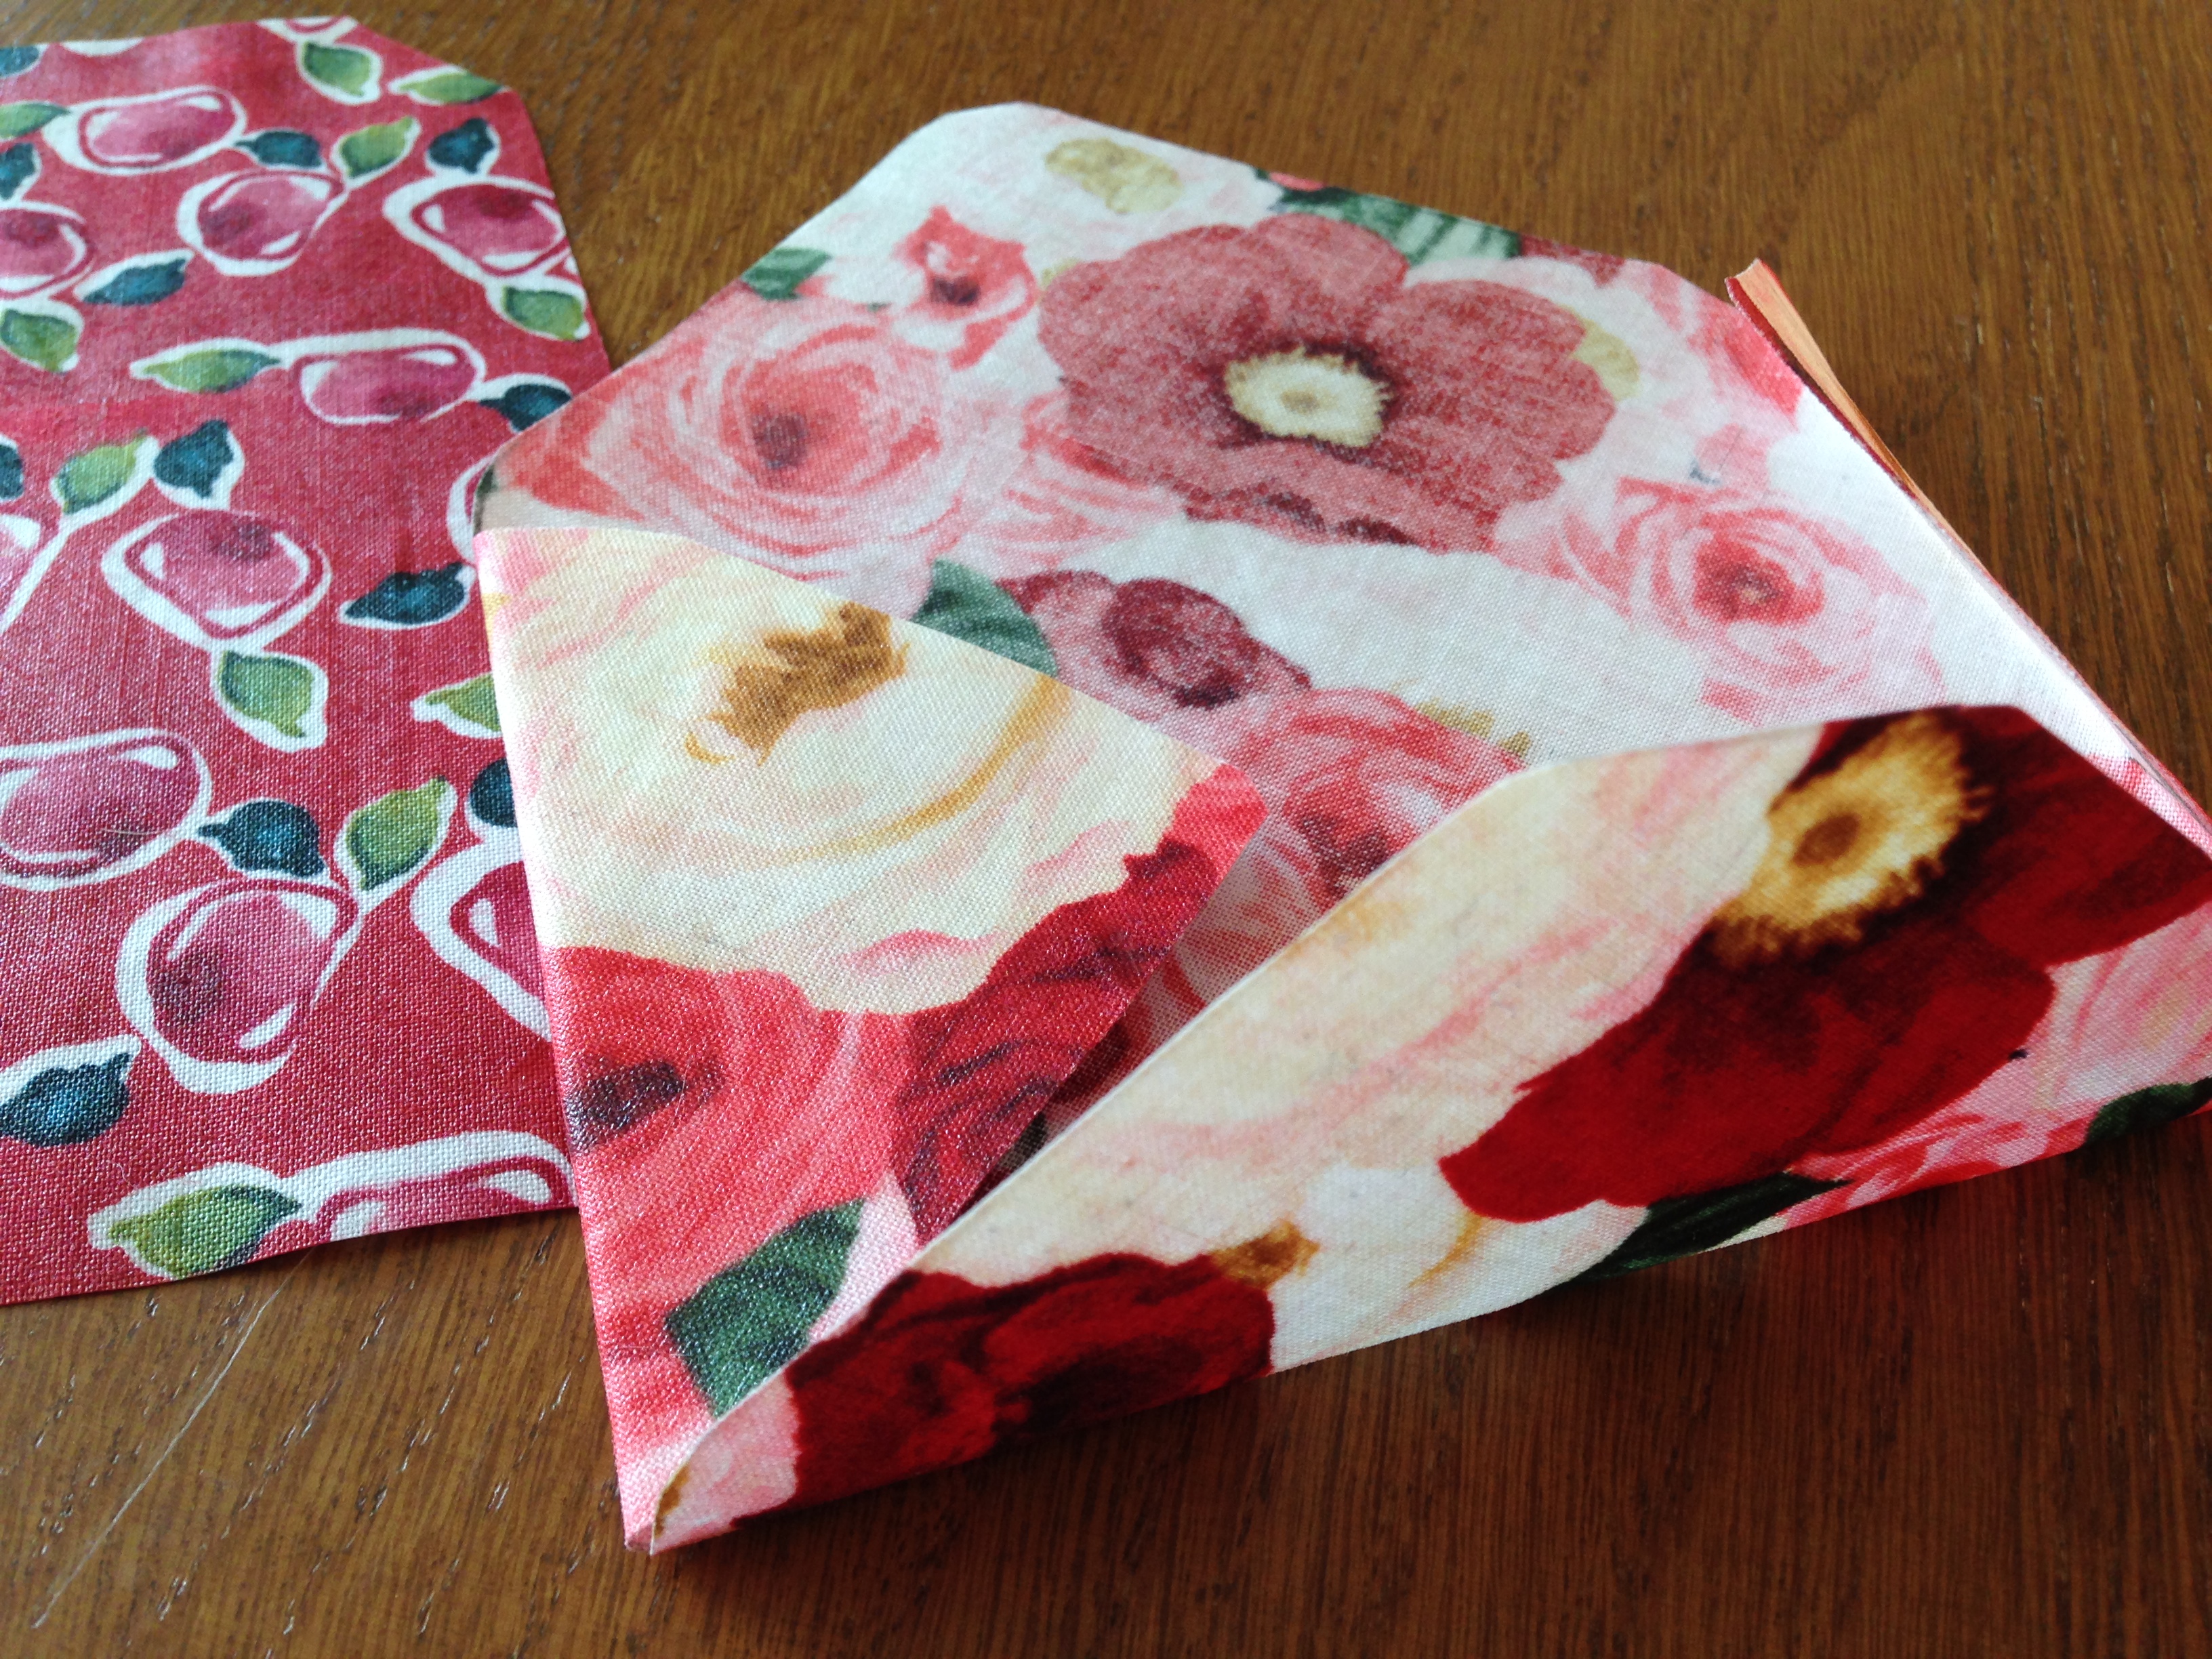
Here is what they look like cut out. The next step is to fold in the sides and brush the entire front side with a healthy coating of decoupage finish. I put a piece of waxed paper inside each envelope to be sure that the sides didn’t stick to back, making it impossible to slide a card inside the envelope. Again, I let them dry for about an hour and then removed the waxed paper.
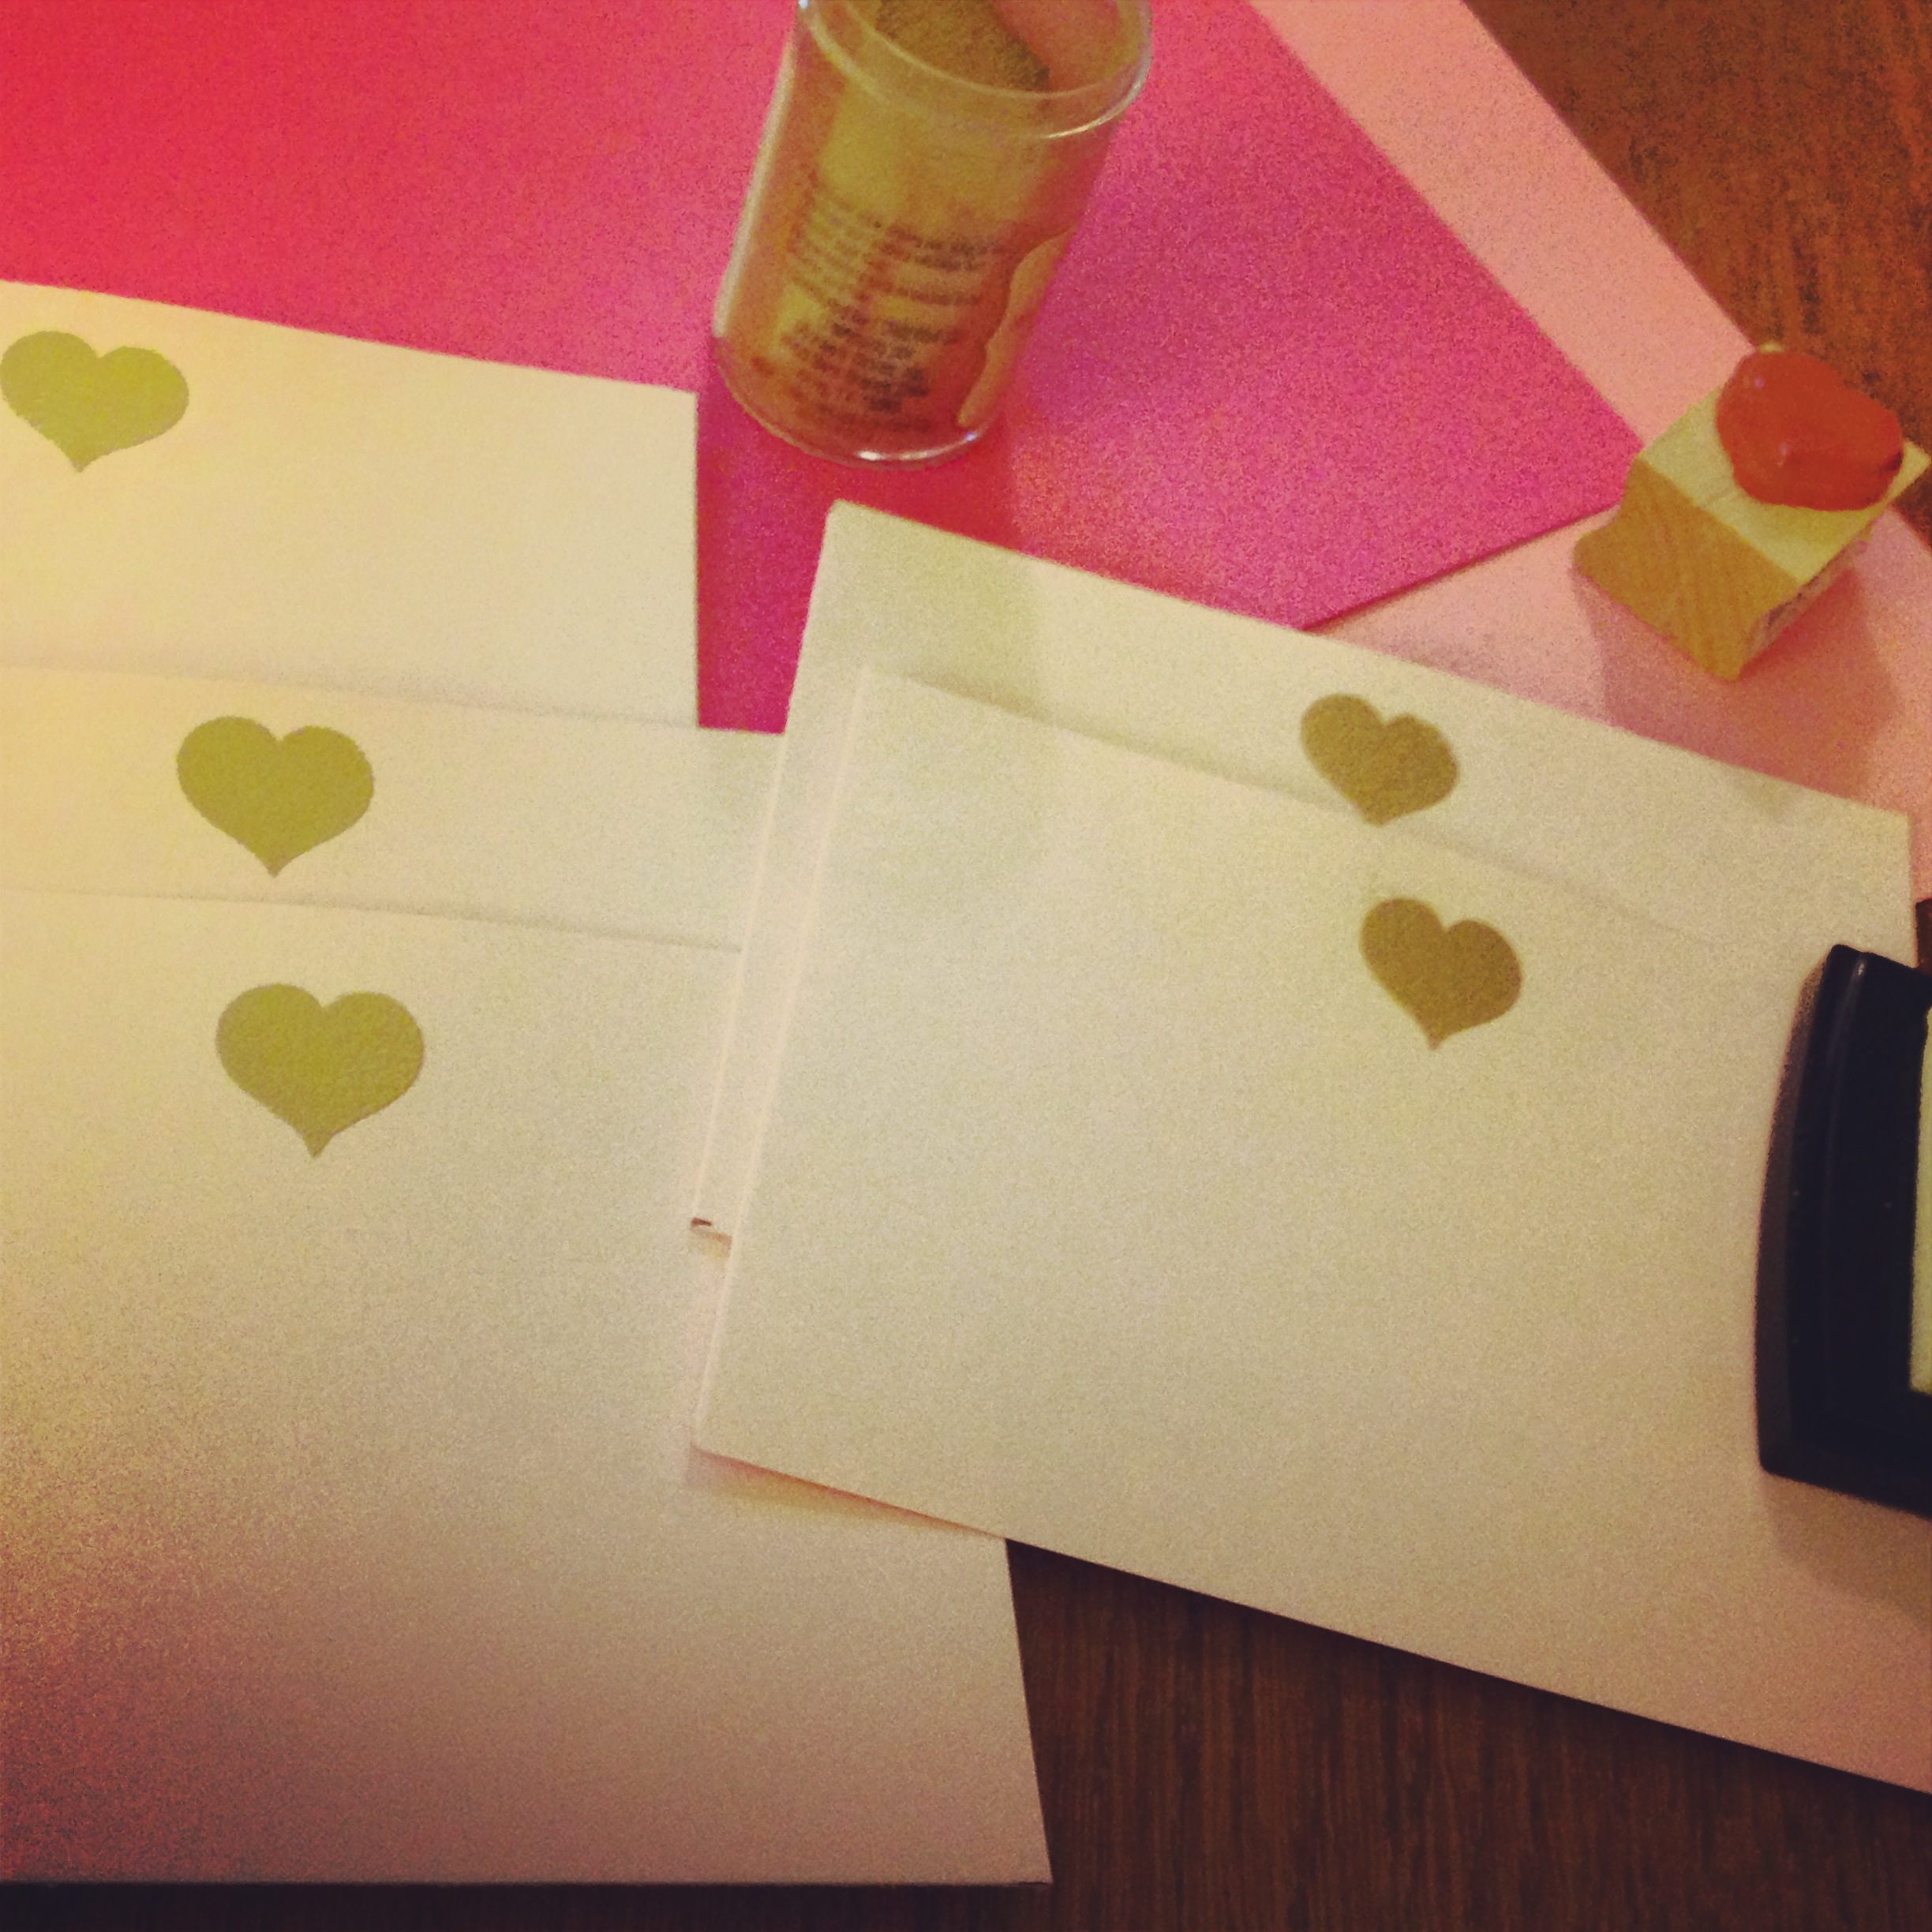
Since I was making envelopes for Valentine’s day cards, I needed valentines to fill them. I didn’t want the packaging to outshine the cards, so I decided the make those too. I really like simple stationery and since the the envelopes are somewhat busy, I went with a classic embossed heart in gold. Heat embossing is awesome; I love it so much I used it to make my wedding invitations (described here). Here’s a tutorial for how to heat emboss from another previous post.
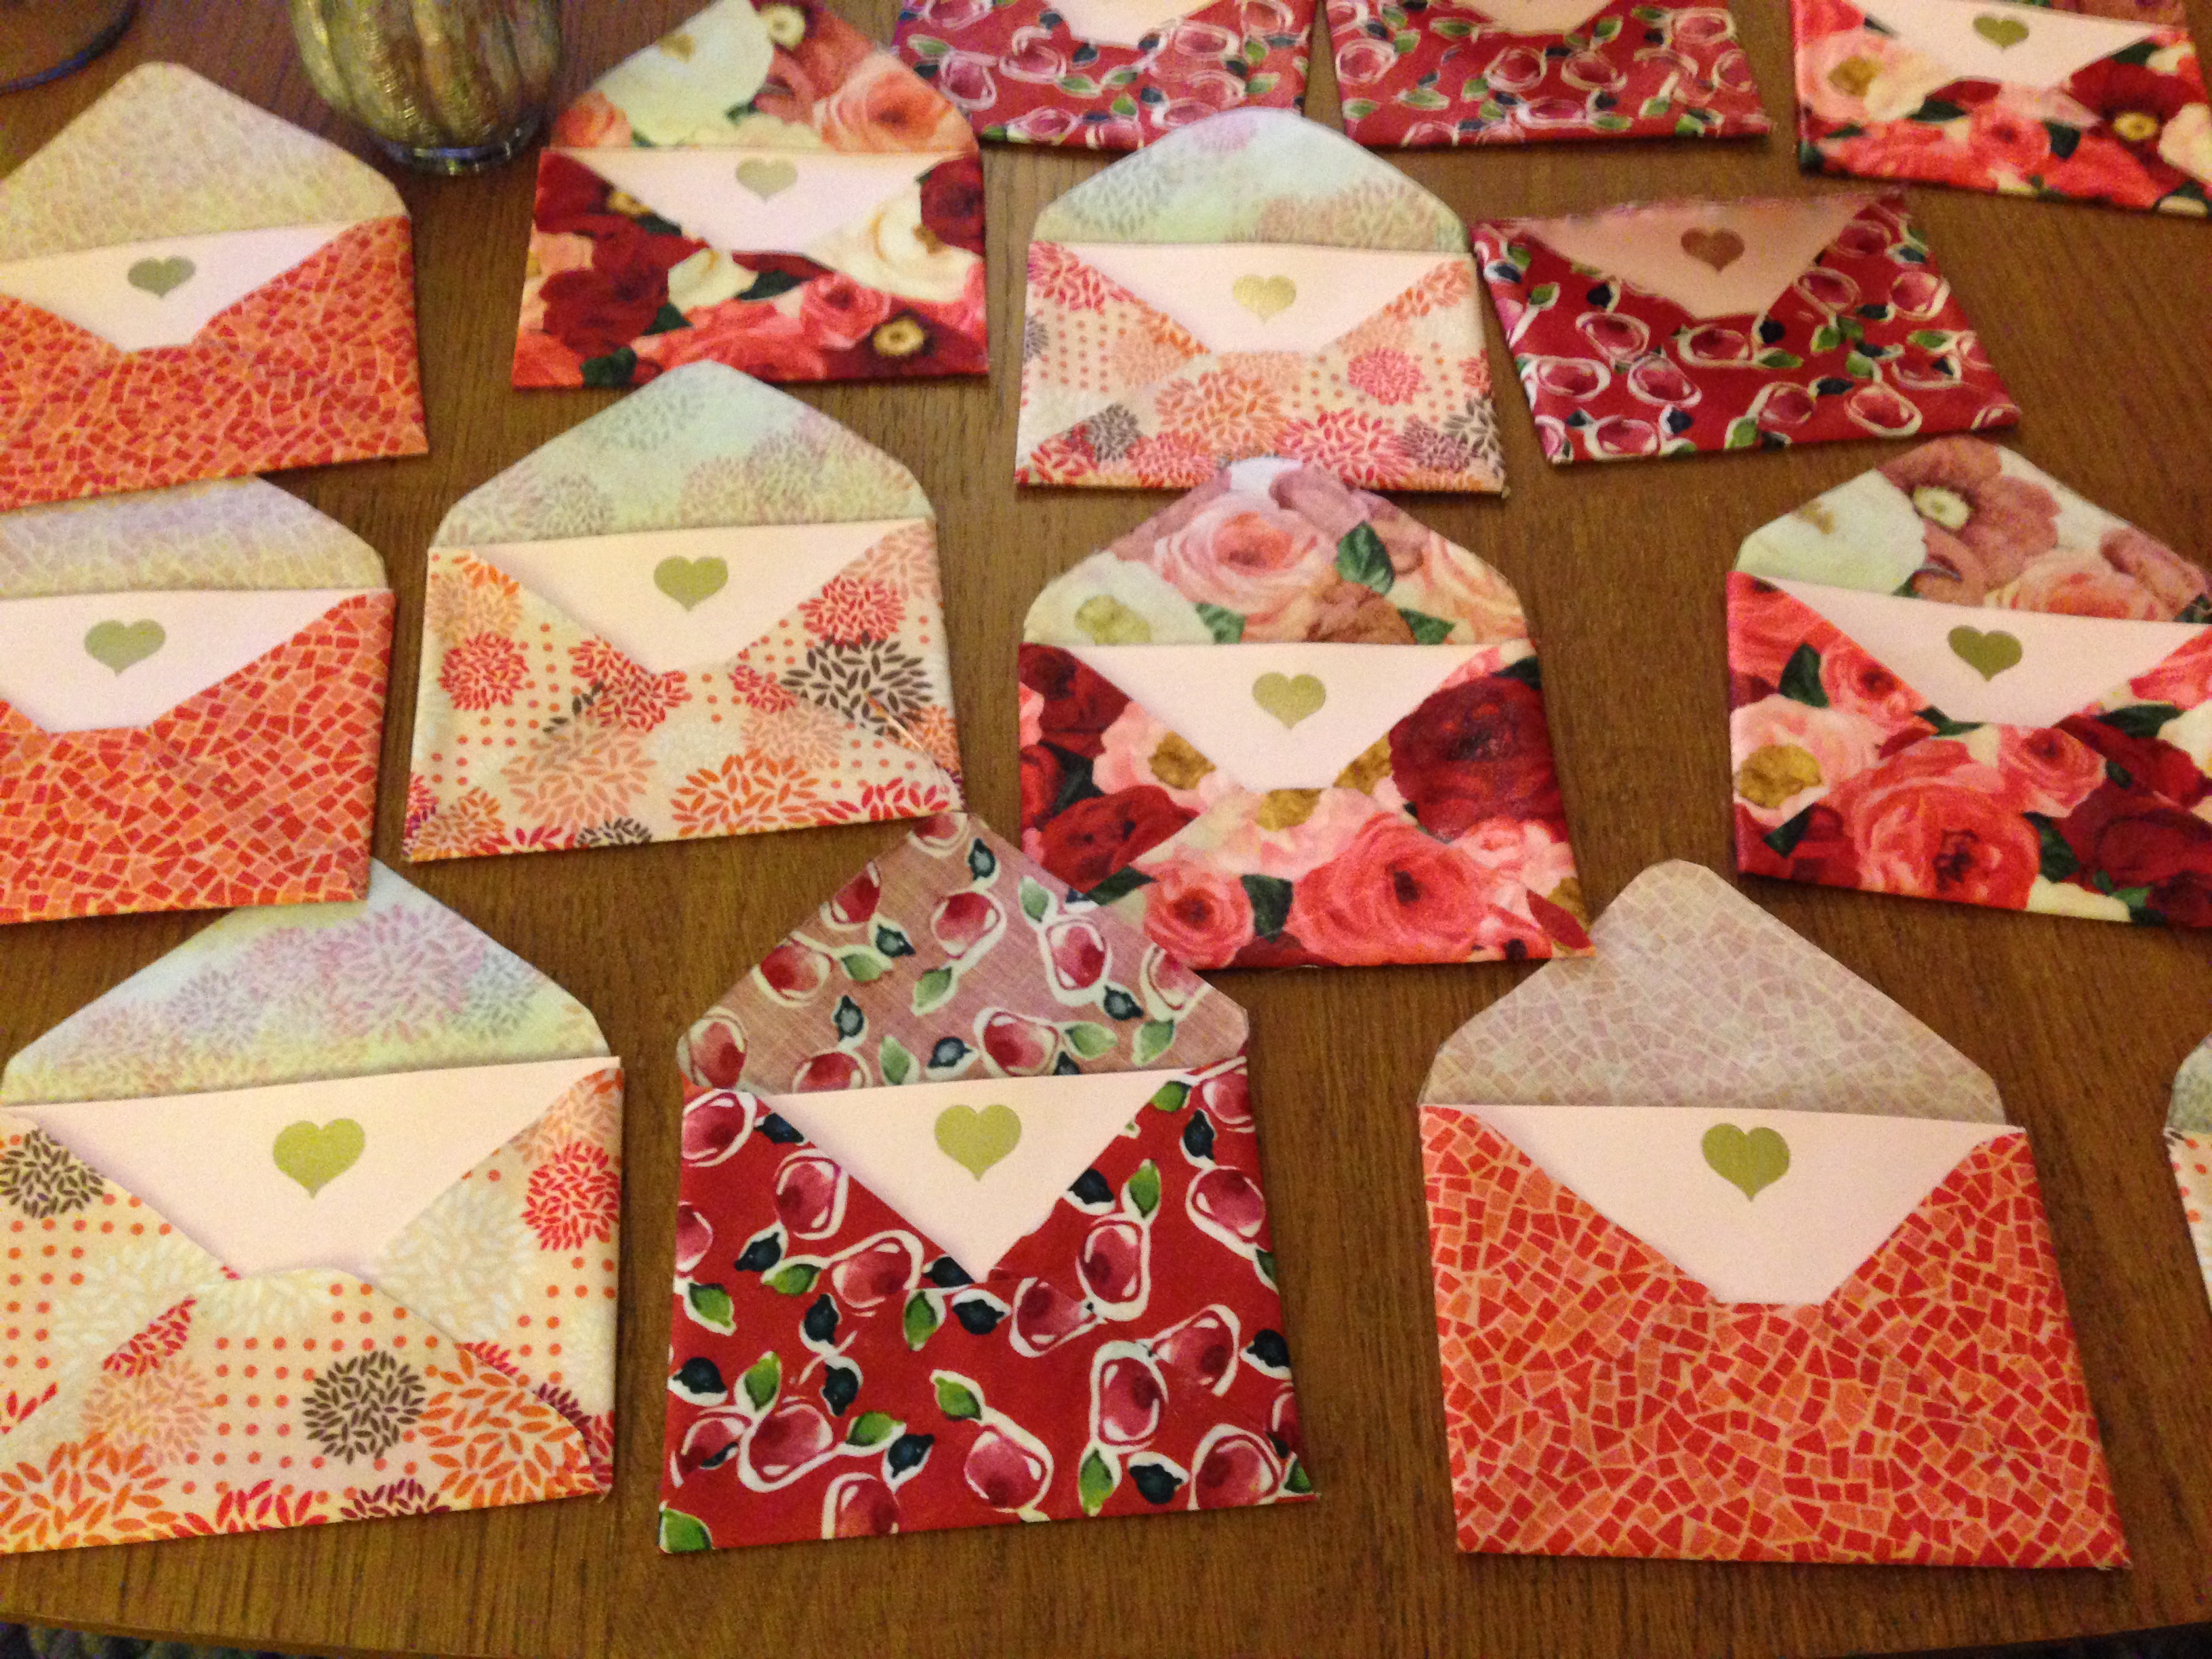
And here’s the finished product! My favorite is the cherry print, while Jason really likes the Victorian roses. They came out great, I just need to work on my handwriting as pictured in the first photo.

Beautiful! I love the victorian roses as well. 🙂
Liz
http://www.liz-makes.com
Girl, you did an amazing job! In fact, I read the Martha Stewart tutorial first (which is where I saw your link) and although her’s was good…yours really broke down/explained well how to make fabric envelopes! I’m excited to try now! Thanks for writing this:)
http://kristysamone.com/
Thank you so much!
Thanks for the great in detail instructions, I will try this tomorrow. =)
Thanks!!! Came here via MS as well. I’m a little confused : how does it seal together? I think you are saying that you basically glue it together with mod podge but want to check..,,
What an inspiration – thanks to your detailed pics I might actually do this! I truly appreciate all those who give of their time to share the details of sewing and crafts for others to learn.