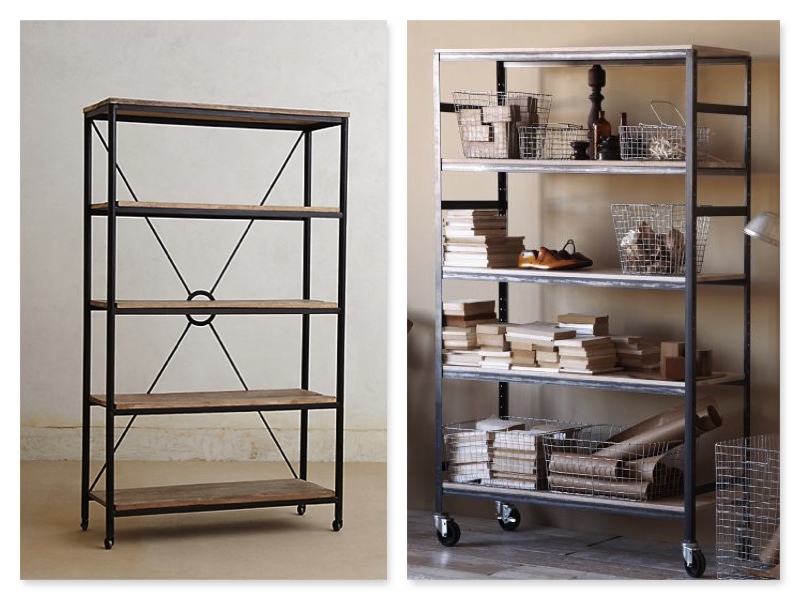
 After moving to a larger space, my husband and I found ourselves in the market for a new shelf to house the books that had been boxed up for the past two years. Unfortunately, (as usual) our tastes exceeded our budget. We were drawn to industrial-style shelves made of metal and reclaimed wood. Anthropologie’s version (pictured below, left) retails for $998 amd West Elm’s version (pictured below, right) goes for a whopping $2960. We’ve made a commitment to only buy furniture that we absolutely love and since we couldn’t find anything that compared in our price range, we decided to DIY it!
THE GOODS.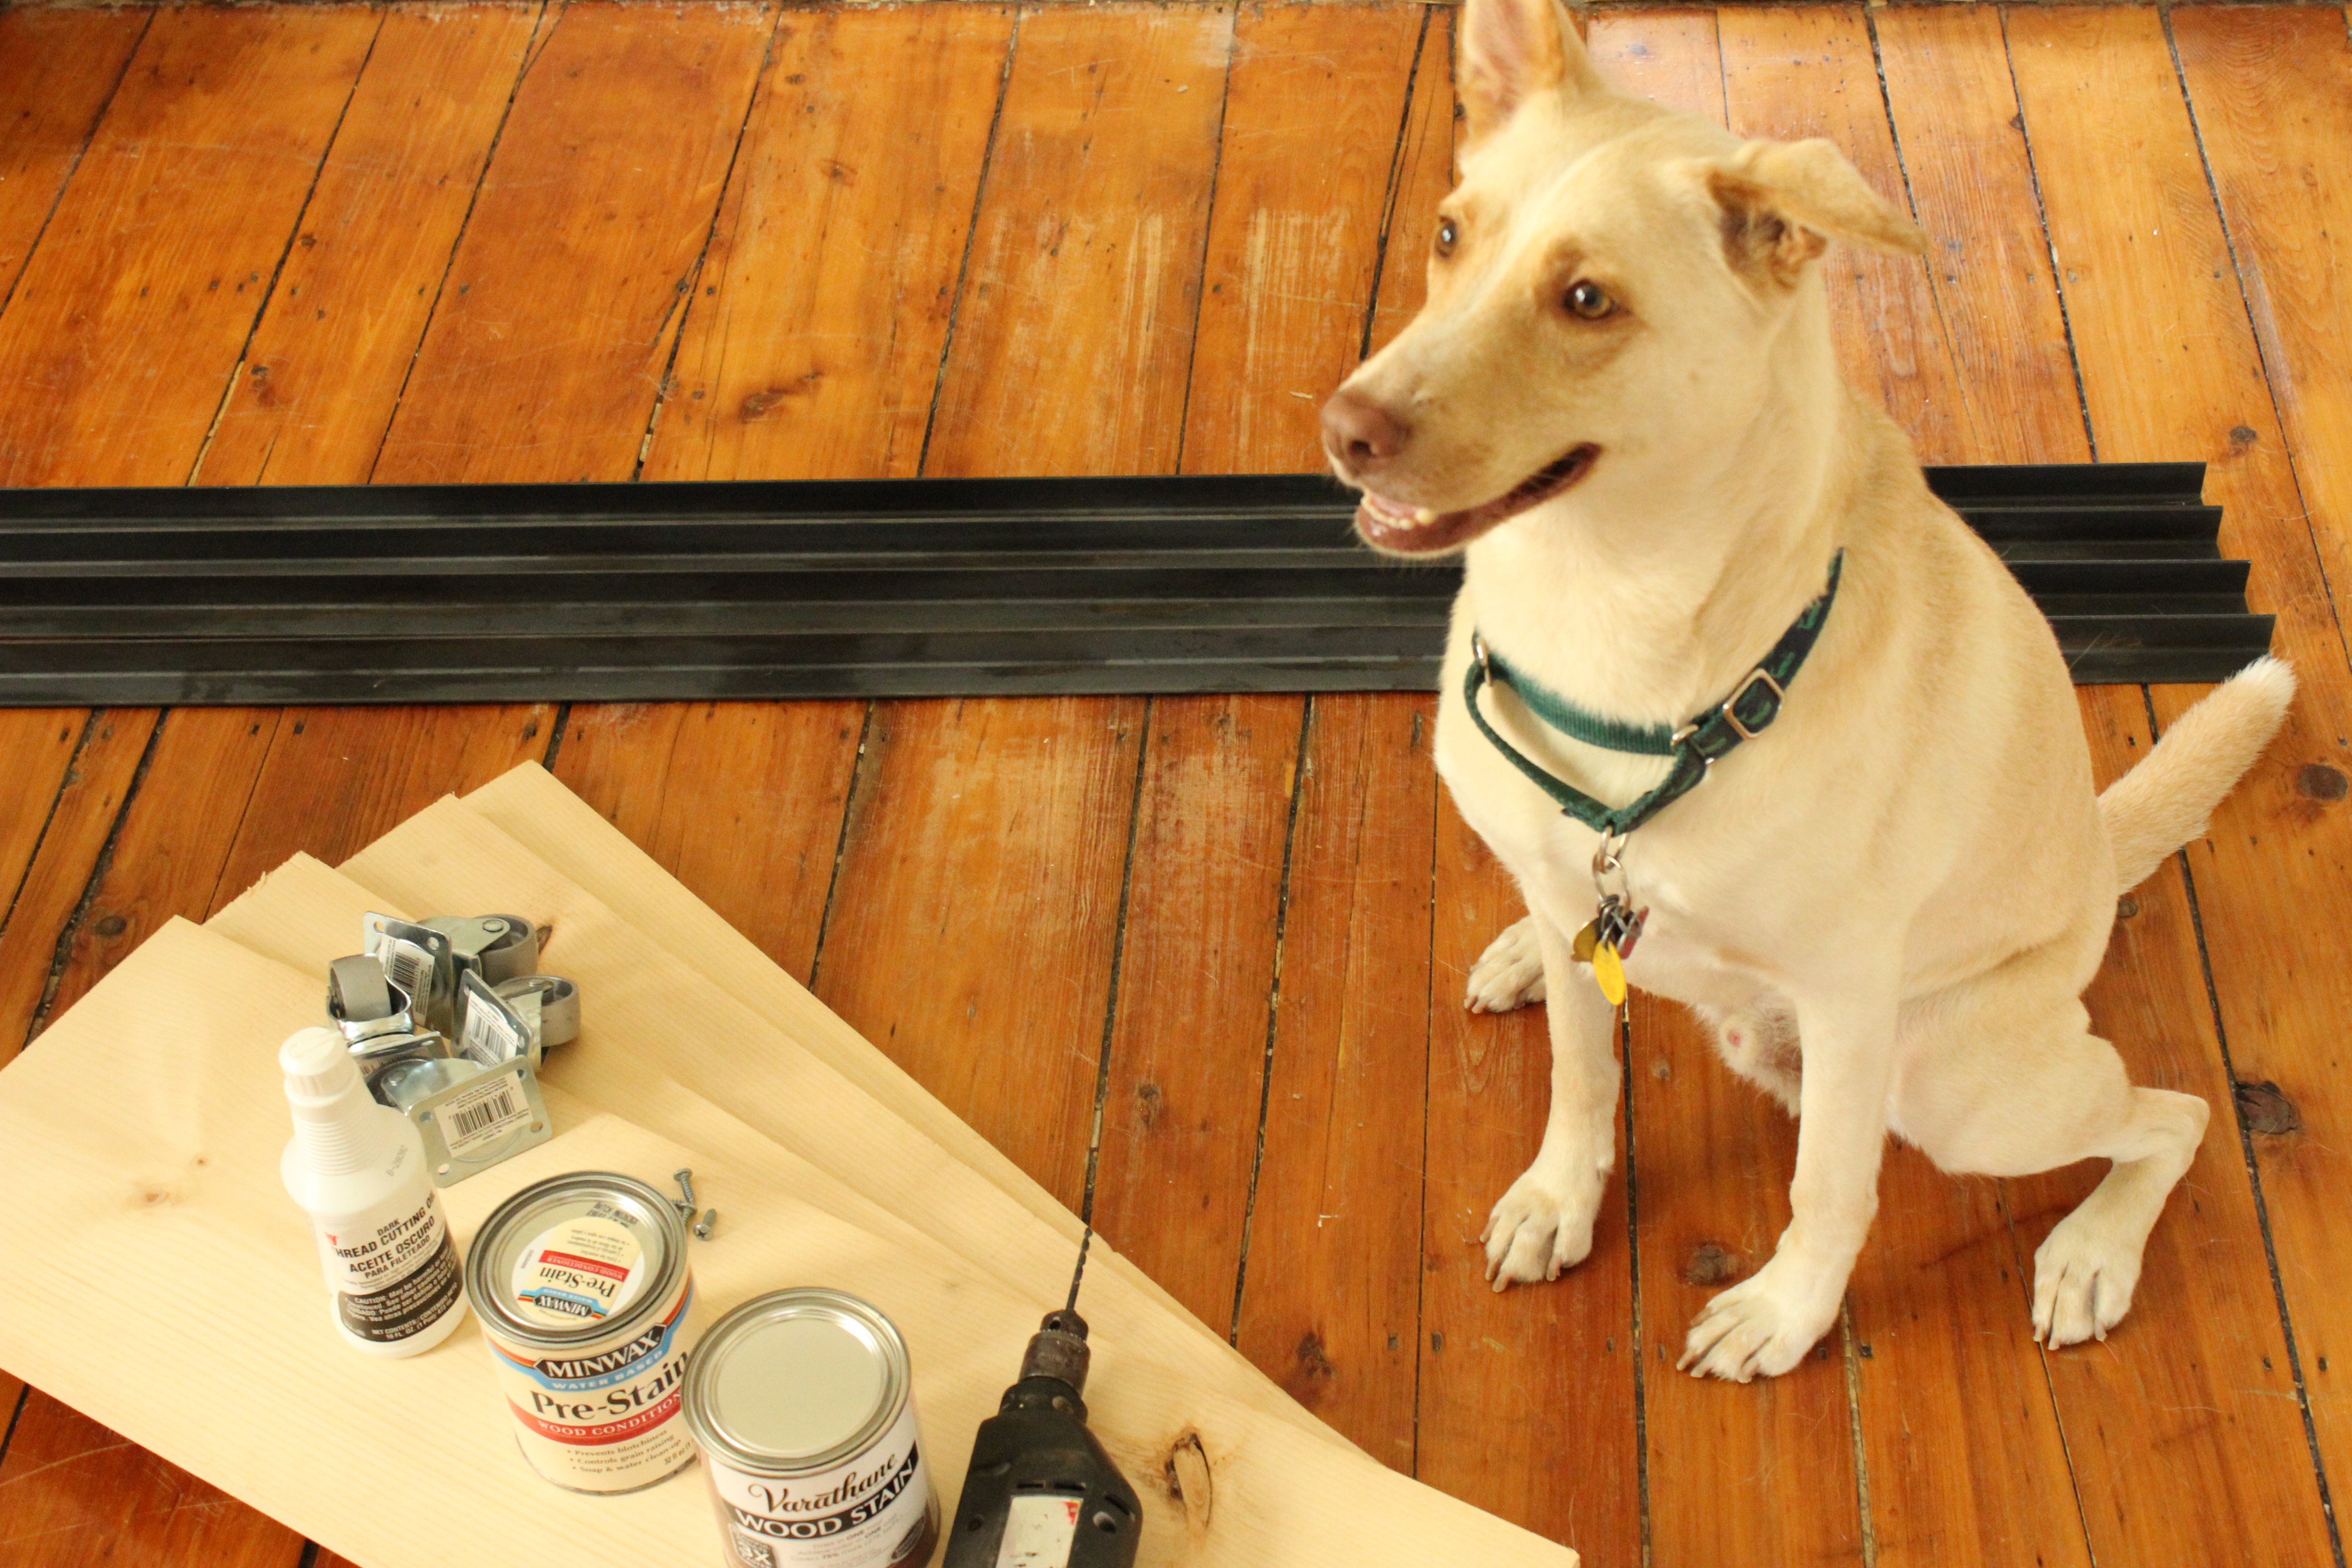 This project required very few supplies, all of which were easily purchased at home depot. Here is what we needed:
Steel Angles: 4 @ $12.97 for the frame
12′ Wood Plank cut into 4 equal pieces: 1 @ $25.22
Casters: 4 @ $3.97
Screws: 54 @ $0.62
Pre-Stain Conditioner: 1 @$11.97
Wood Stain: 1 @ $4.78
Polyurethane: 1 @ $10.77
Sponge Brushes: 3 @ $0.77
Threading Oil: 1 @ $7.02
Cobalt Drill Bit: 1 @ $3.97
Our shelf came to a grand total of $166.48, about 1/17 the price of the West Elm shelf!
STEP 1: Preparing the shelves. 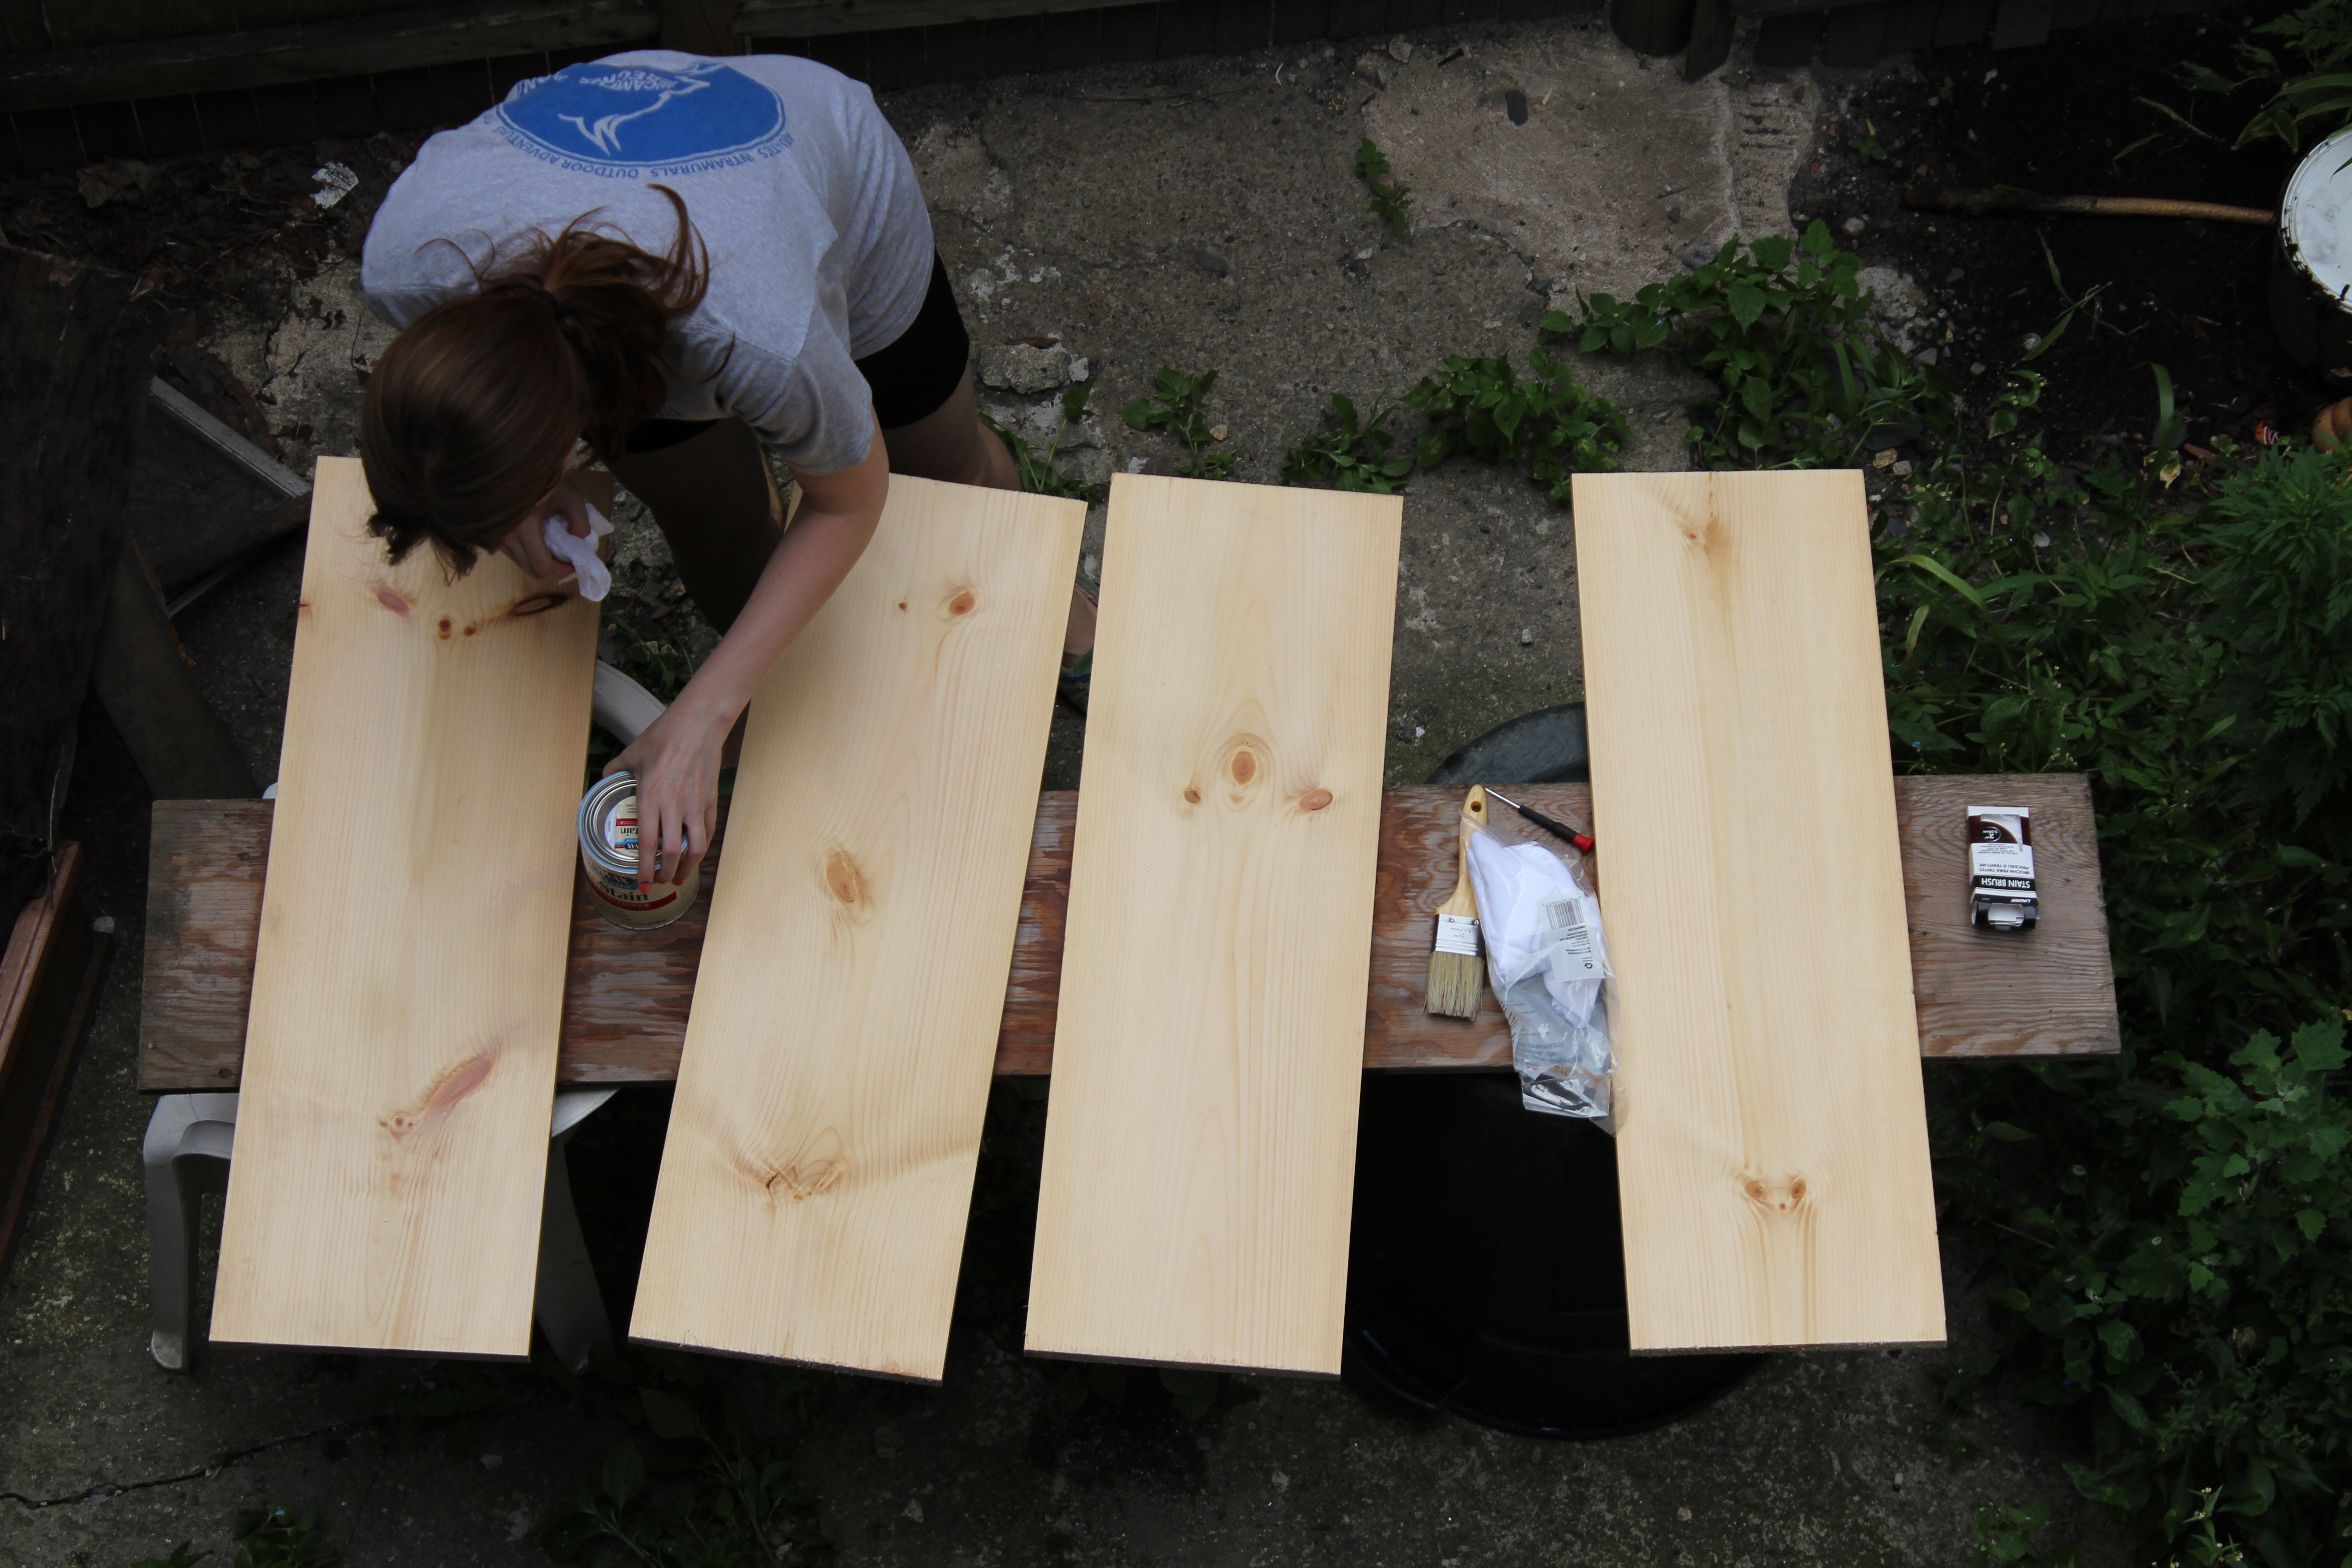 I started by staining the shelves in our backyard. Yes, we have a (shared) backyard at our new place! This youtube video provided a useful tutorial to refresh my memory on staining. If you’re using a soft wood, like pine, the first step is to use a pre-stain conditioner, which helps the stain absorb more evenly. You can tell if your wood is soft by grazing your finger nail against the plank; if it leaves a mark, its soft. An advantage of soft wood is that it takes in stain very easily – I only had to do one coat on each side. I like to wear gloves and have paint-thinner on hand when staining because I learned (the hard way) that wood stain is oil-based and won’t come off skin during a previous project. Its also useful to a sponge brush, which spreads the stain very evenly. I brushed on the stain with the grain, covering the entire length of the board with one stroke. After about 20 minutes, I wiped off the excess stain and let it dry. After about 2 hours, the wood was no longer tacky, but I waited 24 hours to flip it and stain the other side. The final step was to apply 3 coats of polyurethane to the boards. The entire process took about a week, owing to rainy days and a long work week.
STEP 2: Preparing the frame. 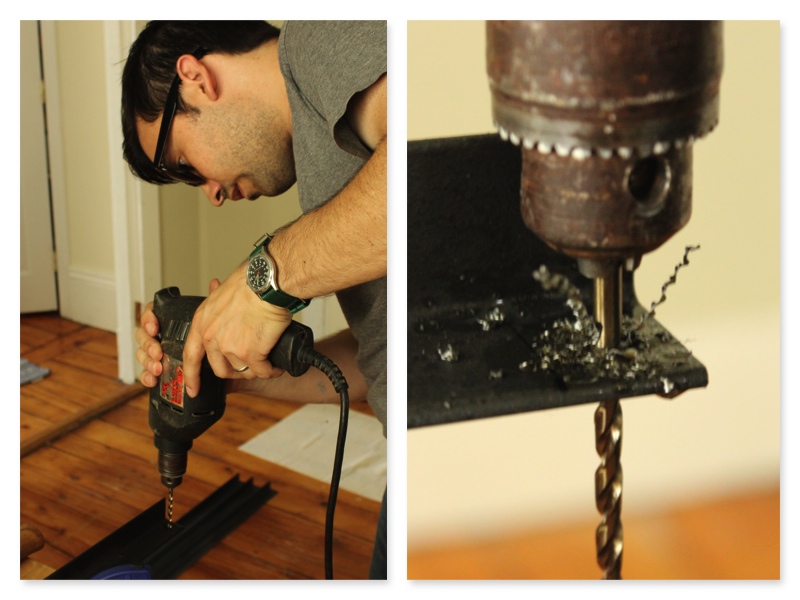 While I was staining, Jason was pre-drilling holes in the steel angles so we could easily screw them to our wood shelves. We were nervous about this step, but it proved be pretty easy. First, Jason used a pen to mark the steel where the shelves would attach to the wood planks. We planned to drill two holes in each corner of each shelf (2 X 4 X 4 = 32 holes). Jason used a clamp to attach the steel to our Ikea butcher-block (which I later sanded down and painted white to match our kitchen). Next, he put a dab of thread-cutting oil on the first pen mark; the purpose of the thread-cutting oil is to keep the drill-bit lubricated so that it doesn’t heat up and jam during drilling. Finally, he used the cobalt drill bit to slowly cut through the steel – apparently slow and steady is key. Then he repeated this process 31 more times. The whole thing took about 2 hours, not counting his dinner break.
STEP 3: Putting it all together.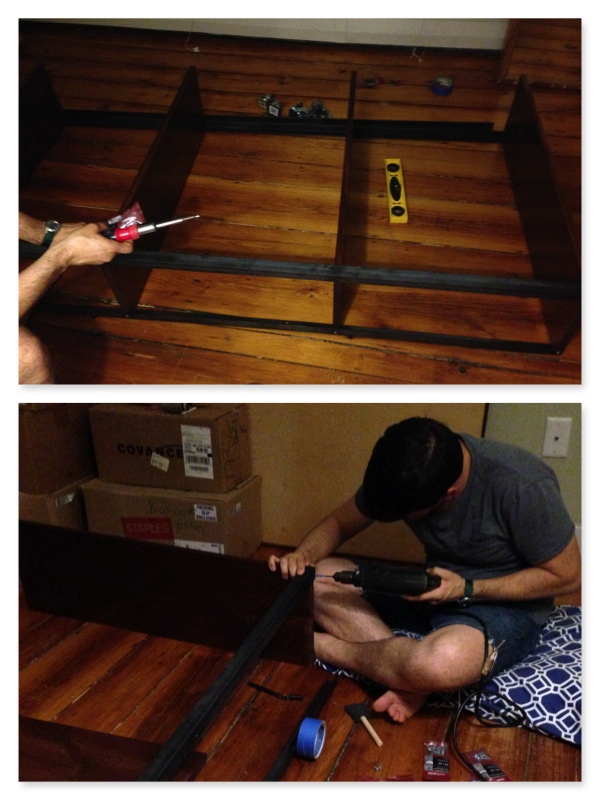 We started by standing up the top and bottom shelves and balancing two of the steel angles on either side. I held the bottom shelf in place while Jason pre-drilled holes into the top shelf and then screwed the plank in place. This process was repeated for the bottom shelf. Then we flipped the whole operation over and balanced the remaining two steel angles on top of the top and bottom shelves. At this point we abandoned pre-drilling holes because our wood was so soft that it was really no problem to screw directly into the wood to secure the steel to the planks. Finally, we screwed in the middle two shelves. This step took approximately 45 minutes.
STEP 4: Wheels!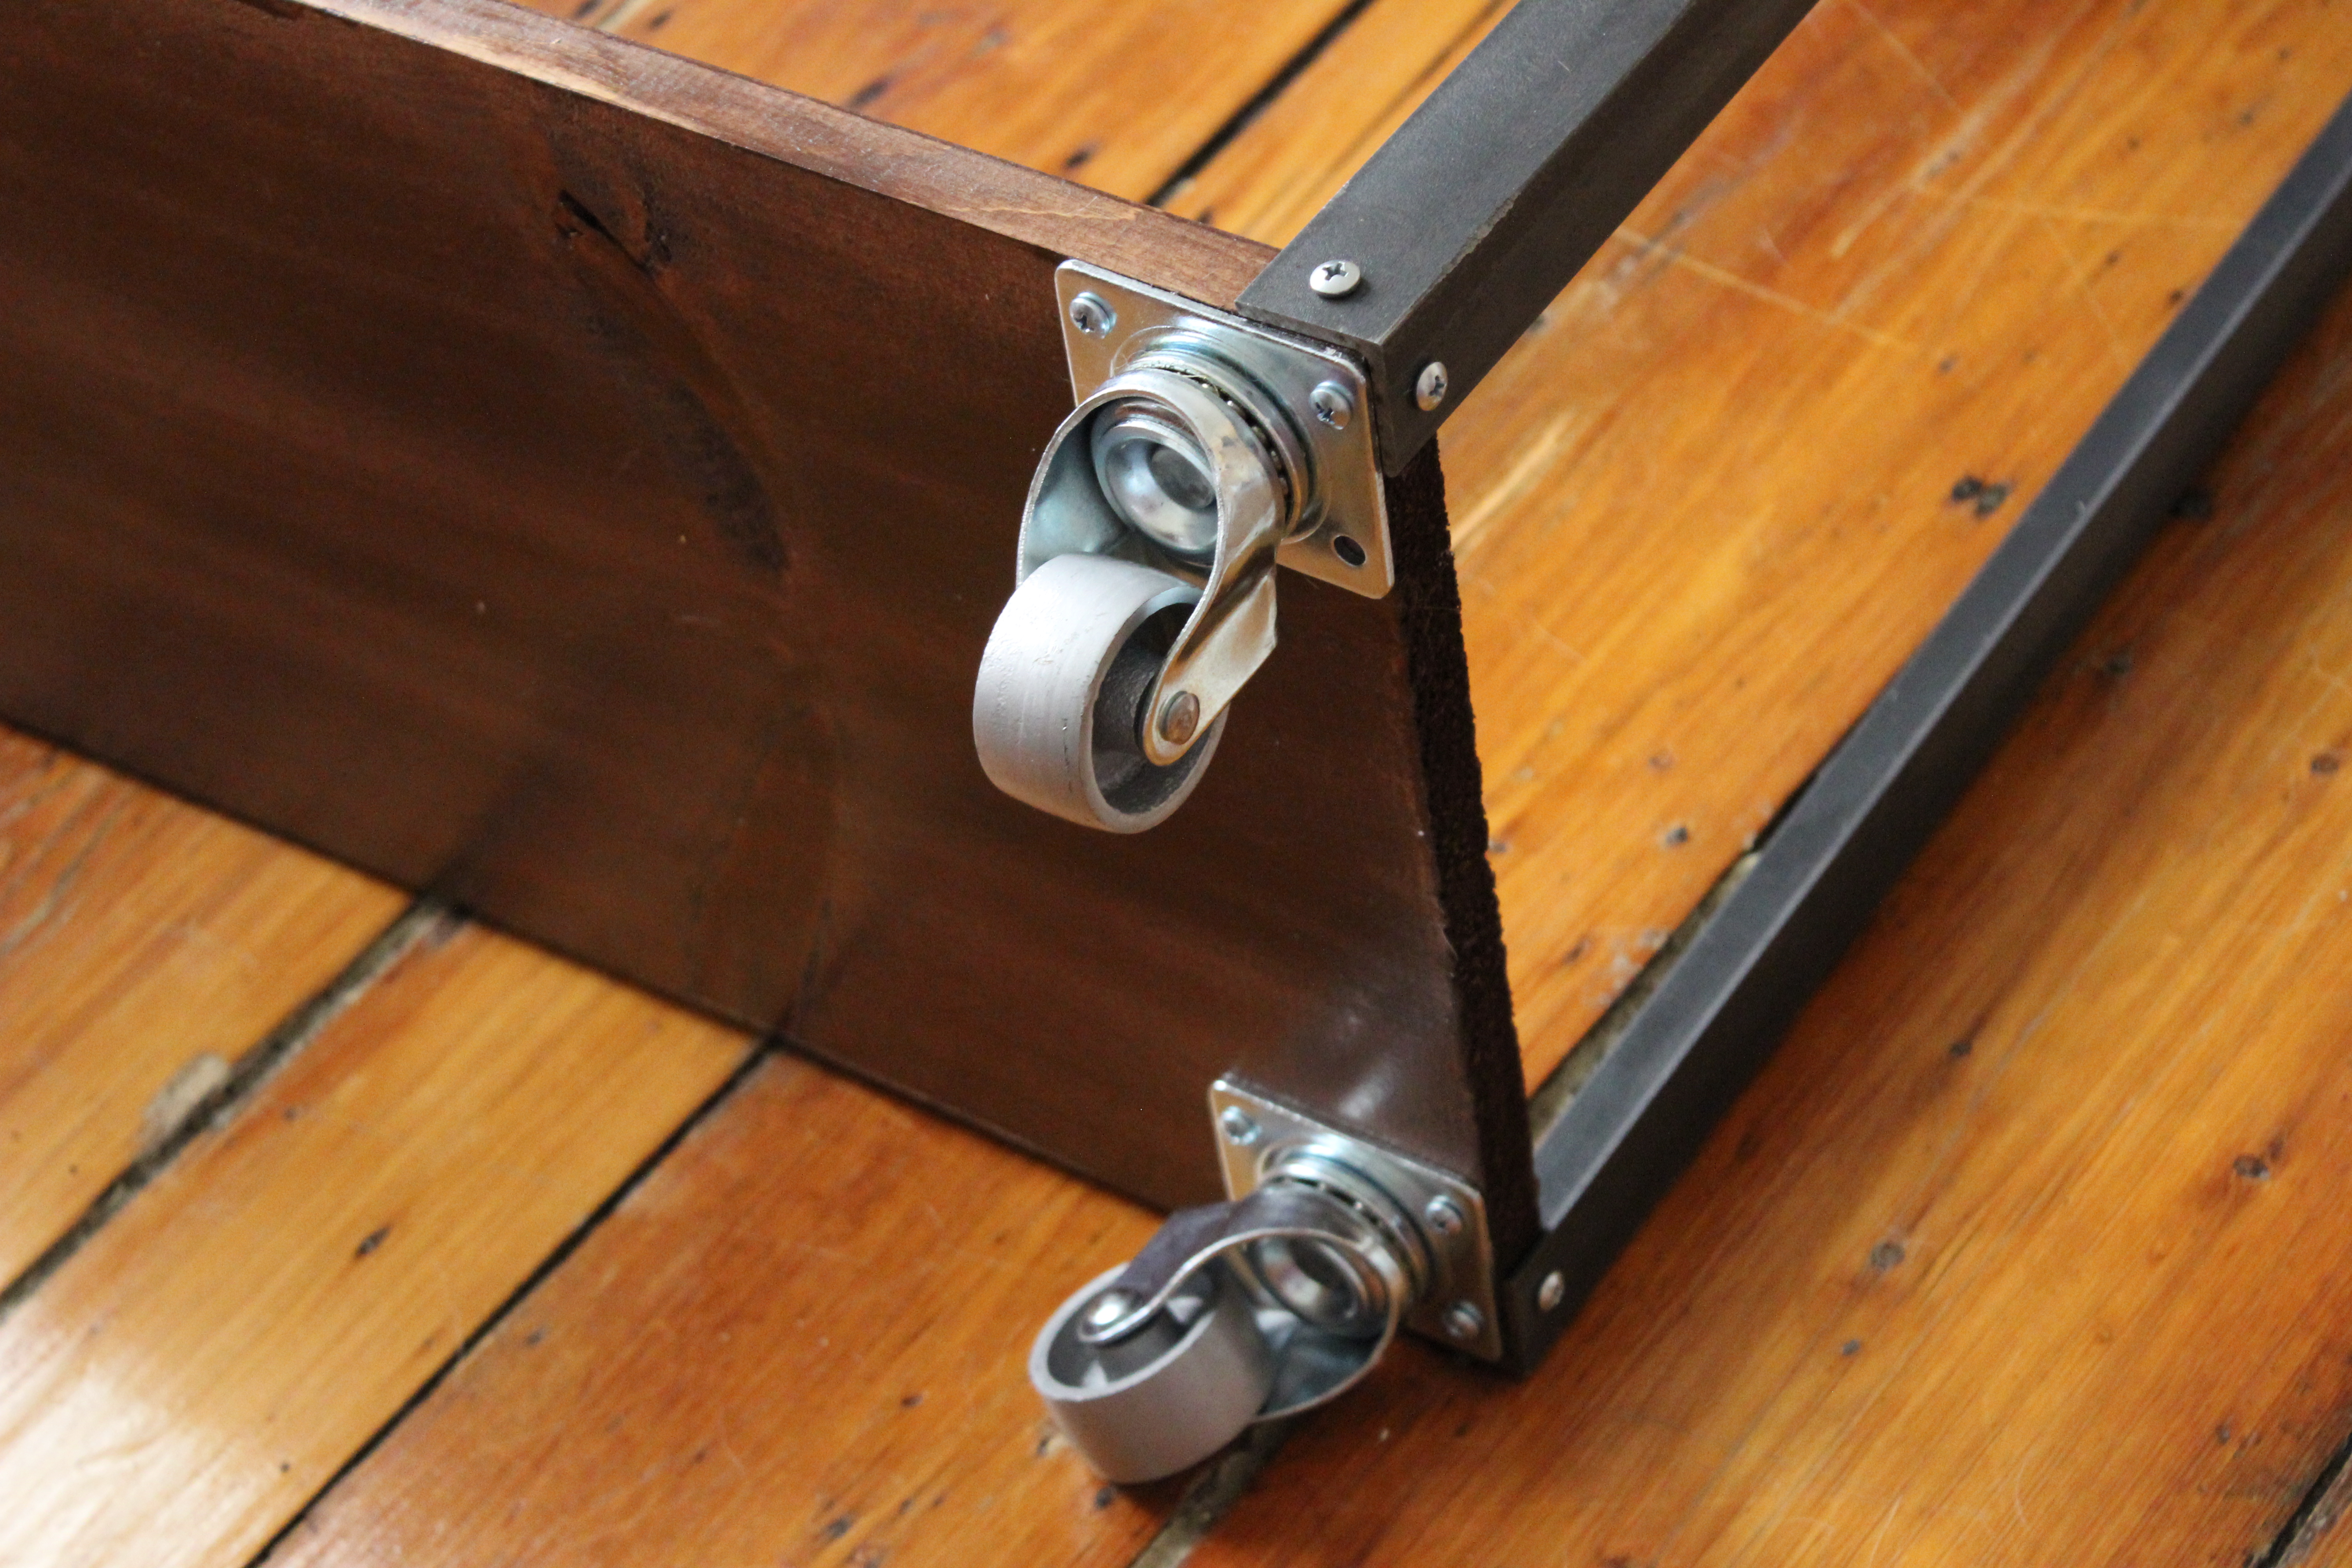 The final step was to screw on the castors. Again, the wood was so soft that the screws went easily into the board. This step was really easy, taking about 15 minutes to complete. We then stood the shelf up and Jason used a bracket to affix it to the wall for safety.
STEP 5: Decorate.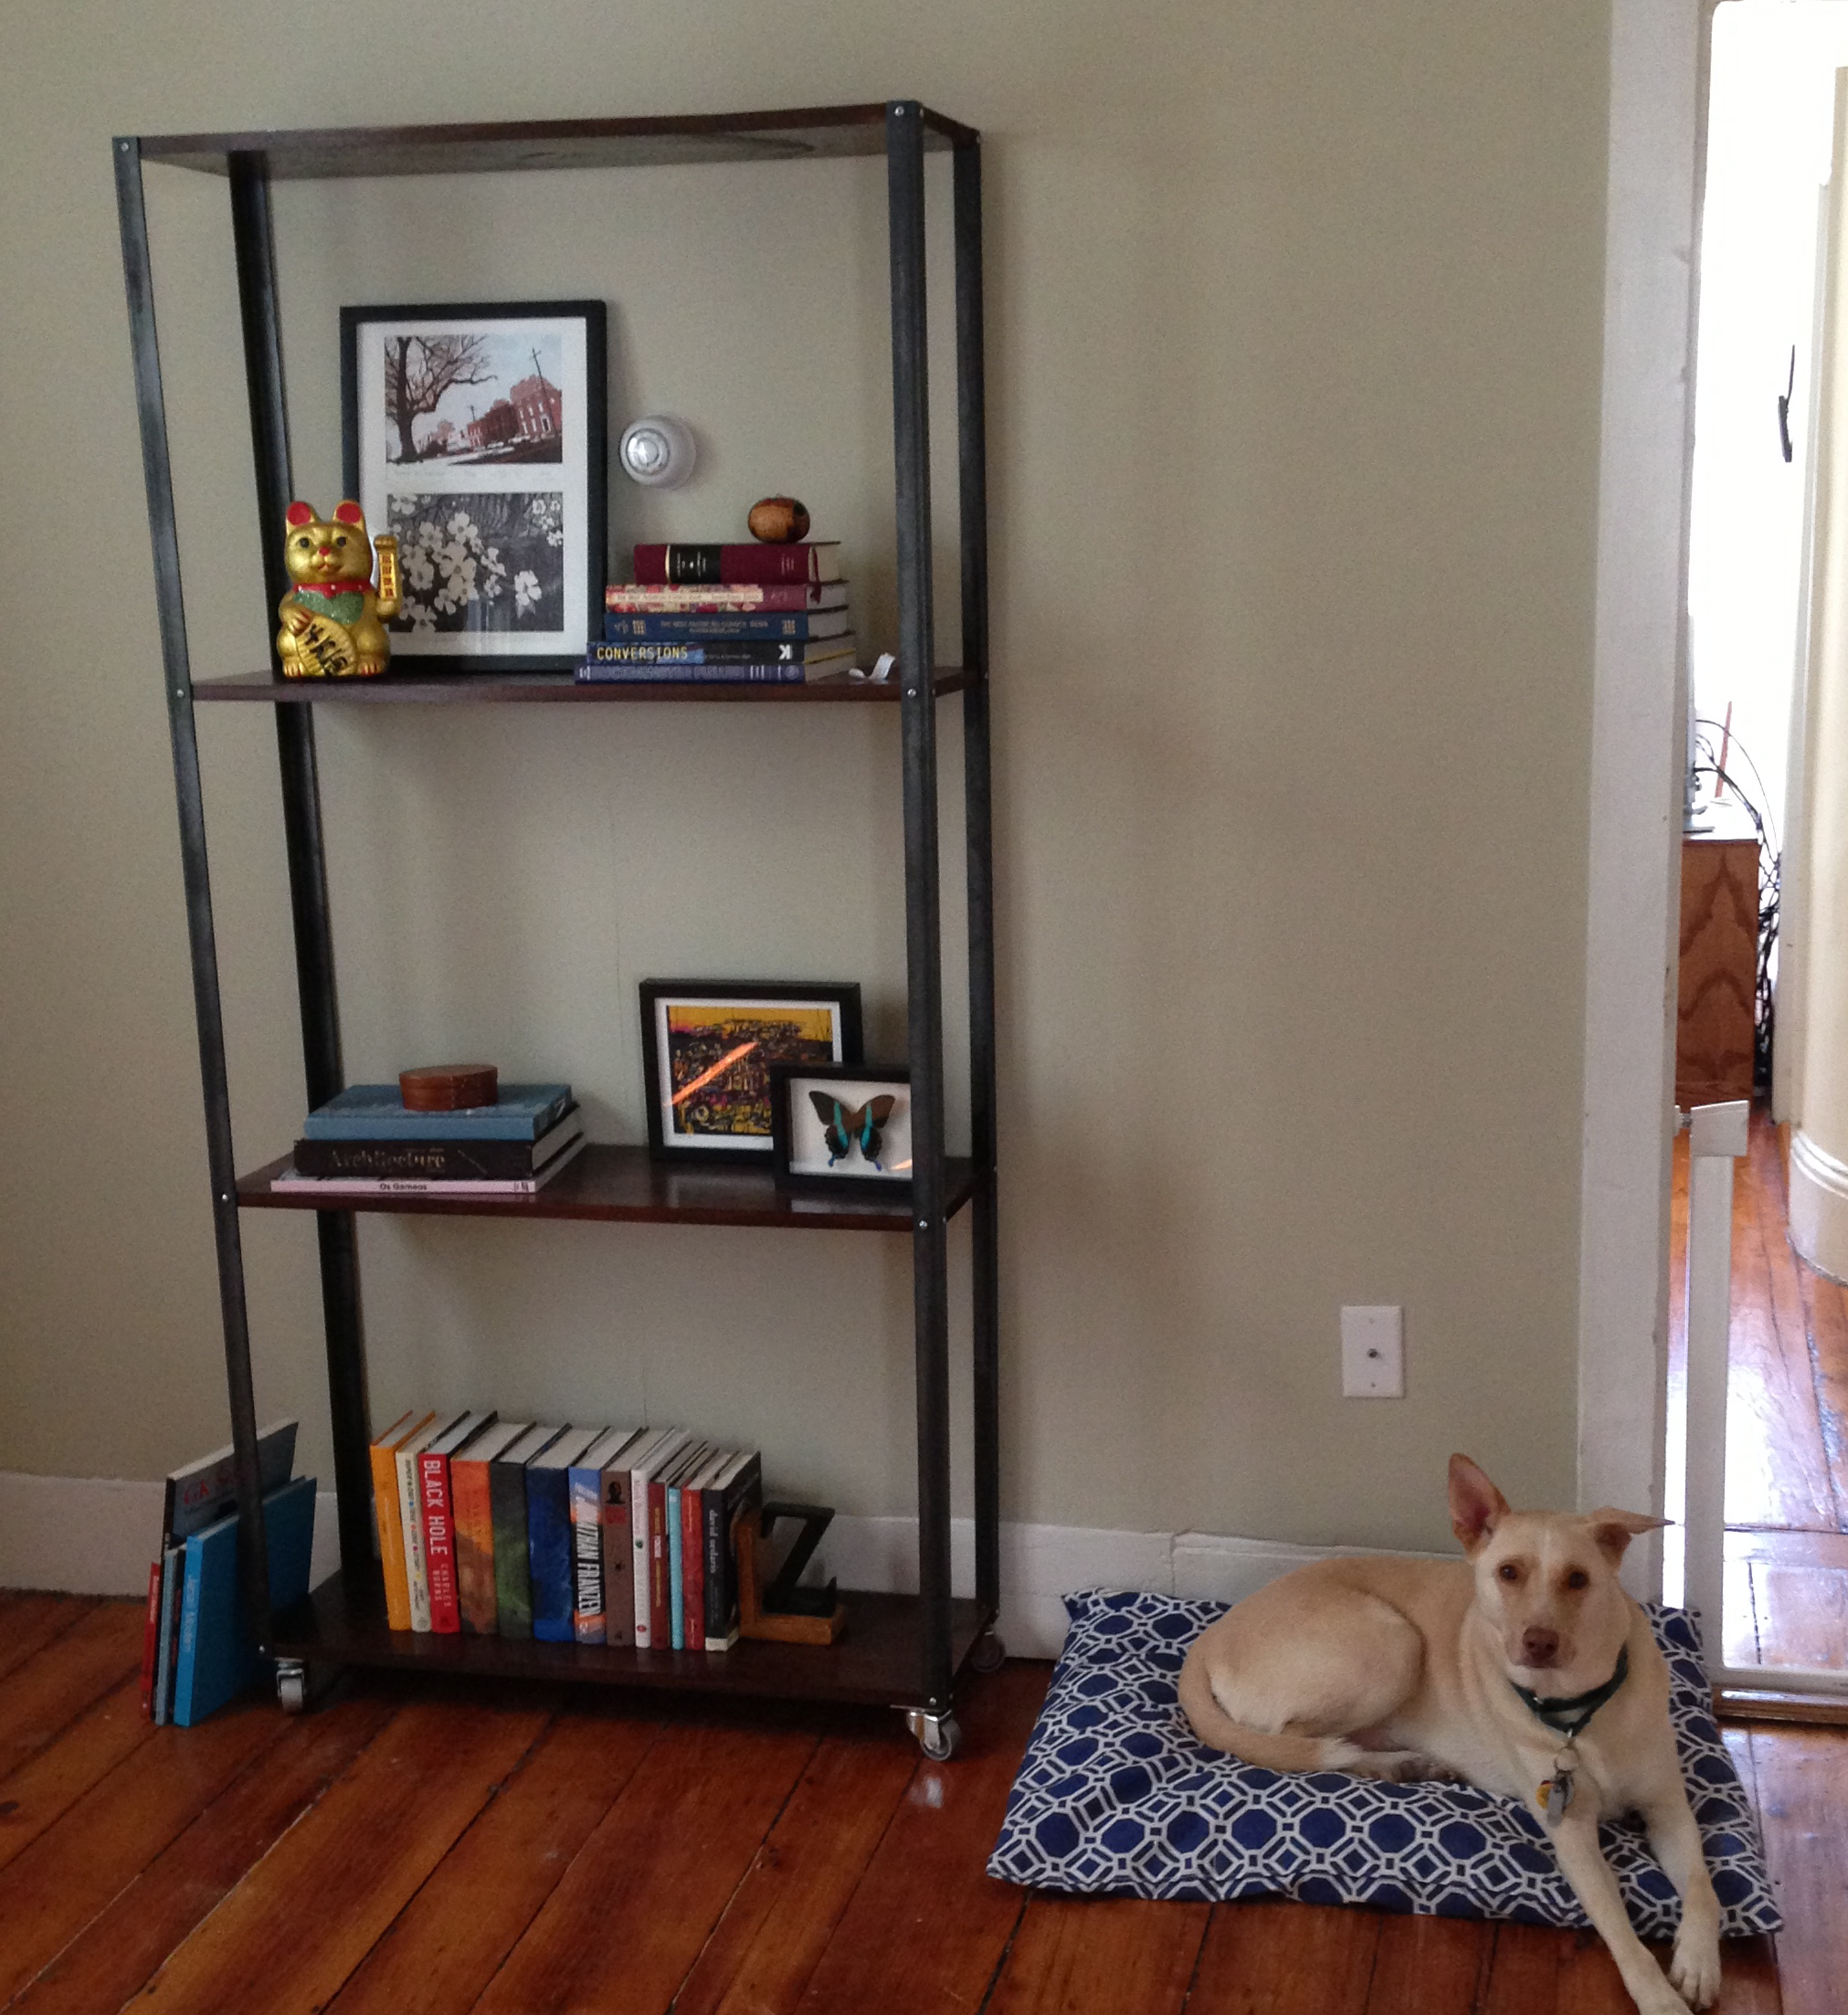 So, the purpose of this shelf project was to create a home for 4 boxes of books that had been in the back of a closet while we lived in our smaller apartment. Unfortunately, I was so happy with our end result that l didn’t want to put any old books on the shelf. We selected a collection of “pretty” books and other decor items to arrange. The shelf was the first piece of furniture for our new dining room. The top picture in the post depicts our subsequently acquired table (also a semi-DIY), rug, and sideboard.

I am so super impressed! You guys are awesome.
Thanks, Stephanie!
This turned out beautifully! The new place is looking great (so is Andre)!
You and your husband did a beautiful job! Of course your dog loves it too!(I can tell )
I admire your attention to detail but yet the instructions are easy to follow. You both make a great team with Andre making sure everything works out well!